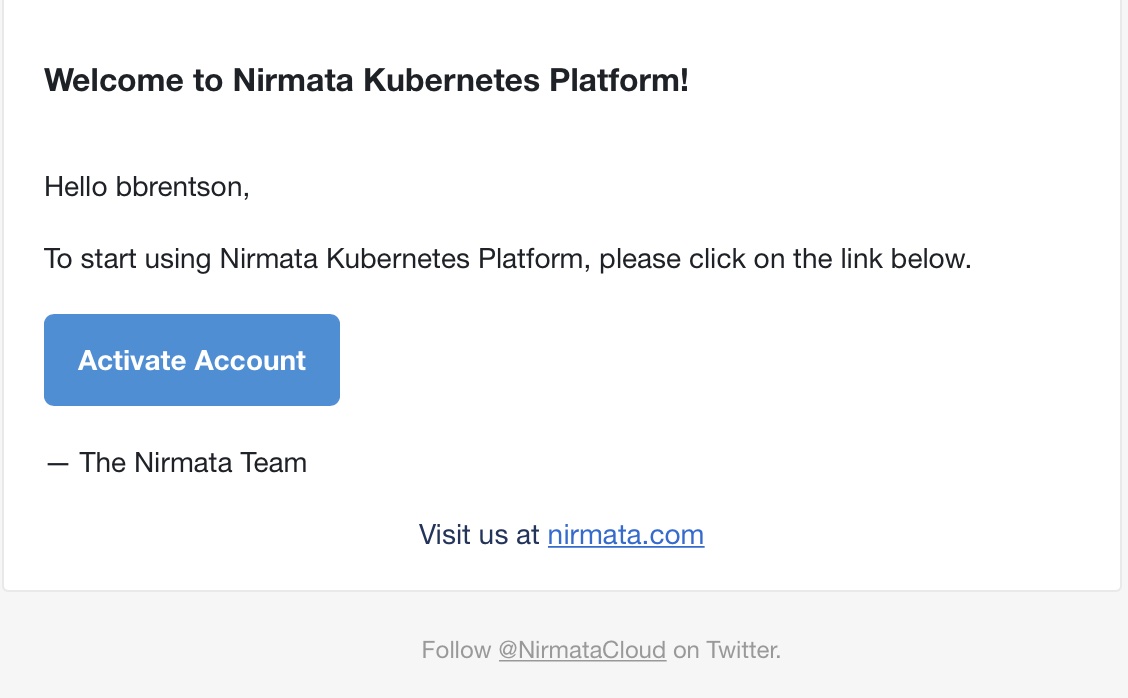
Activating account
After registering for an account, the user should receive an email with instructions on how to activate their account. If an email is not received, check your spam filters or other processes that could be blocking this email. If all that does not resolve the issue, contact Nirmata Customer Support.
If the activation email is received, click the button for Activate Account.
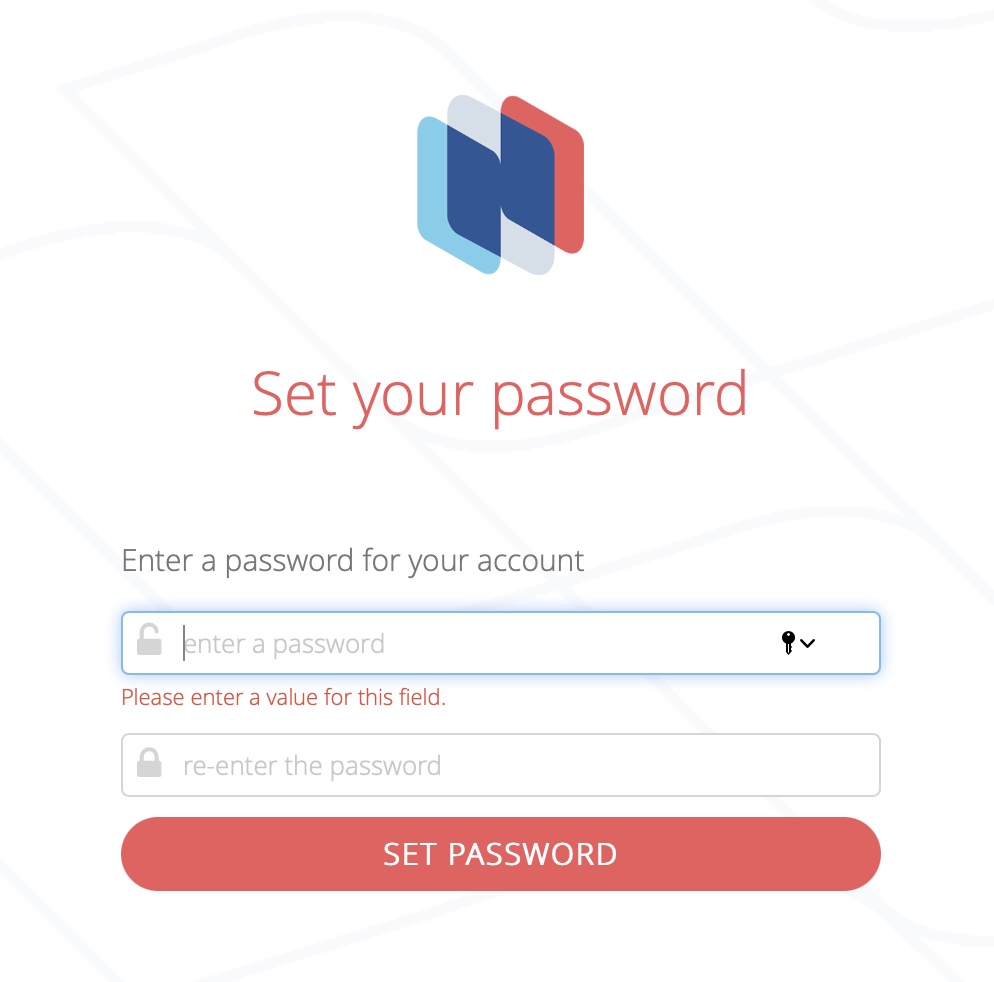
This will open a web browser and take the user to a Nirmata page in order to create the user’s initial password. Supply a password meeting or exceeding the requirements listed on the page.
Get Started
After the user account Is fully activated, it’s now time to begin to configure the Kunernetes clusters that NPMK will be working with. On the opening screen, there is an introduction page explaining what NPMK looks to accomplish. There are two buttons at the bottom of the page. One listed as See Features and the other listed as Get Started.
For the purposes of this tutorial, click the Get Started button.
The next page will list out the steps that will need to be completed. This includes installing the Nirmata Controller, Connecting the cluster to NPMK and then working with the systems within the framework, by monitoring the cluster details and policy violations.

Click Next to proceed to the next screen.
Register Cluster
The next screen will prompt the user to provide the name of the Cluster to be registered.
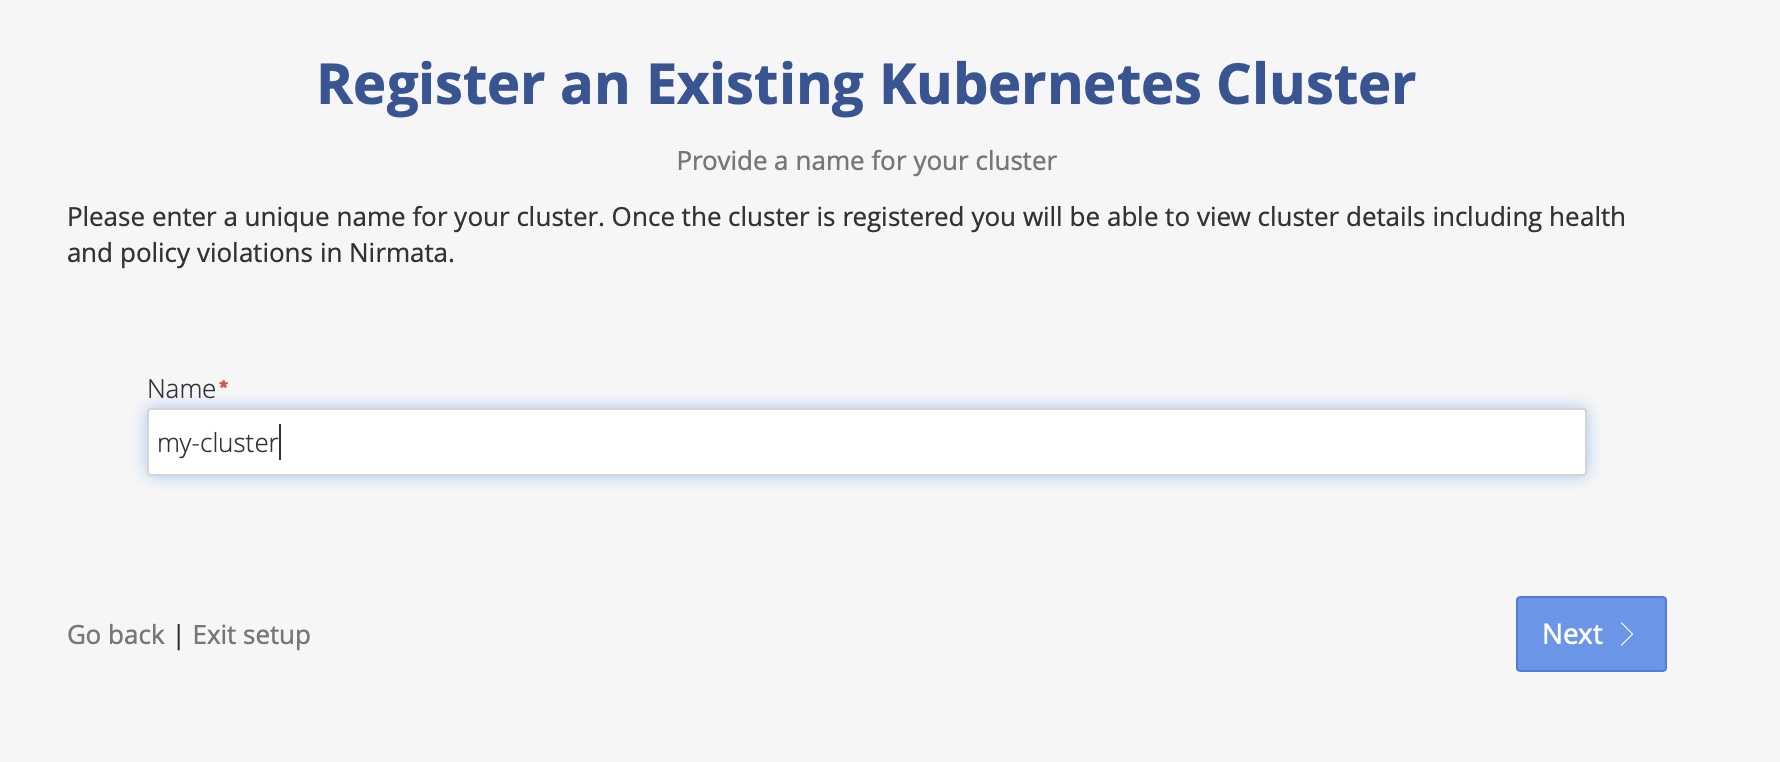
Provide a name and then click Next to continue
This is followed by instructions for installing the Nirmata Kube Controller. It includes the necessary kubectl command to run and over to the right, is a Download link, to download the necessary yaml file to be used.
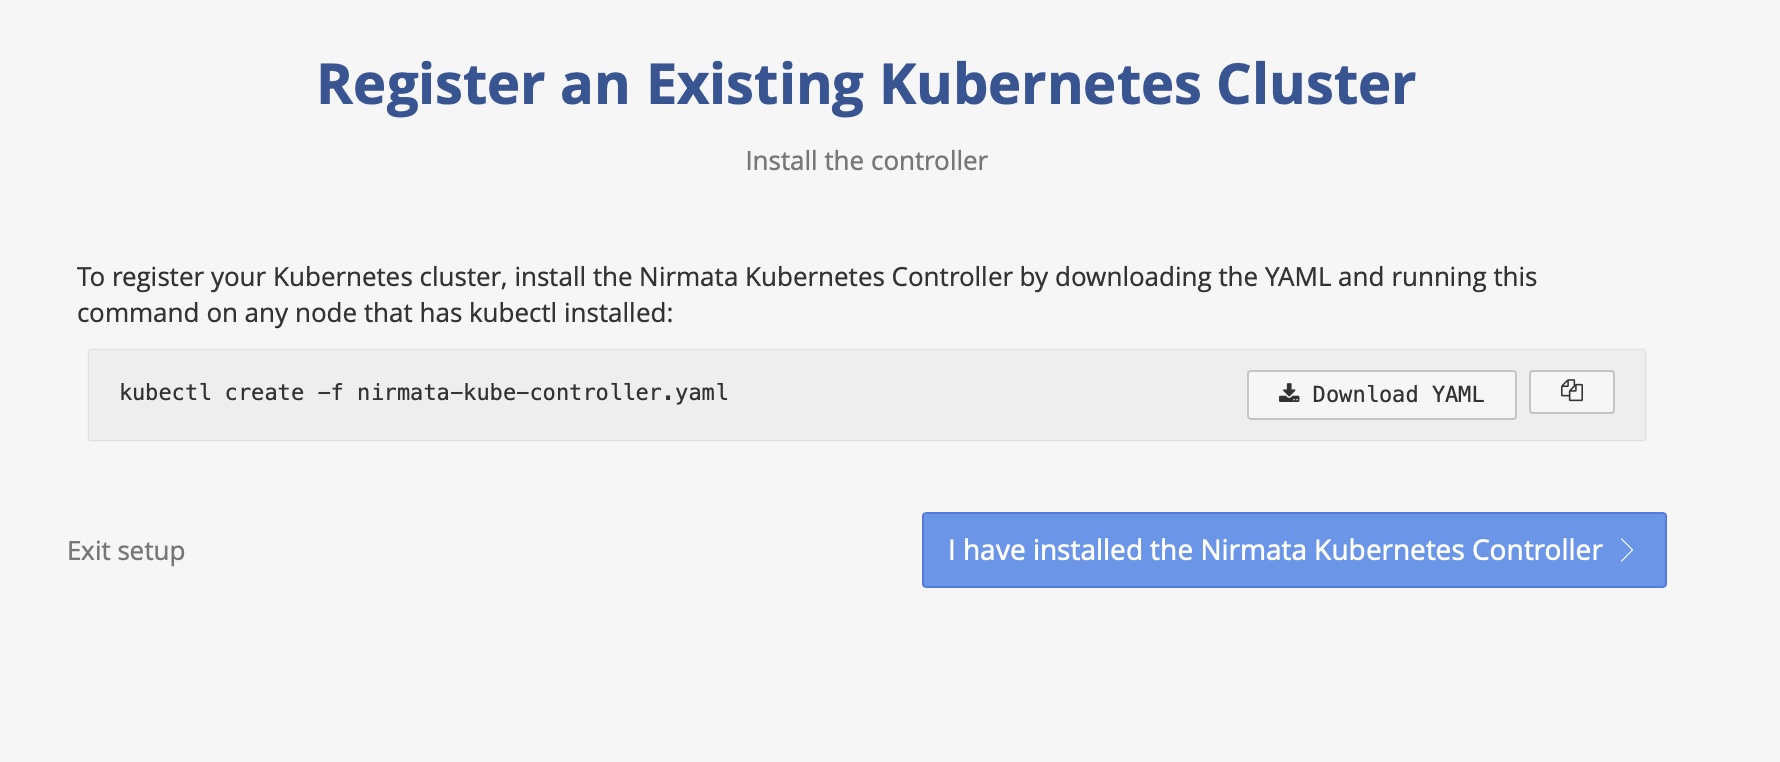
If the cluster is already running the Nirmata Kube Controller, click the applicable link “I have installed the Nirmata Kubernetes Controller”, in order to bypass this step.
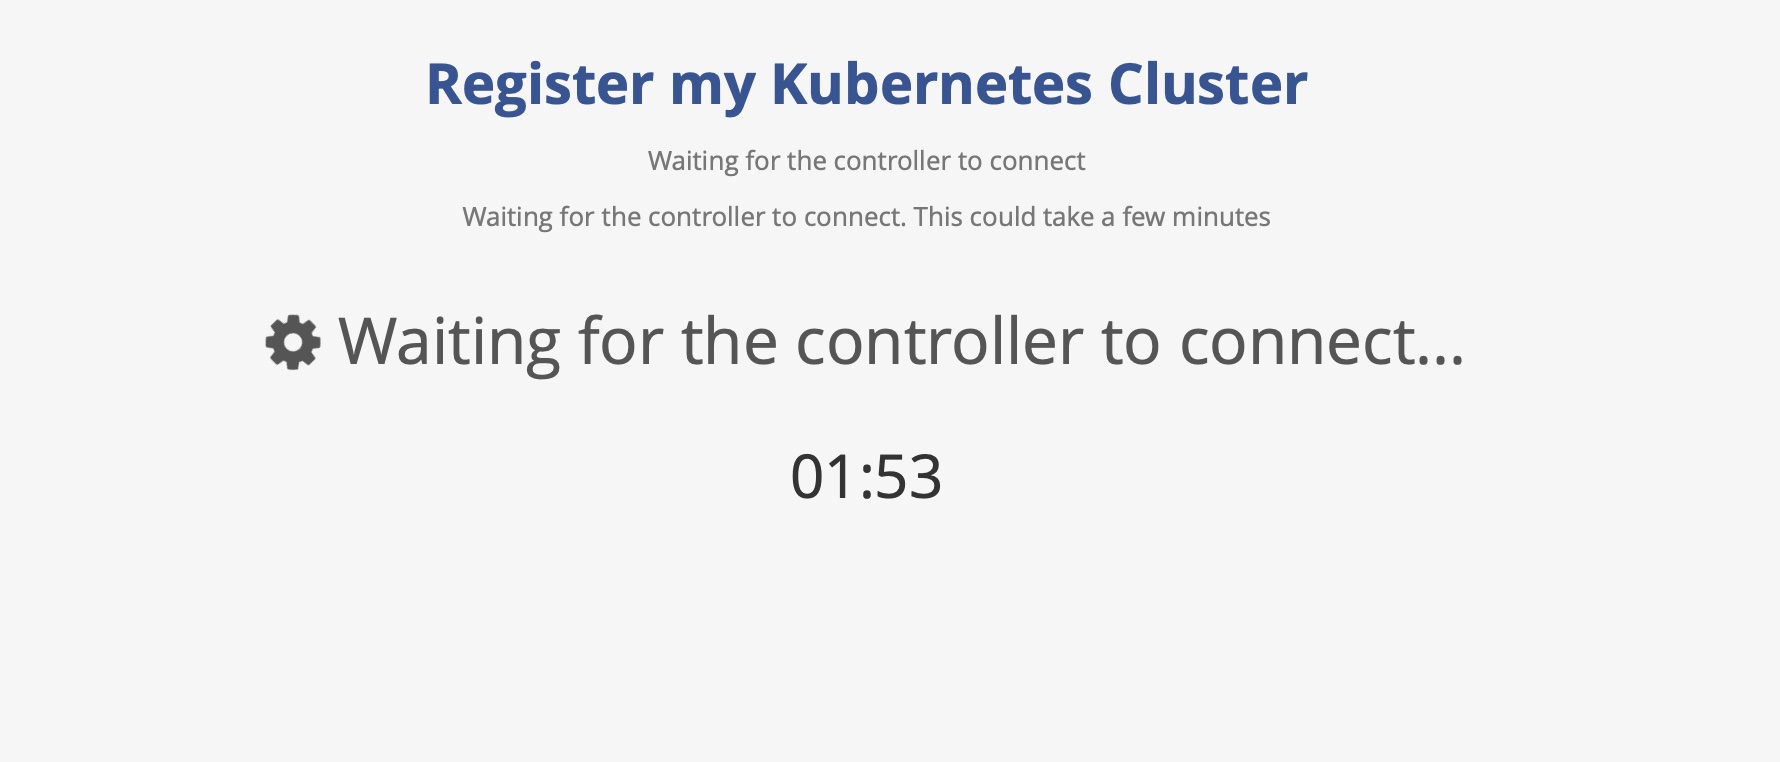
In either case, once the aforementioned button is clicked on, it will initiate a two minute countdown timer in which NPMK will attempt to establish a connection with the controller.
Verify registration
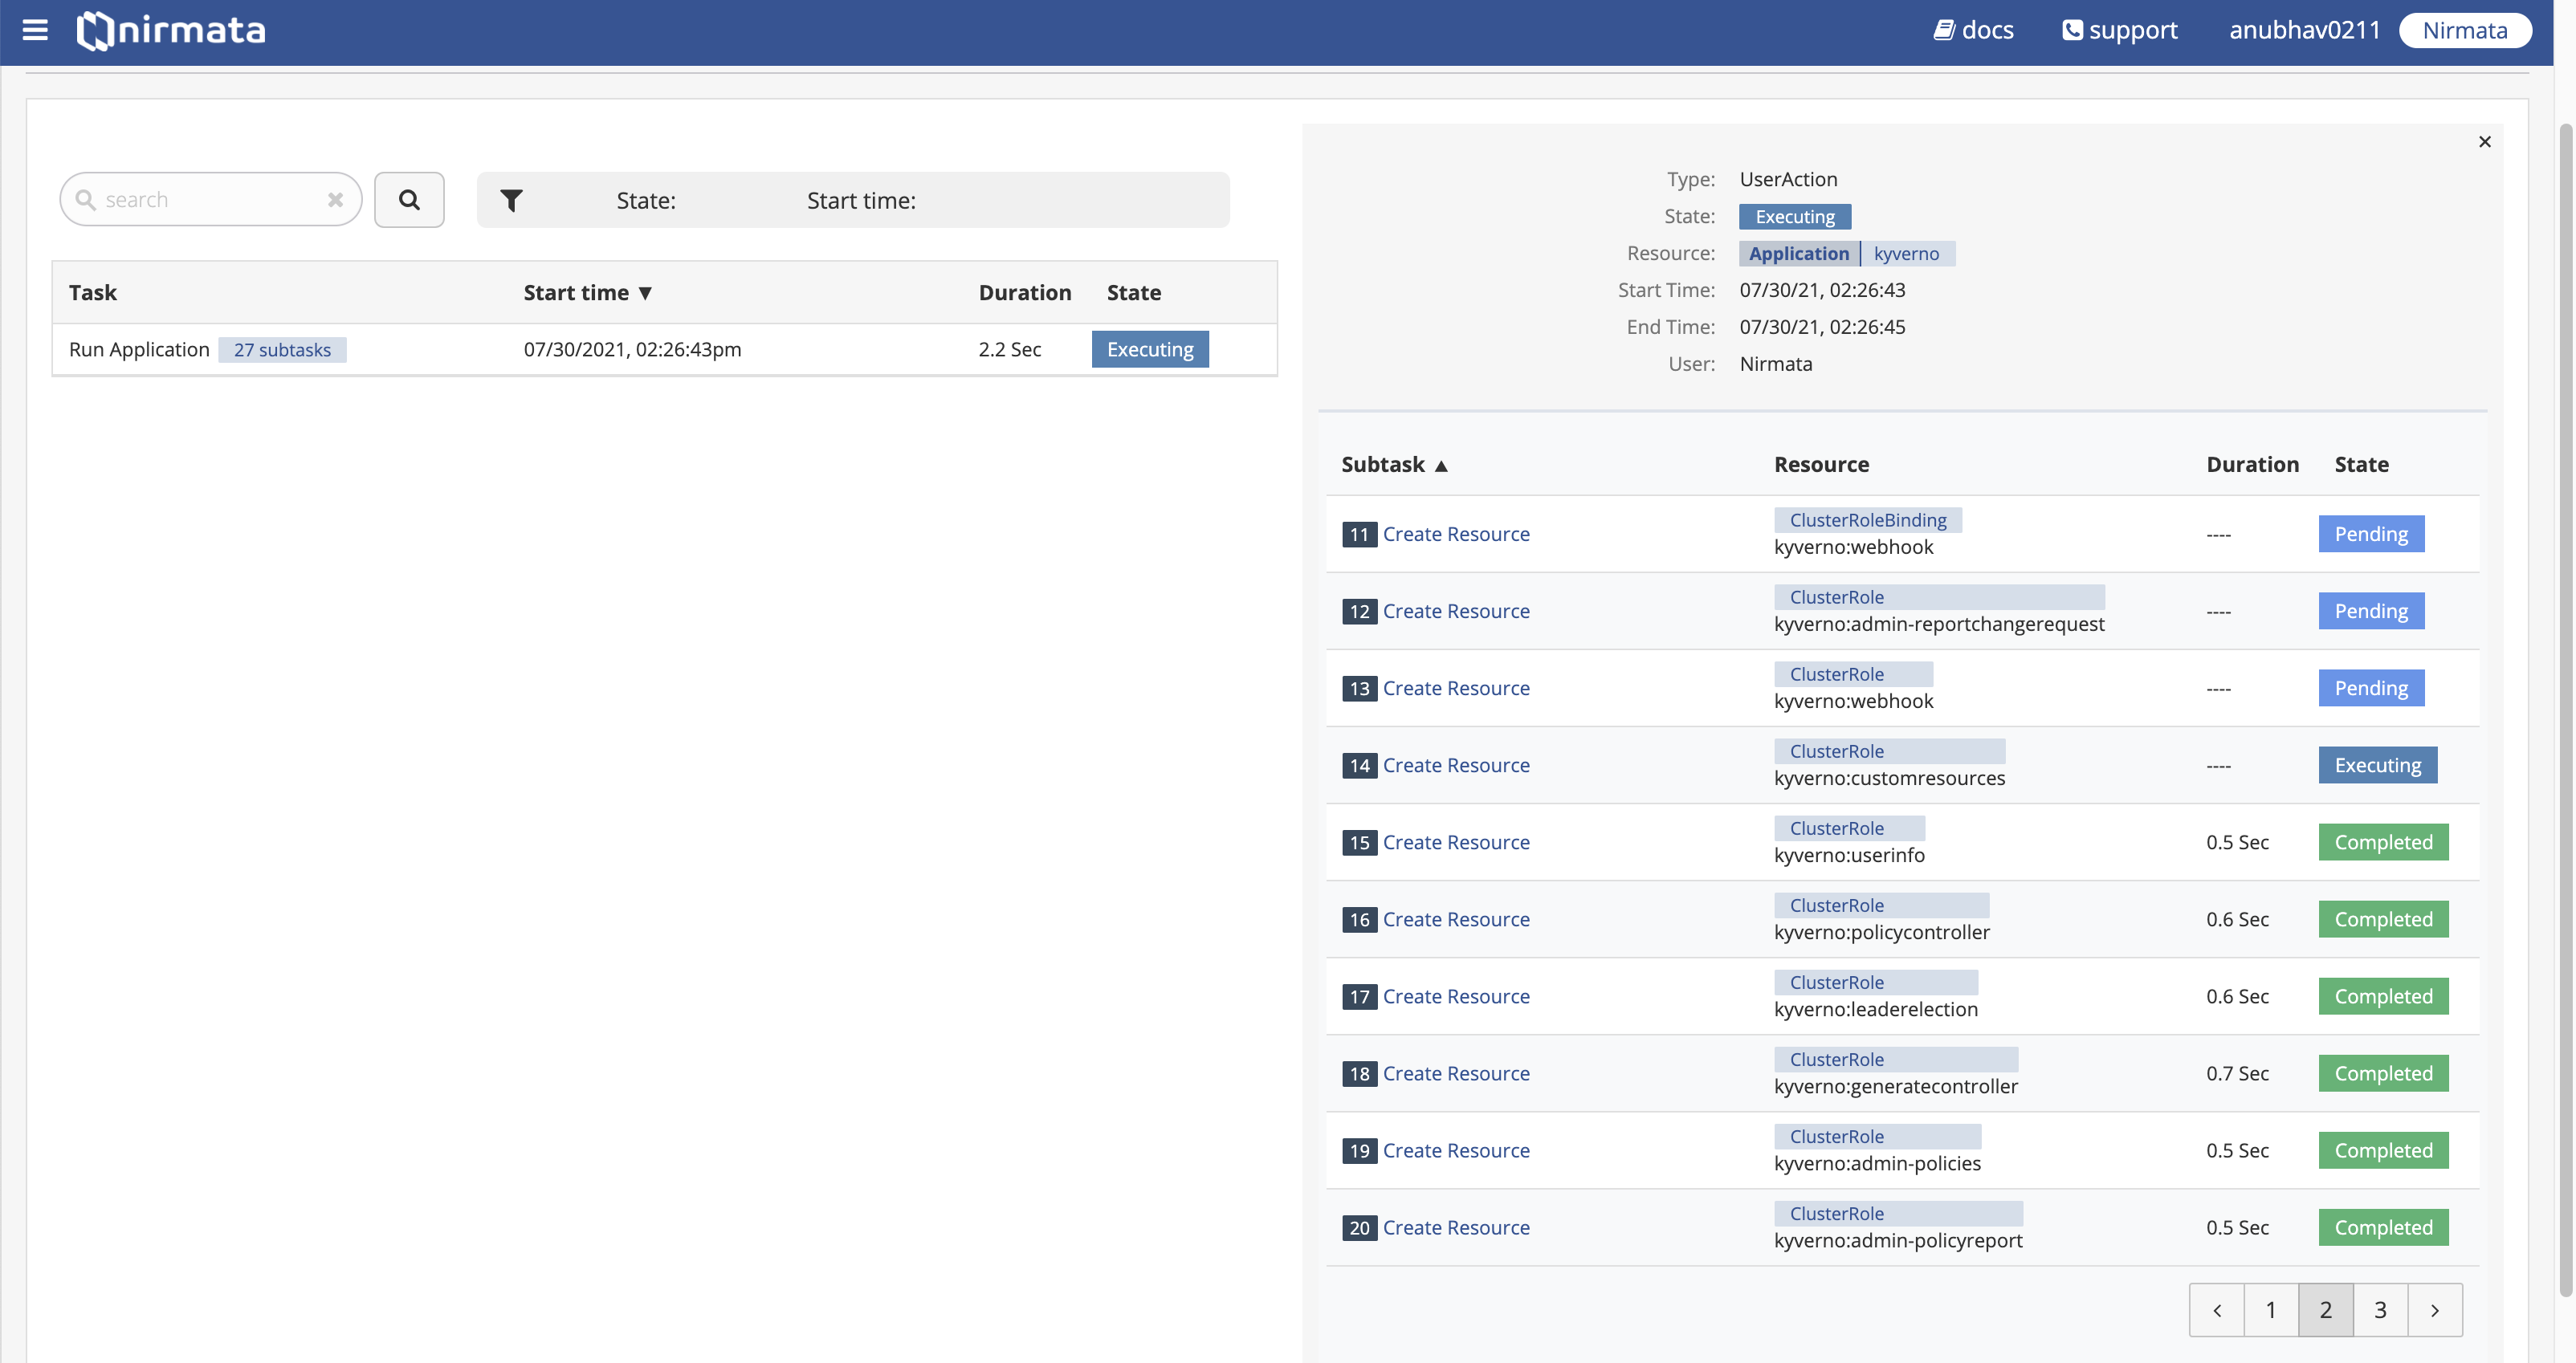
Once the cluster is registered, cluster and Kyverno deployment status can be verified by going to cluster menu and checking system tasks for Kyverno deployment.
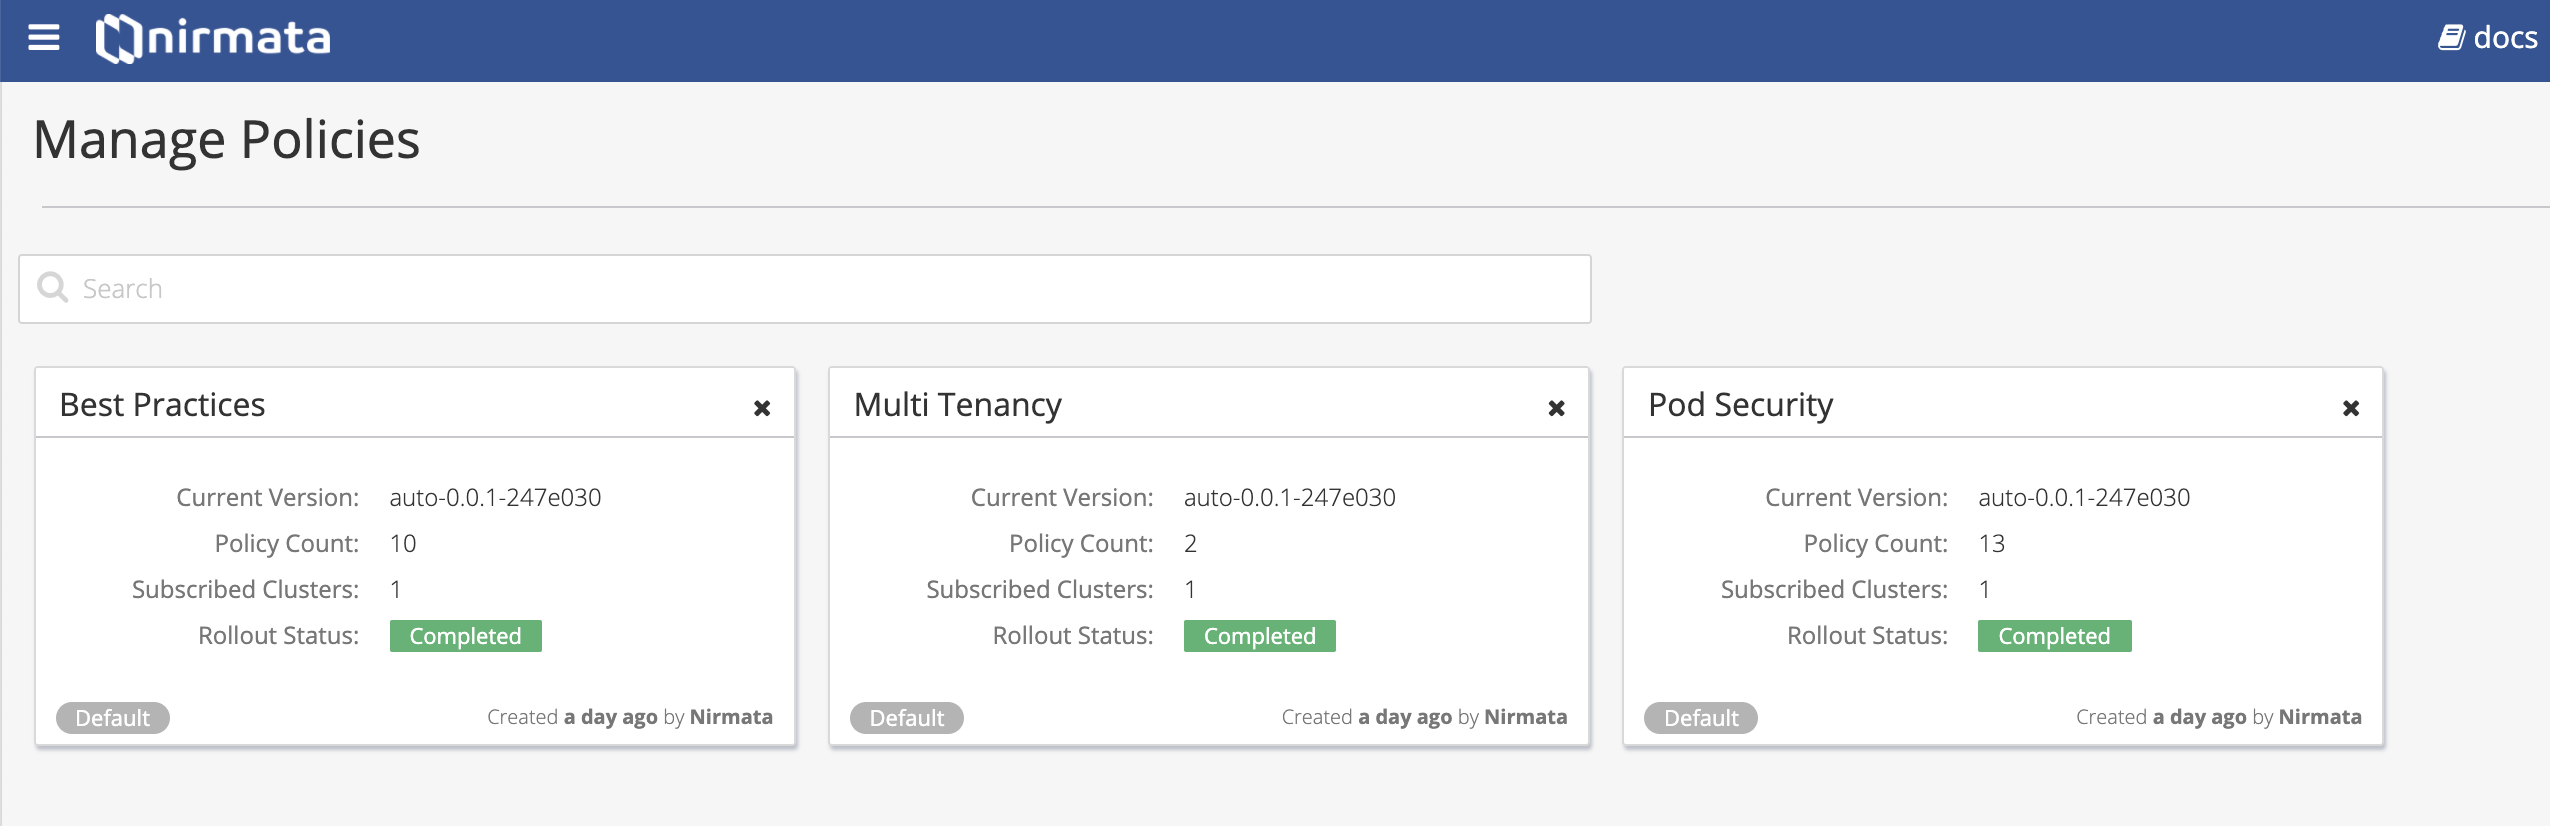
Policy deployment for the cluster can be verified by checking the Policy Groups menu.
View Reports
Follow this link to View Reports