The Nirmata Multi-Factor Authentication (MFA) allows you to authenticate users from independent categories of credentials for a login or other transaction.
NOTE: By default MFA is disabled for all the users. MFA settings are only applicable for users with Nirmata as the Identity Provider. When enabled, all users will be required to use MFA
To enable MFA for all the users
-
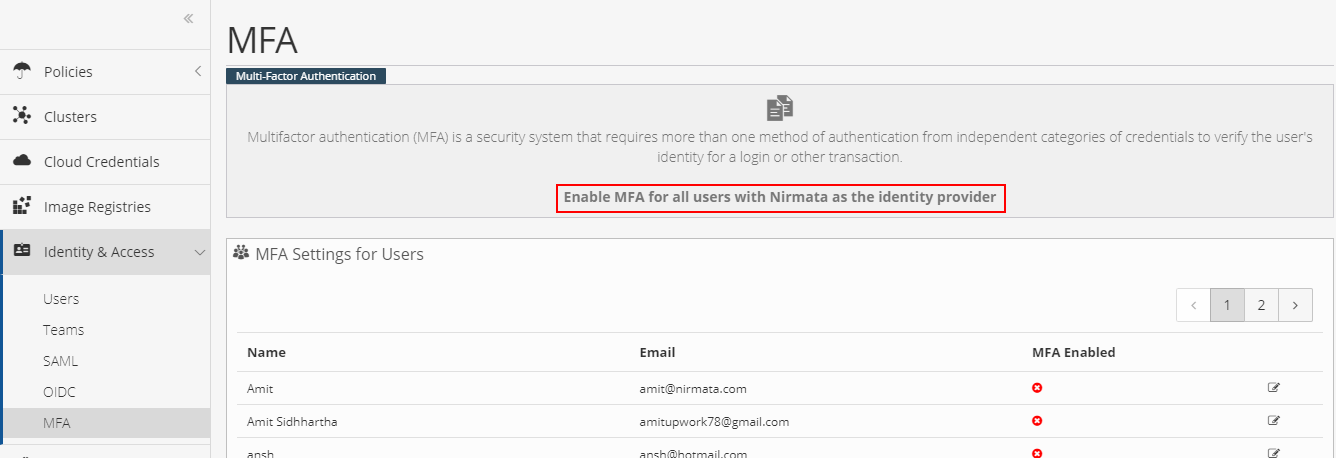
Click the Identity & Access > MFA.
-
Click the “Enable MFA for all users with Nirmata as the identity provider” in the MFA screen.
-
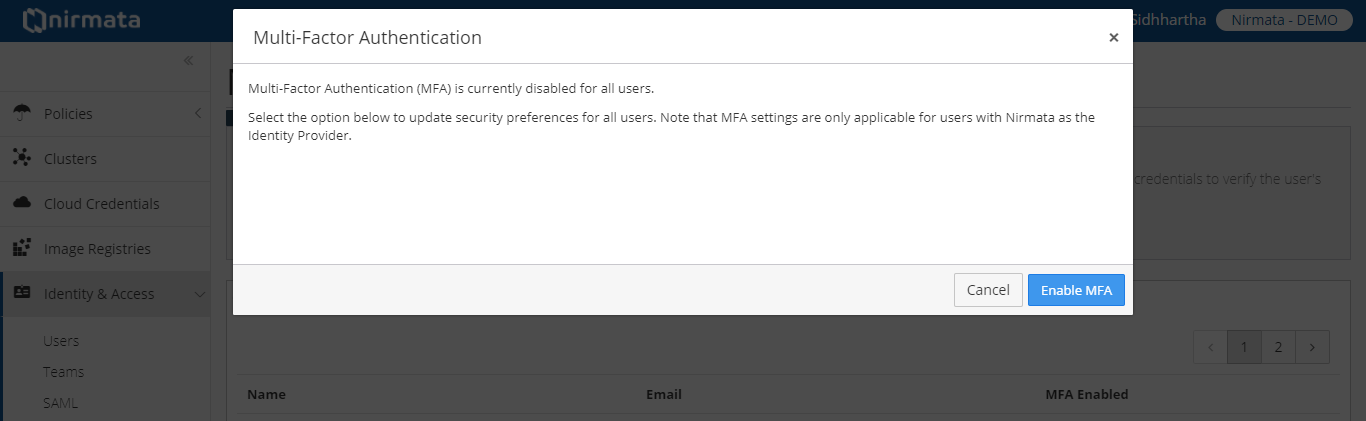
Choose Enable MFA button in the Multi-Factor Authentication.
To enable MFA for an individual user
- Click on the Hamburger icon on the top left corner.
- Go to the Identity & Access section and click on the MFA option.
- A new window will open up with a list of all users.
- Find the particular user for which MFA should be turned on and click on the edit icon on the extreme right to the user’s name.
- A new pop-up will be shown with the option of Multi-Factor Authentication Settings.
- Click on the Multi-Factor Authentication Settings button and toggle switch to ON.
- After this step when the user logs back in, the user will be greeted with a screen to setup MFA.
- The user can then scan the QRcode on the Google Authenticator Application and enter the code in the text box shown on the Google Authenticator Application.