This section provides instructions on how to setup Microsoft AD FS (Active Directory Federation Services) as a SAML Identity Provider (IdP). Before you setup ADFS, you must first enable SAML SSO in Nirmata, import the IdP Metadata into Nirmata, and export the SP Metadata. You must also Copy or transfer the SP Metadata XML file to your AD FS server.
Setting up ADFS involves three steps (the following steps use Windows Server 2012 R2 and ADFS 3.0):
- Import the SP Metadata into ADFS
On your ADFS host open the Server Manager tool and select the AD FS Management option:
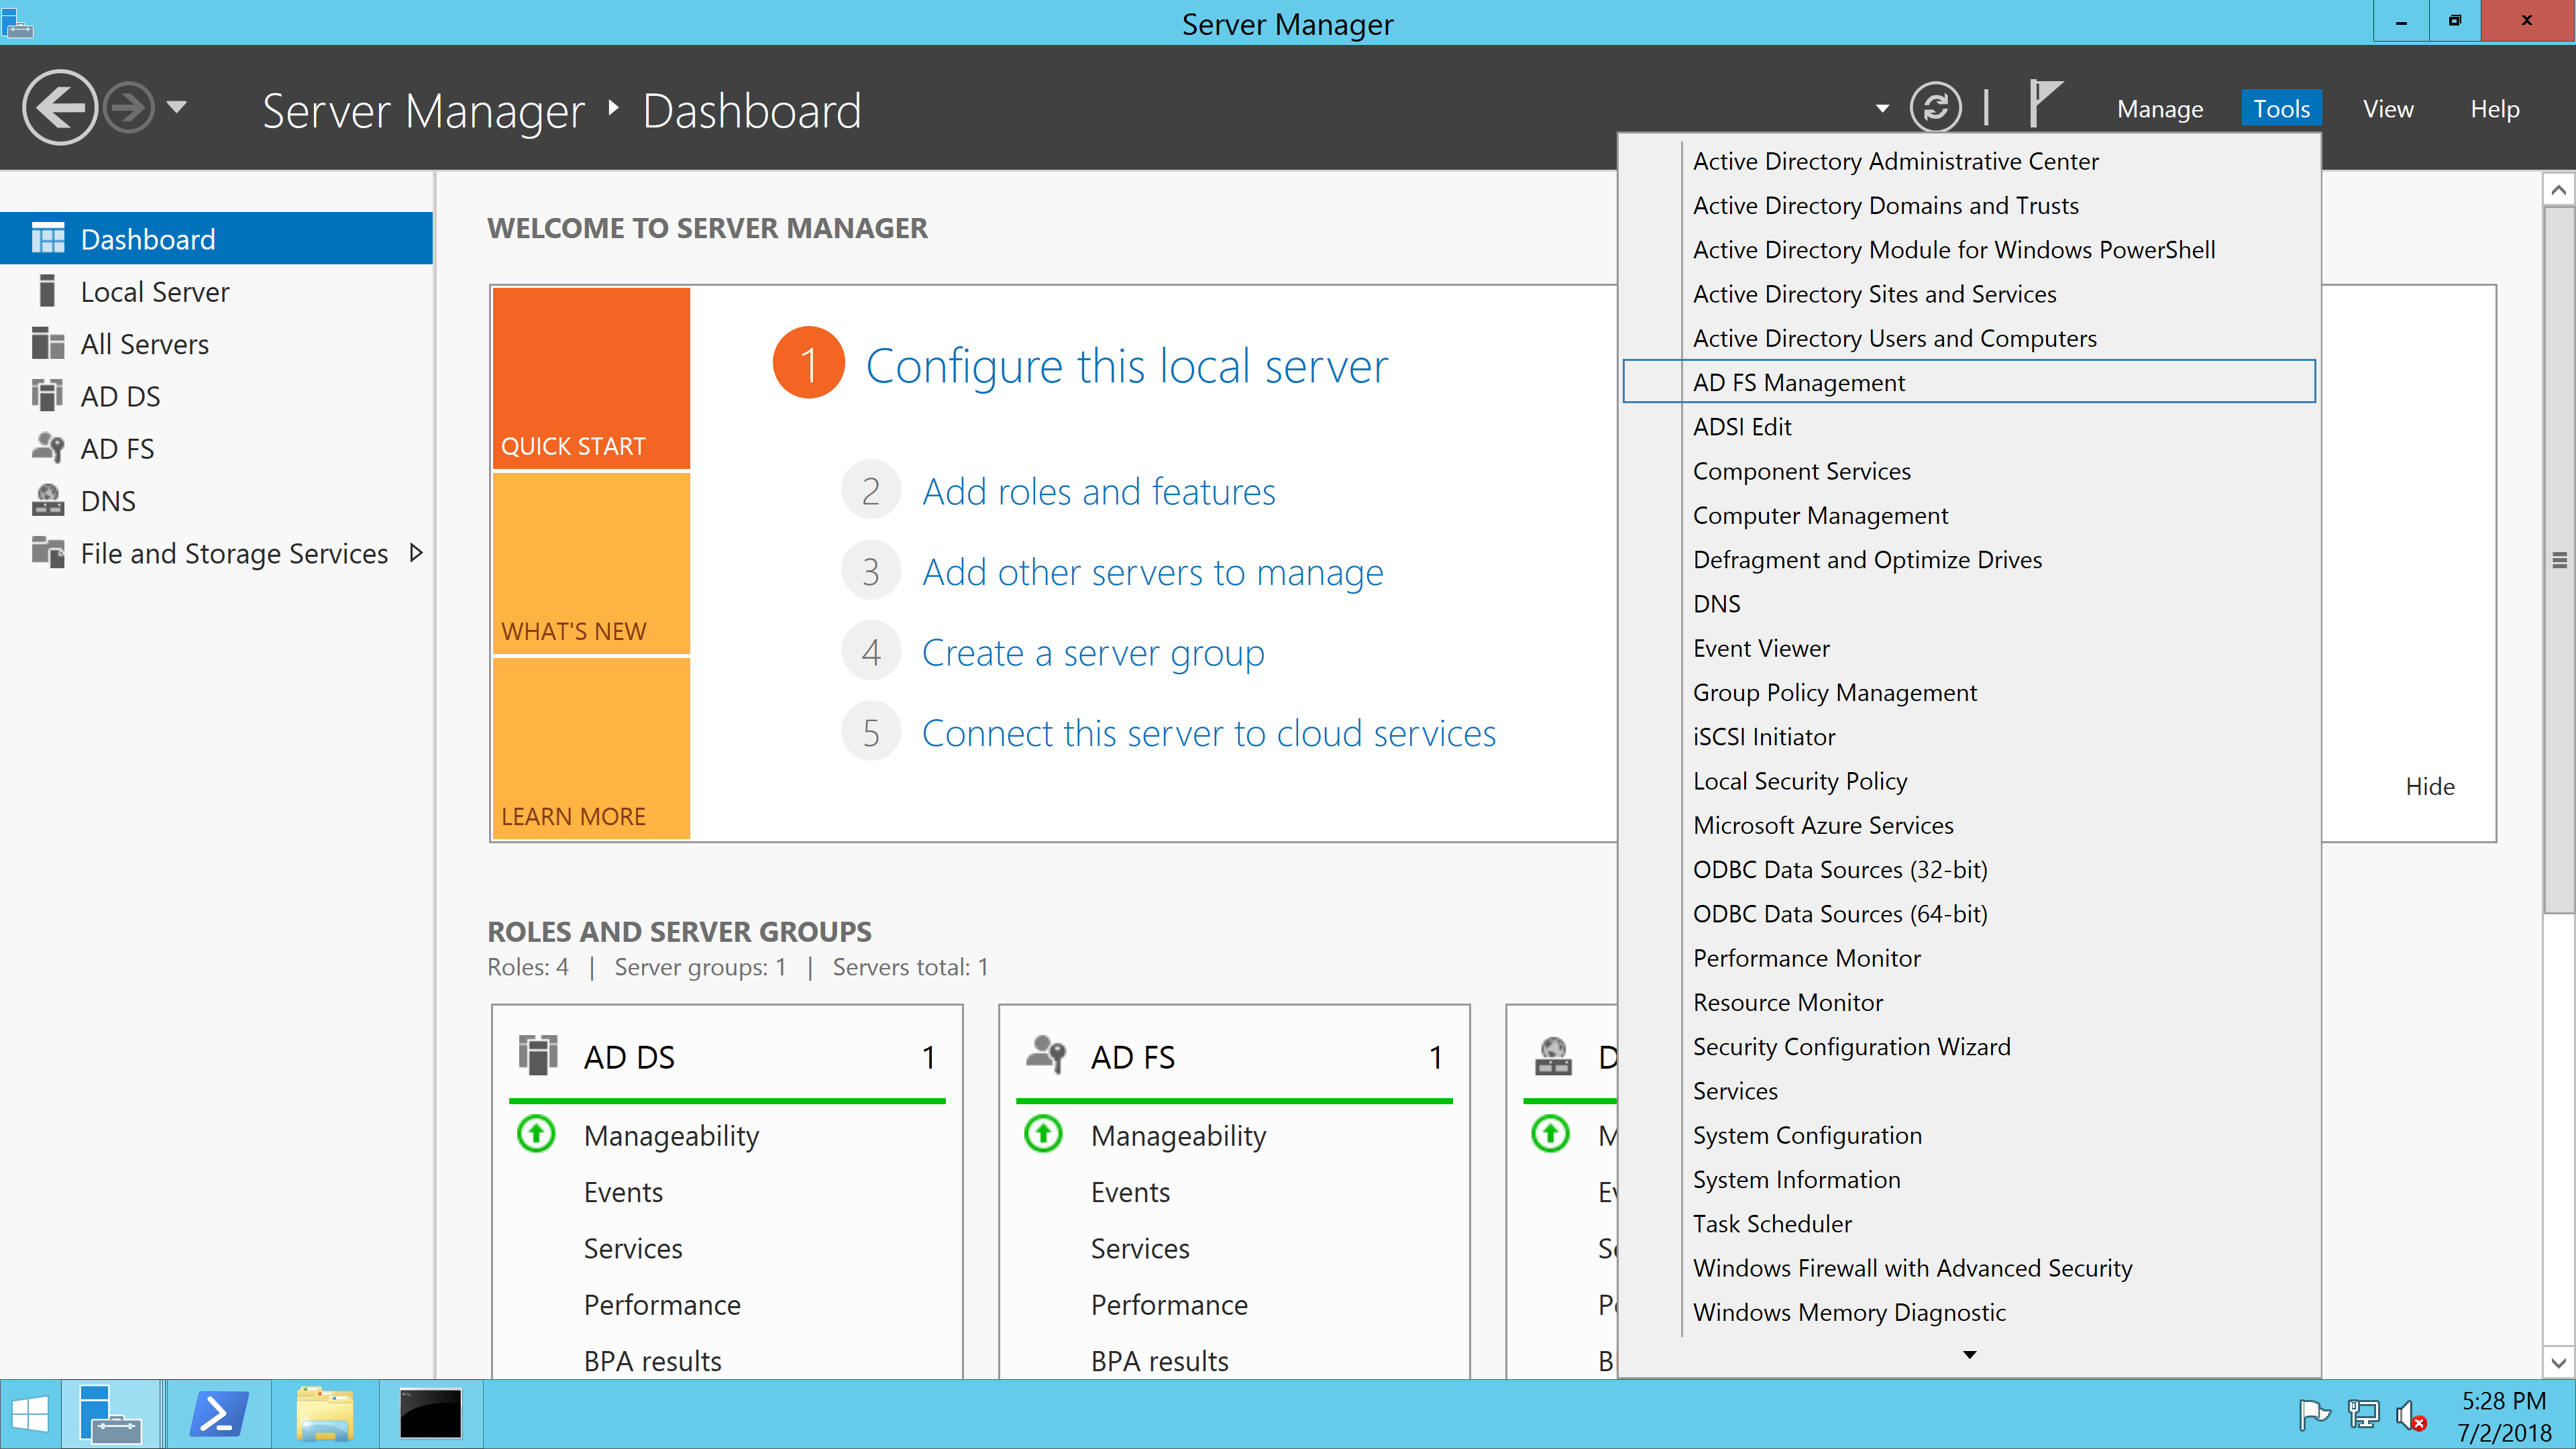
In the AD FS Management window, navigate to Trust Relationships -> Relying Part Trusts and select Add Relying Party Trust from the right Actions panel:
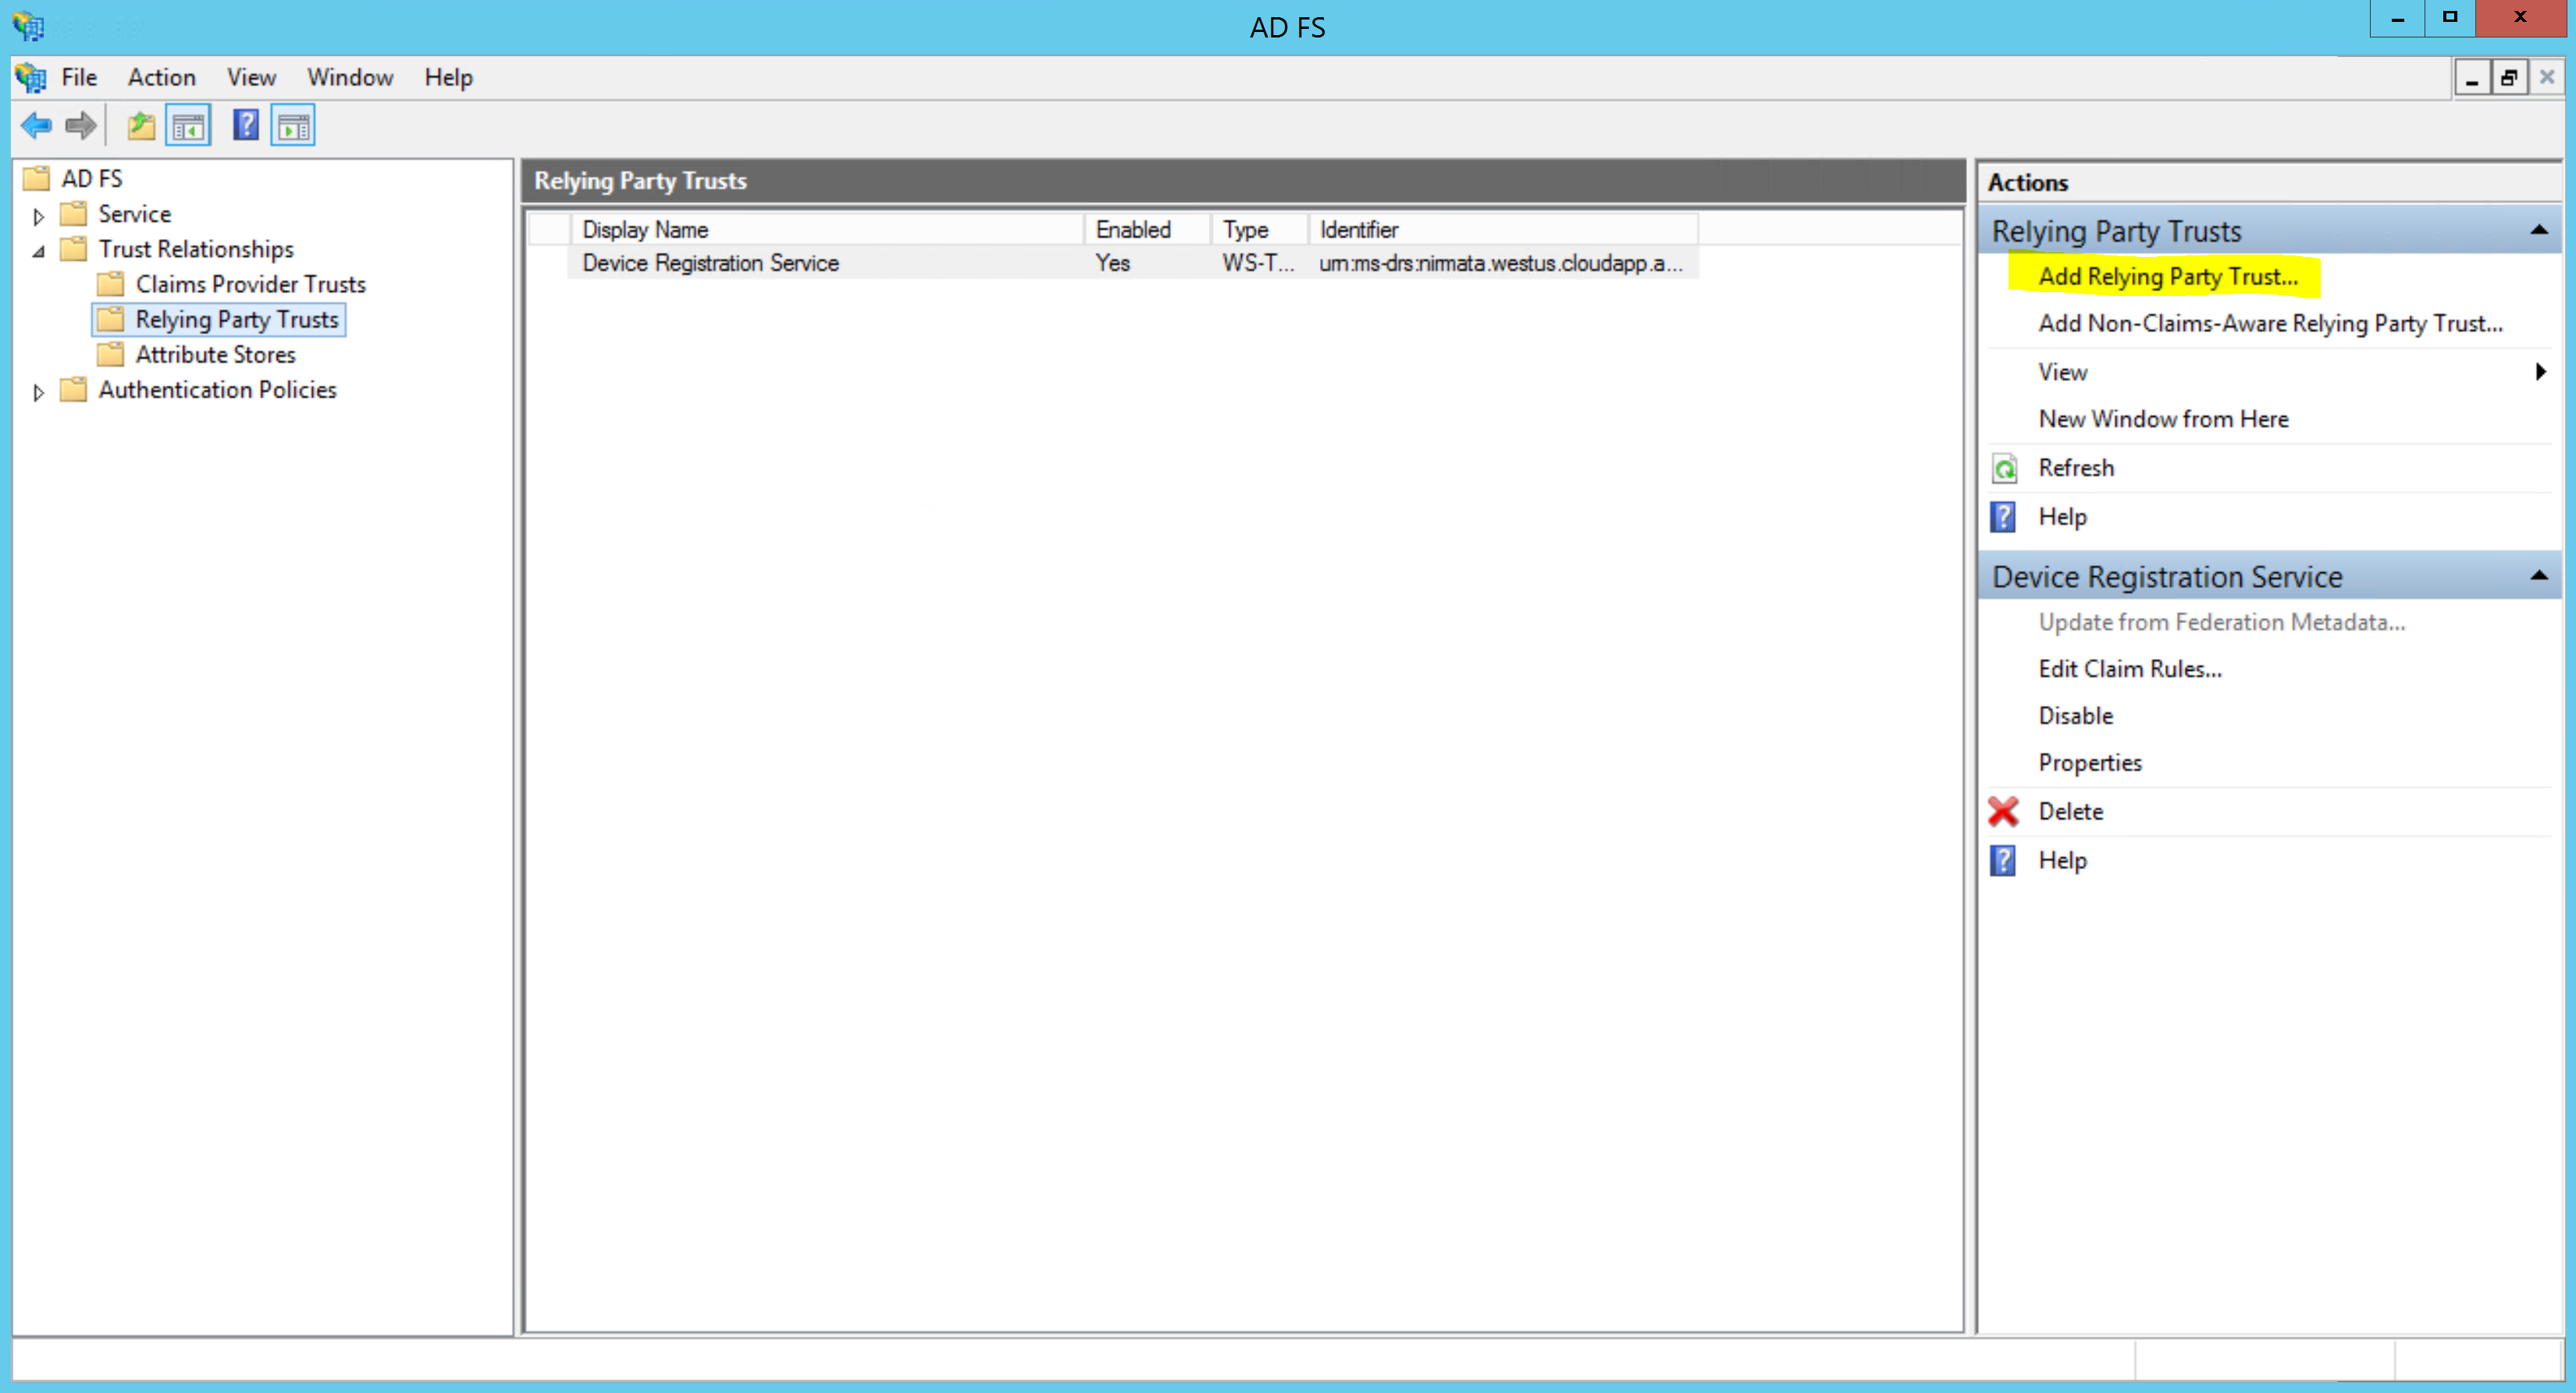
Select the SP Metadata XML file that you exported from Nirmata:
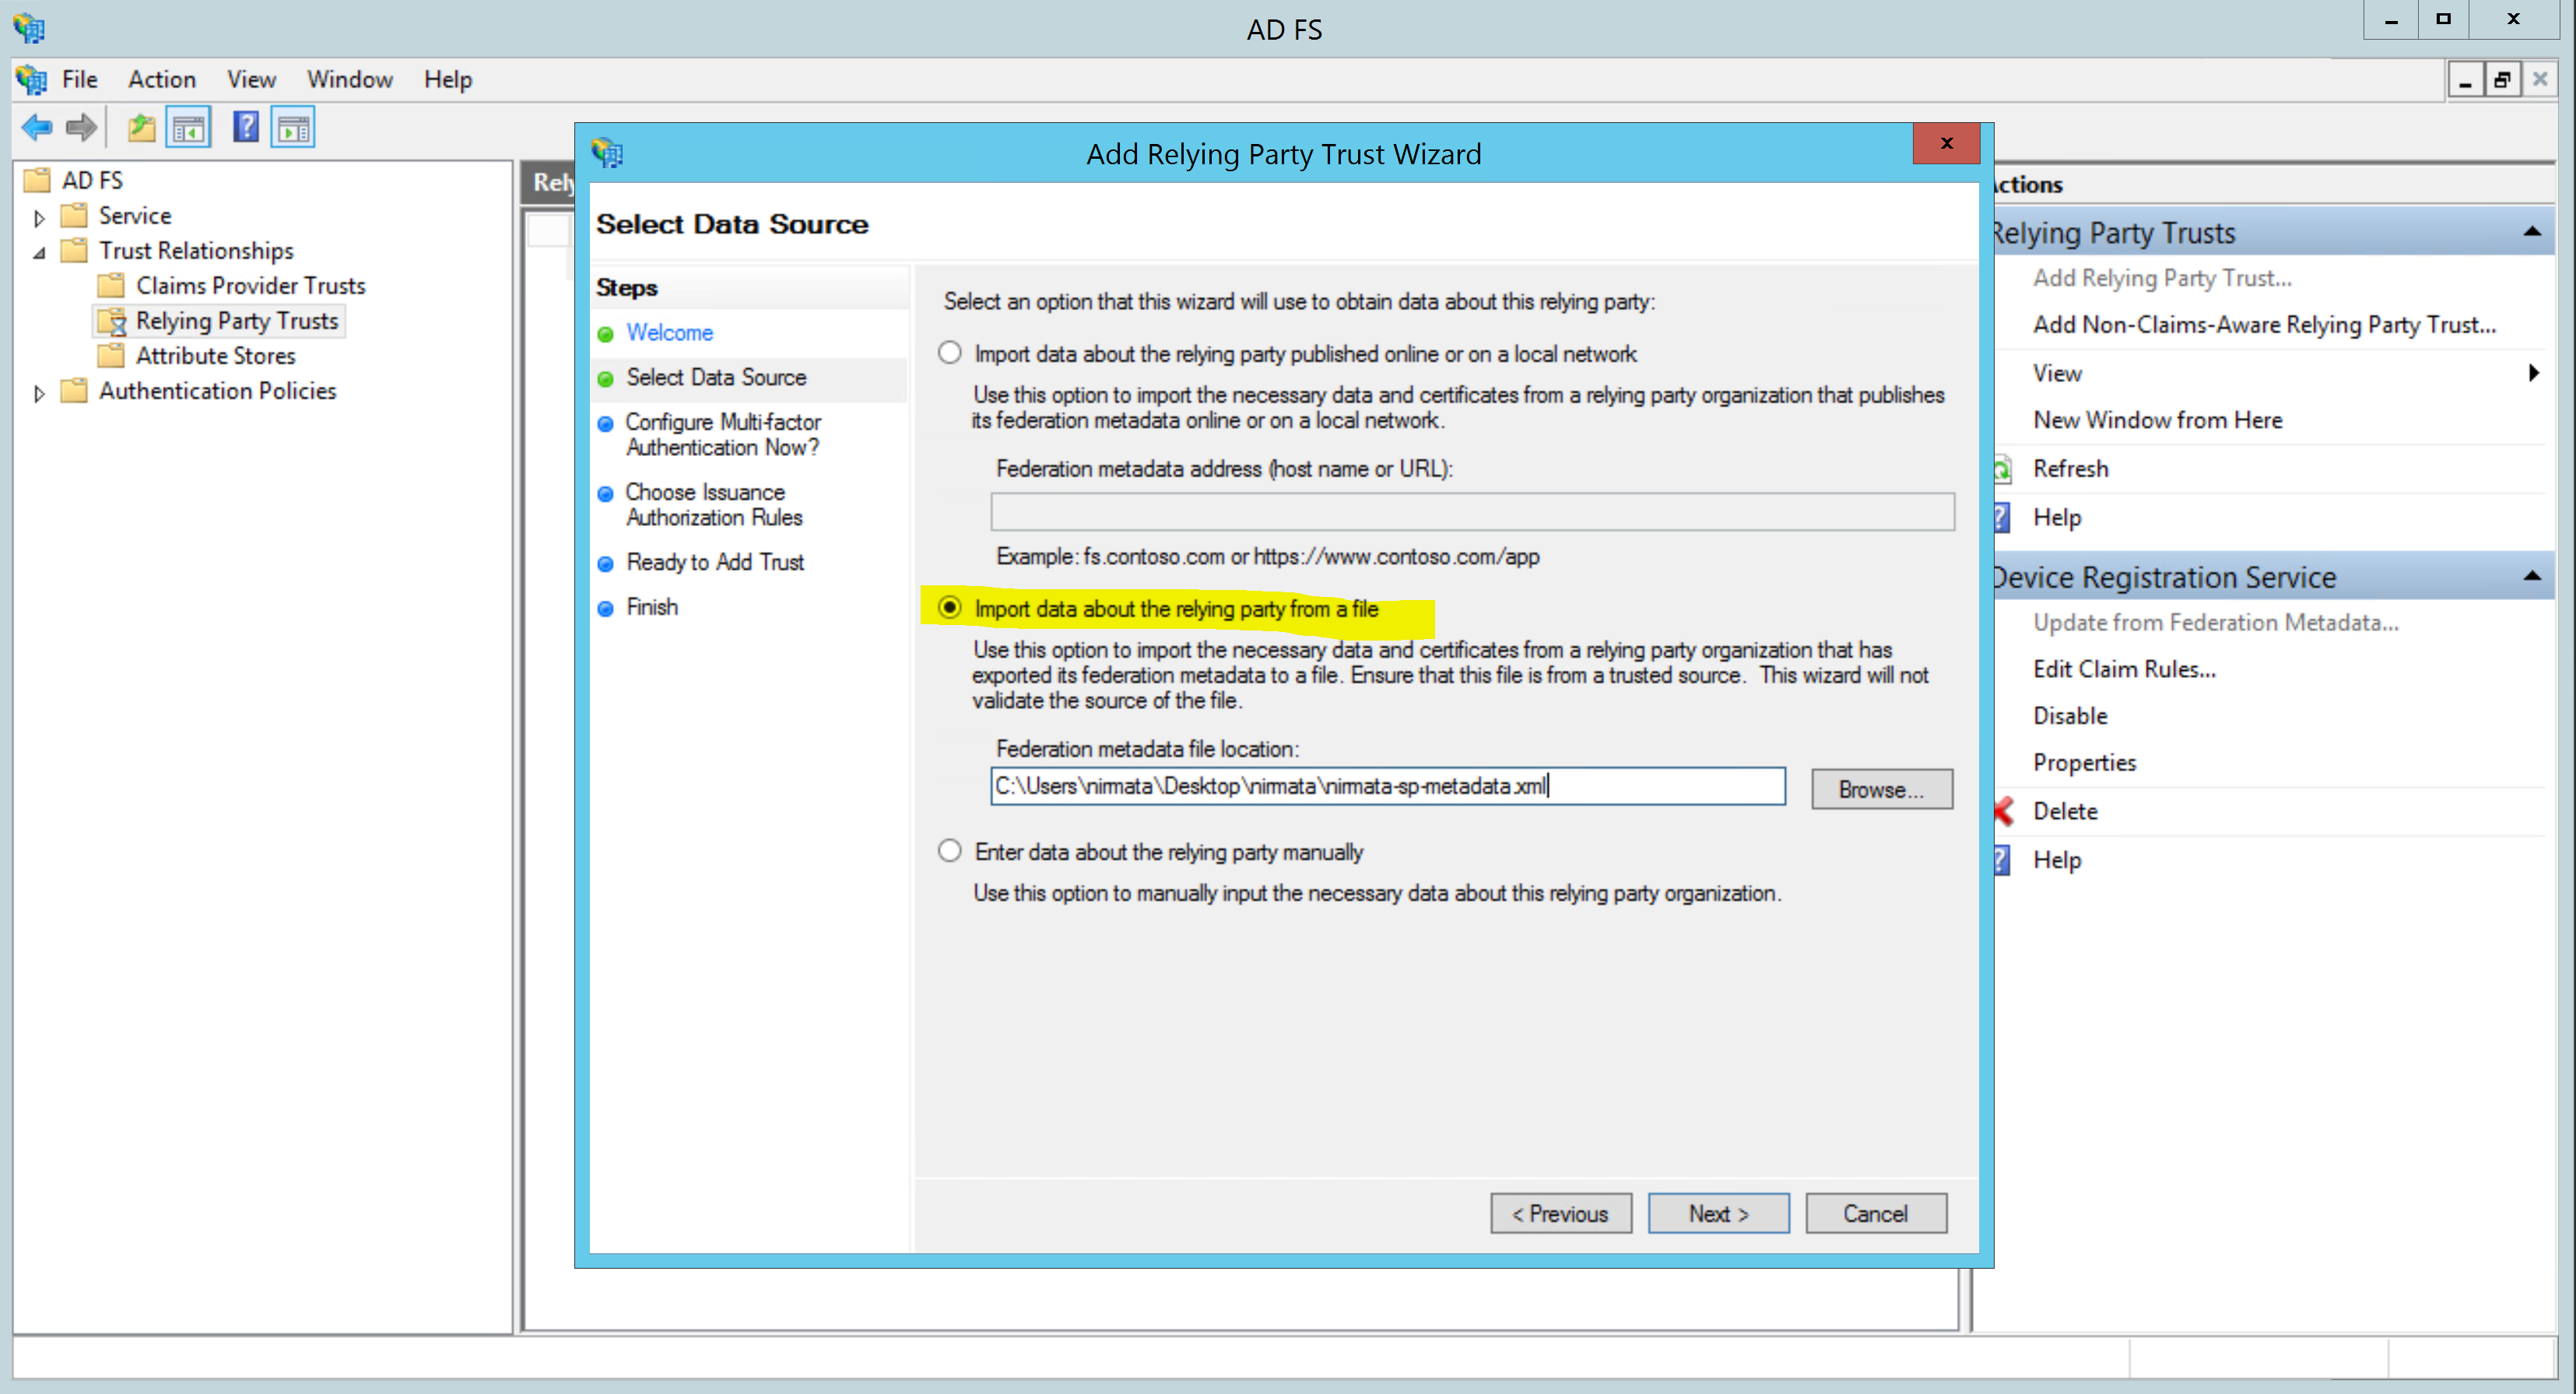
Provide a Display Name:
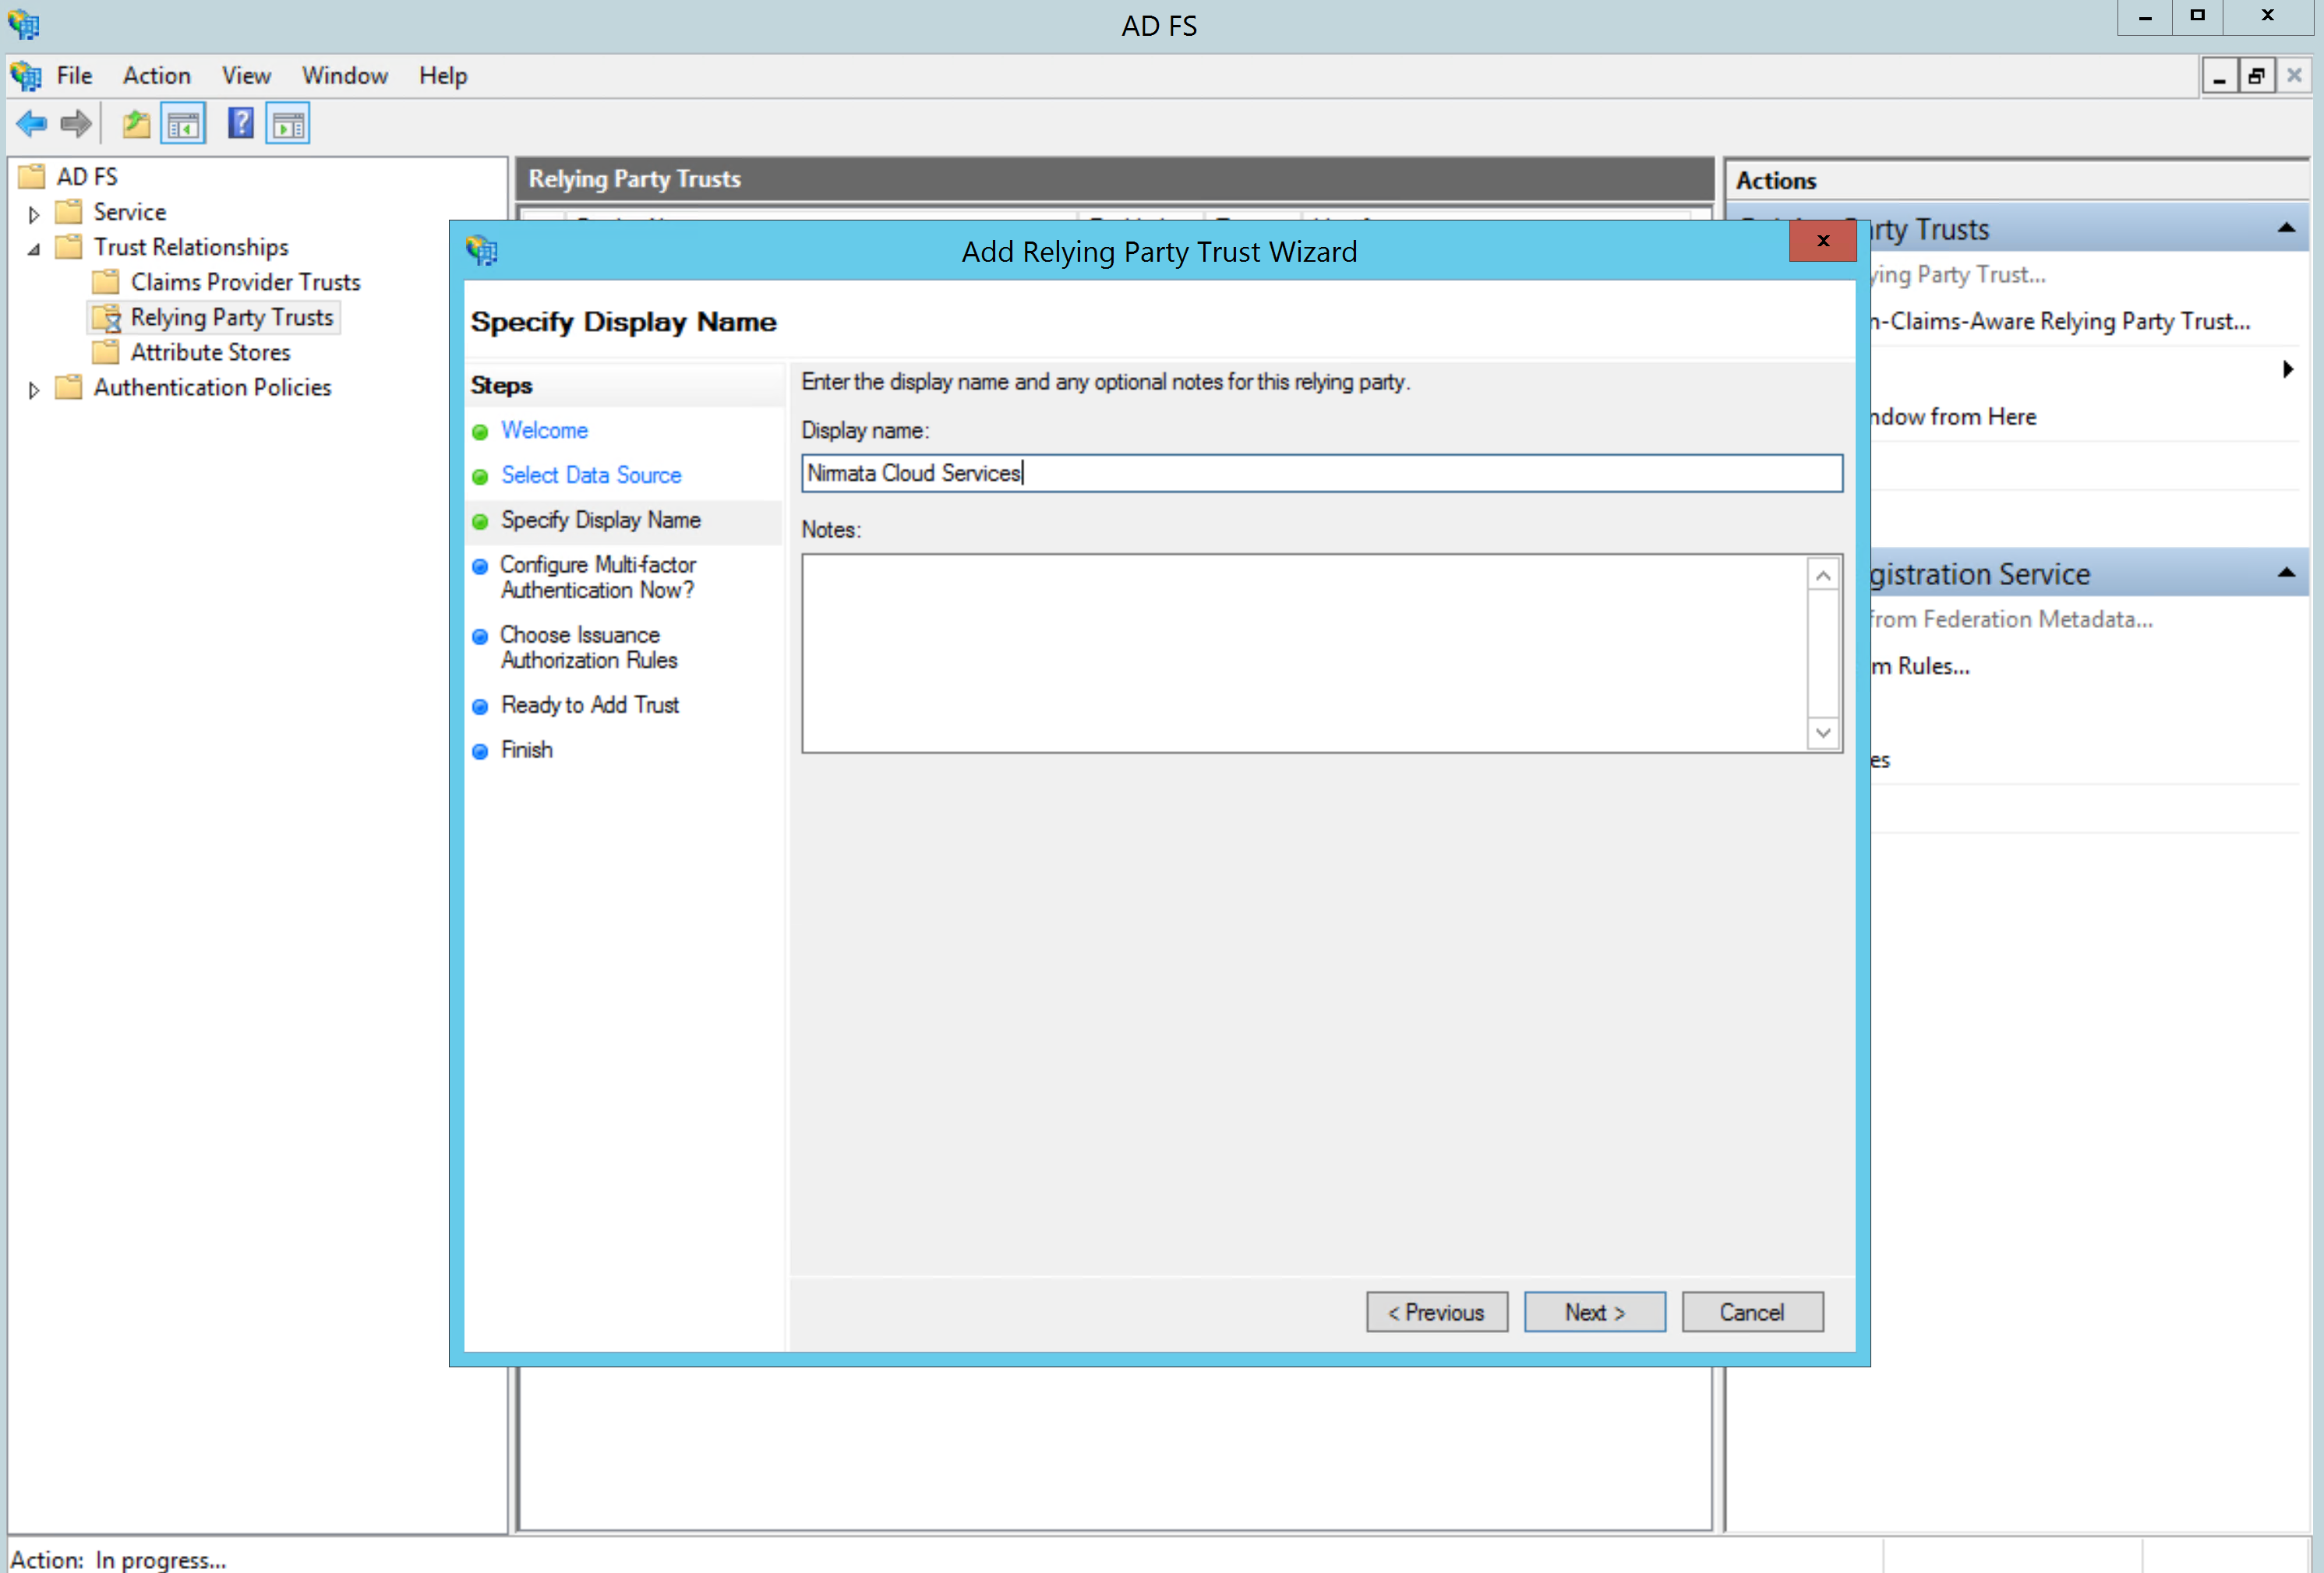
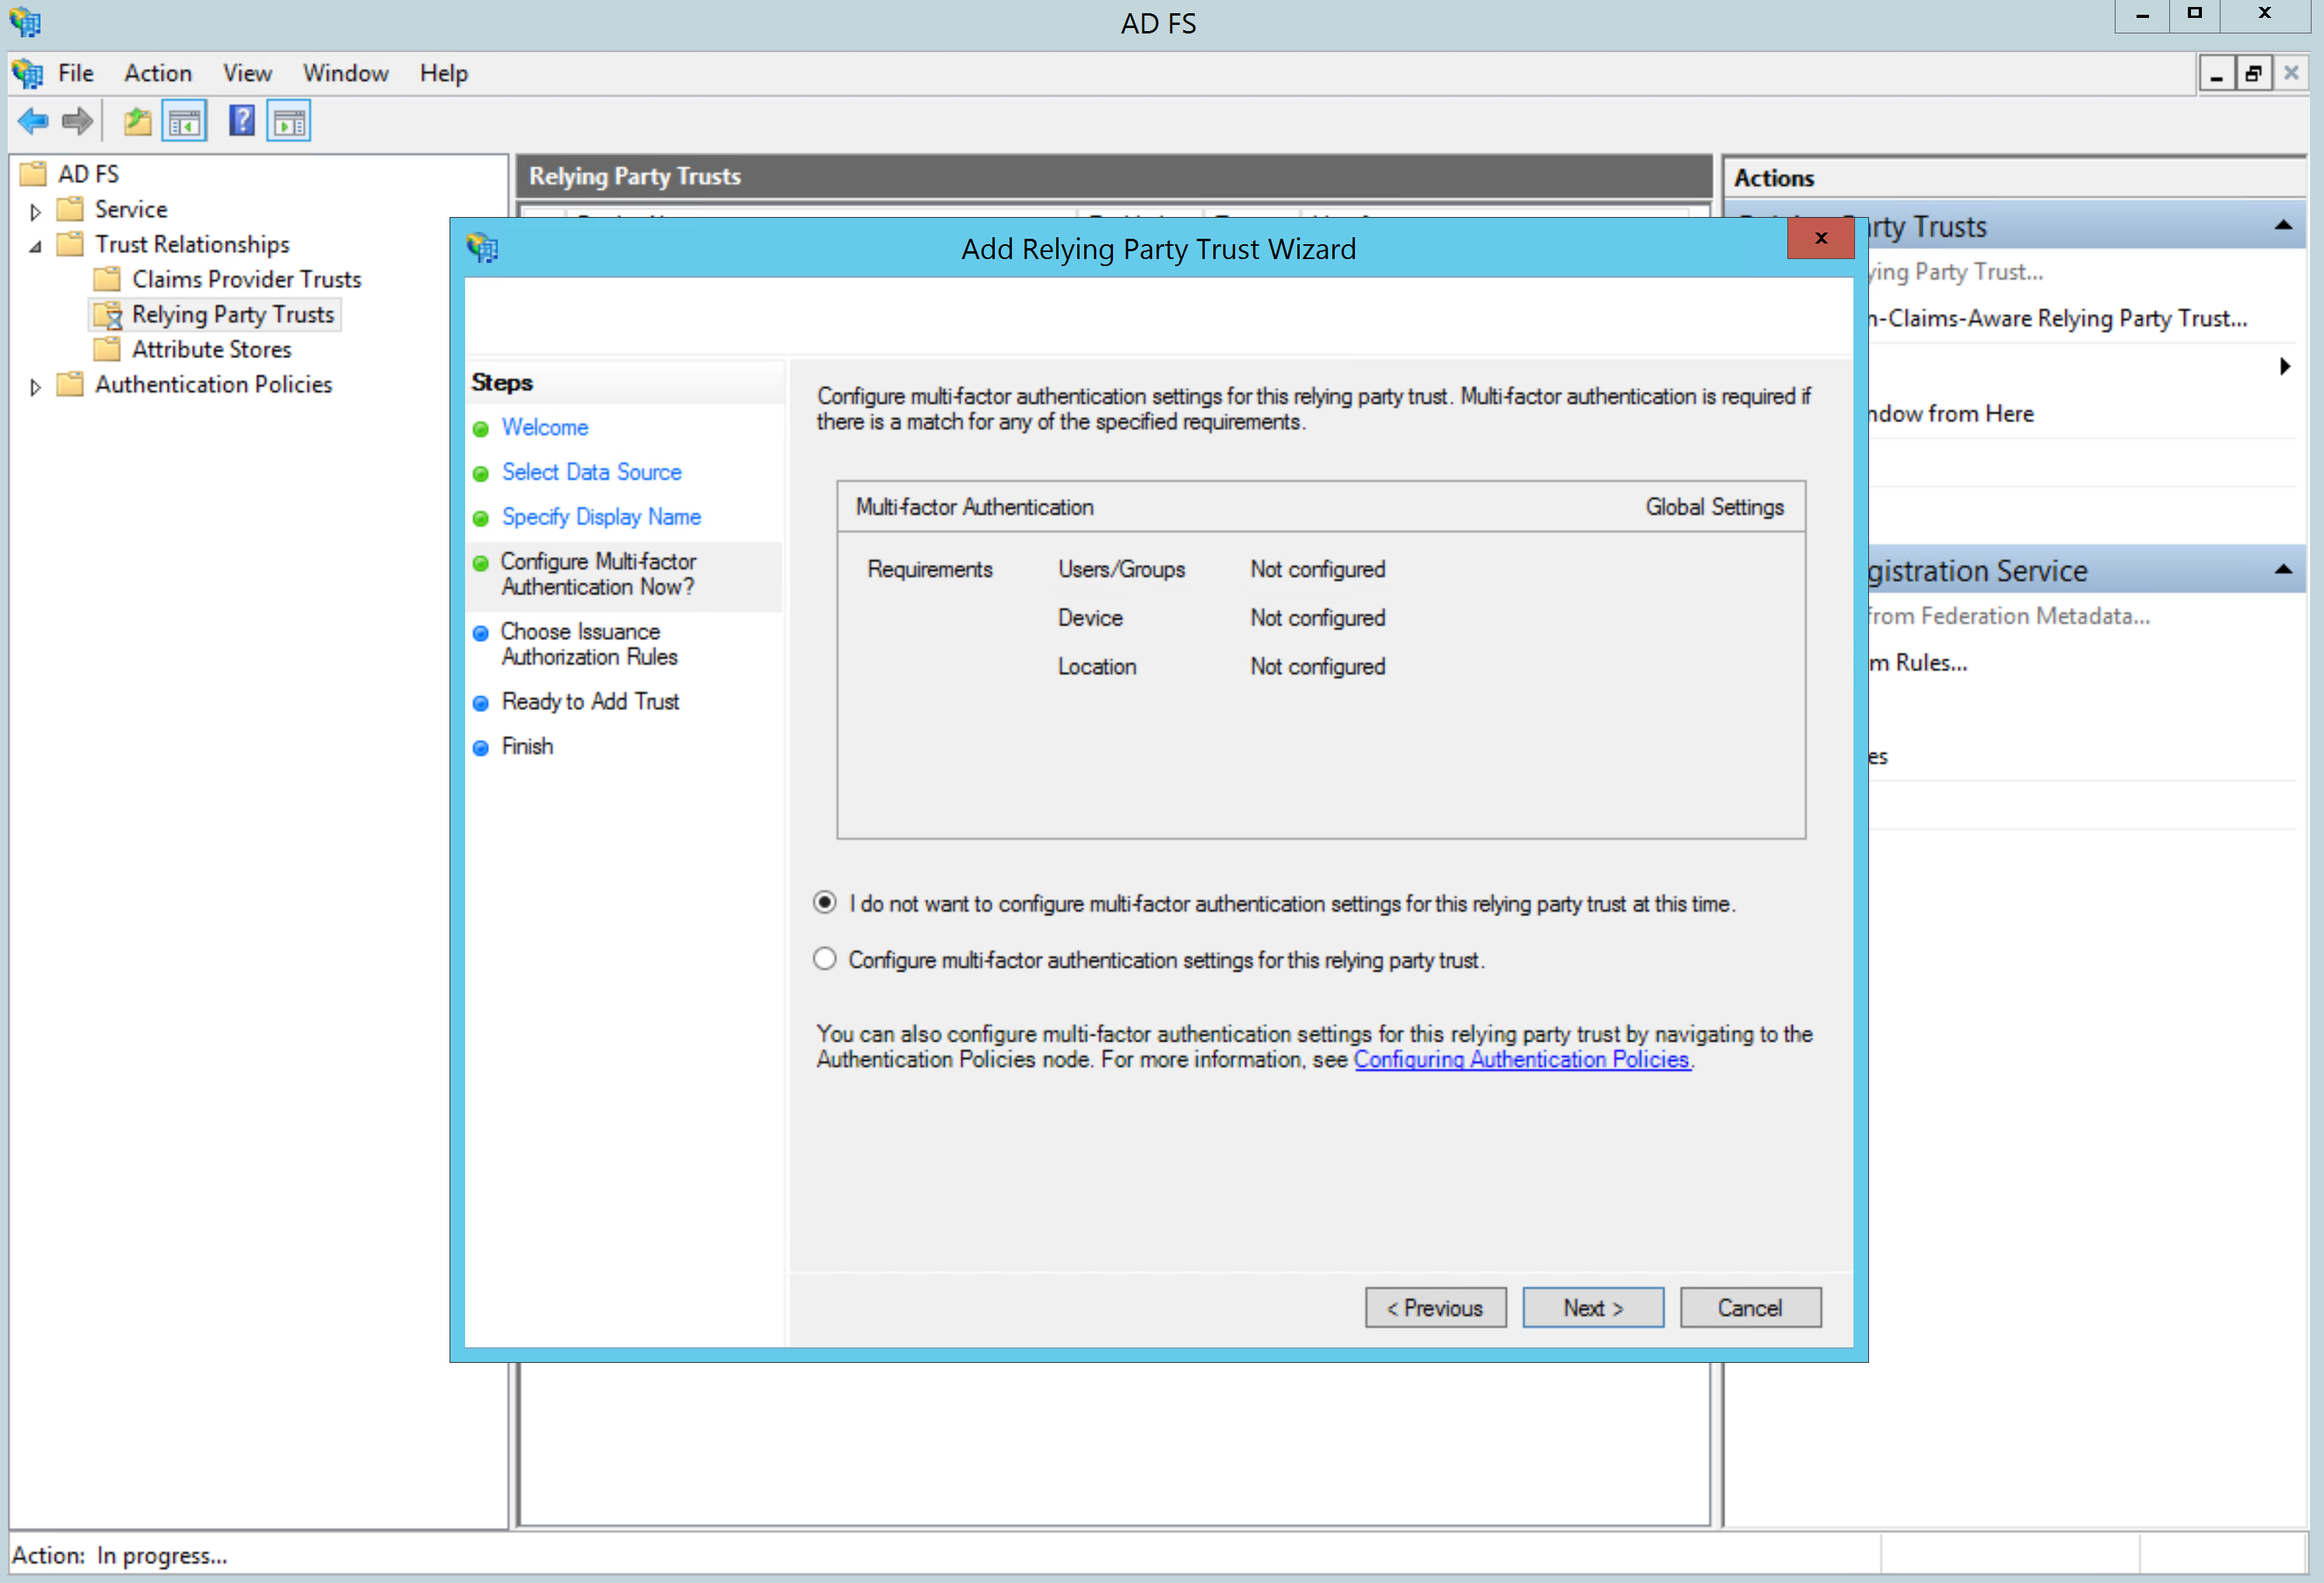
If your organization used Multi-factor Authentication (MFA), you can enable it. Otherwise, leave it disabled:
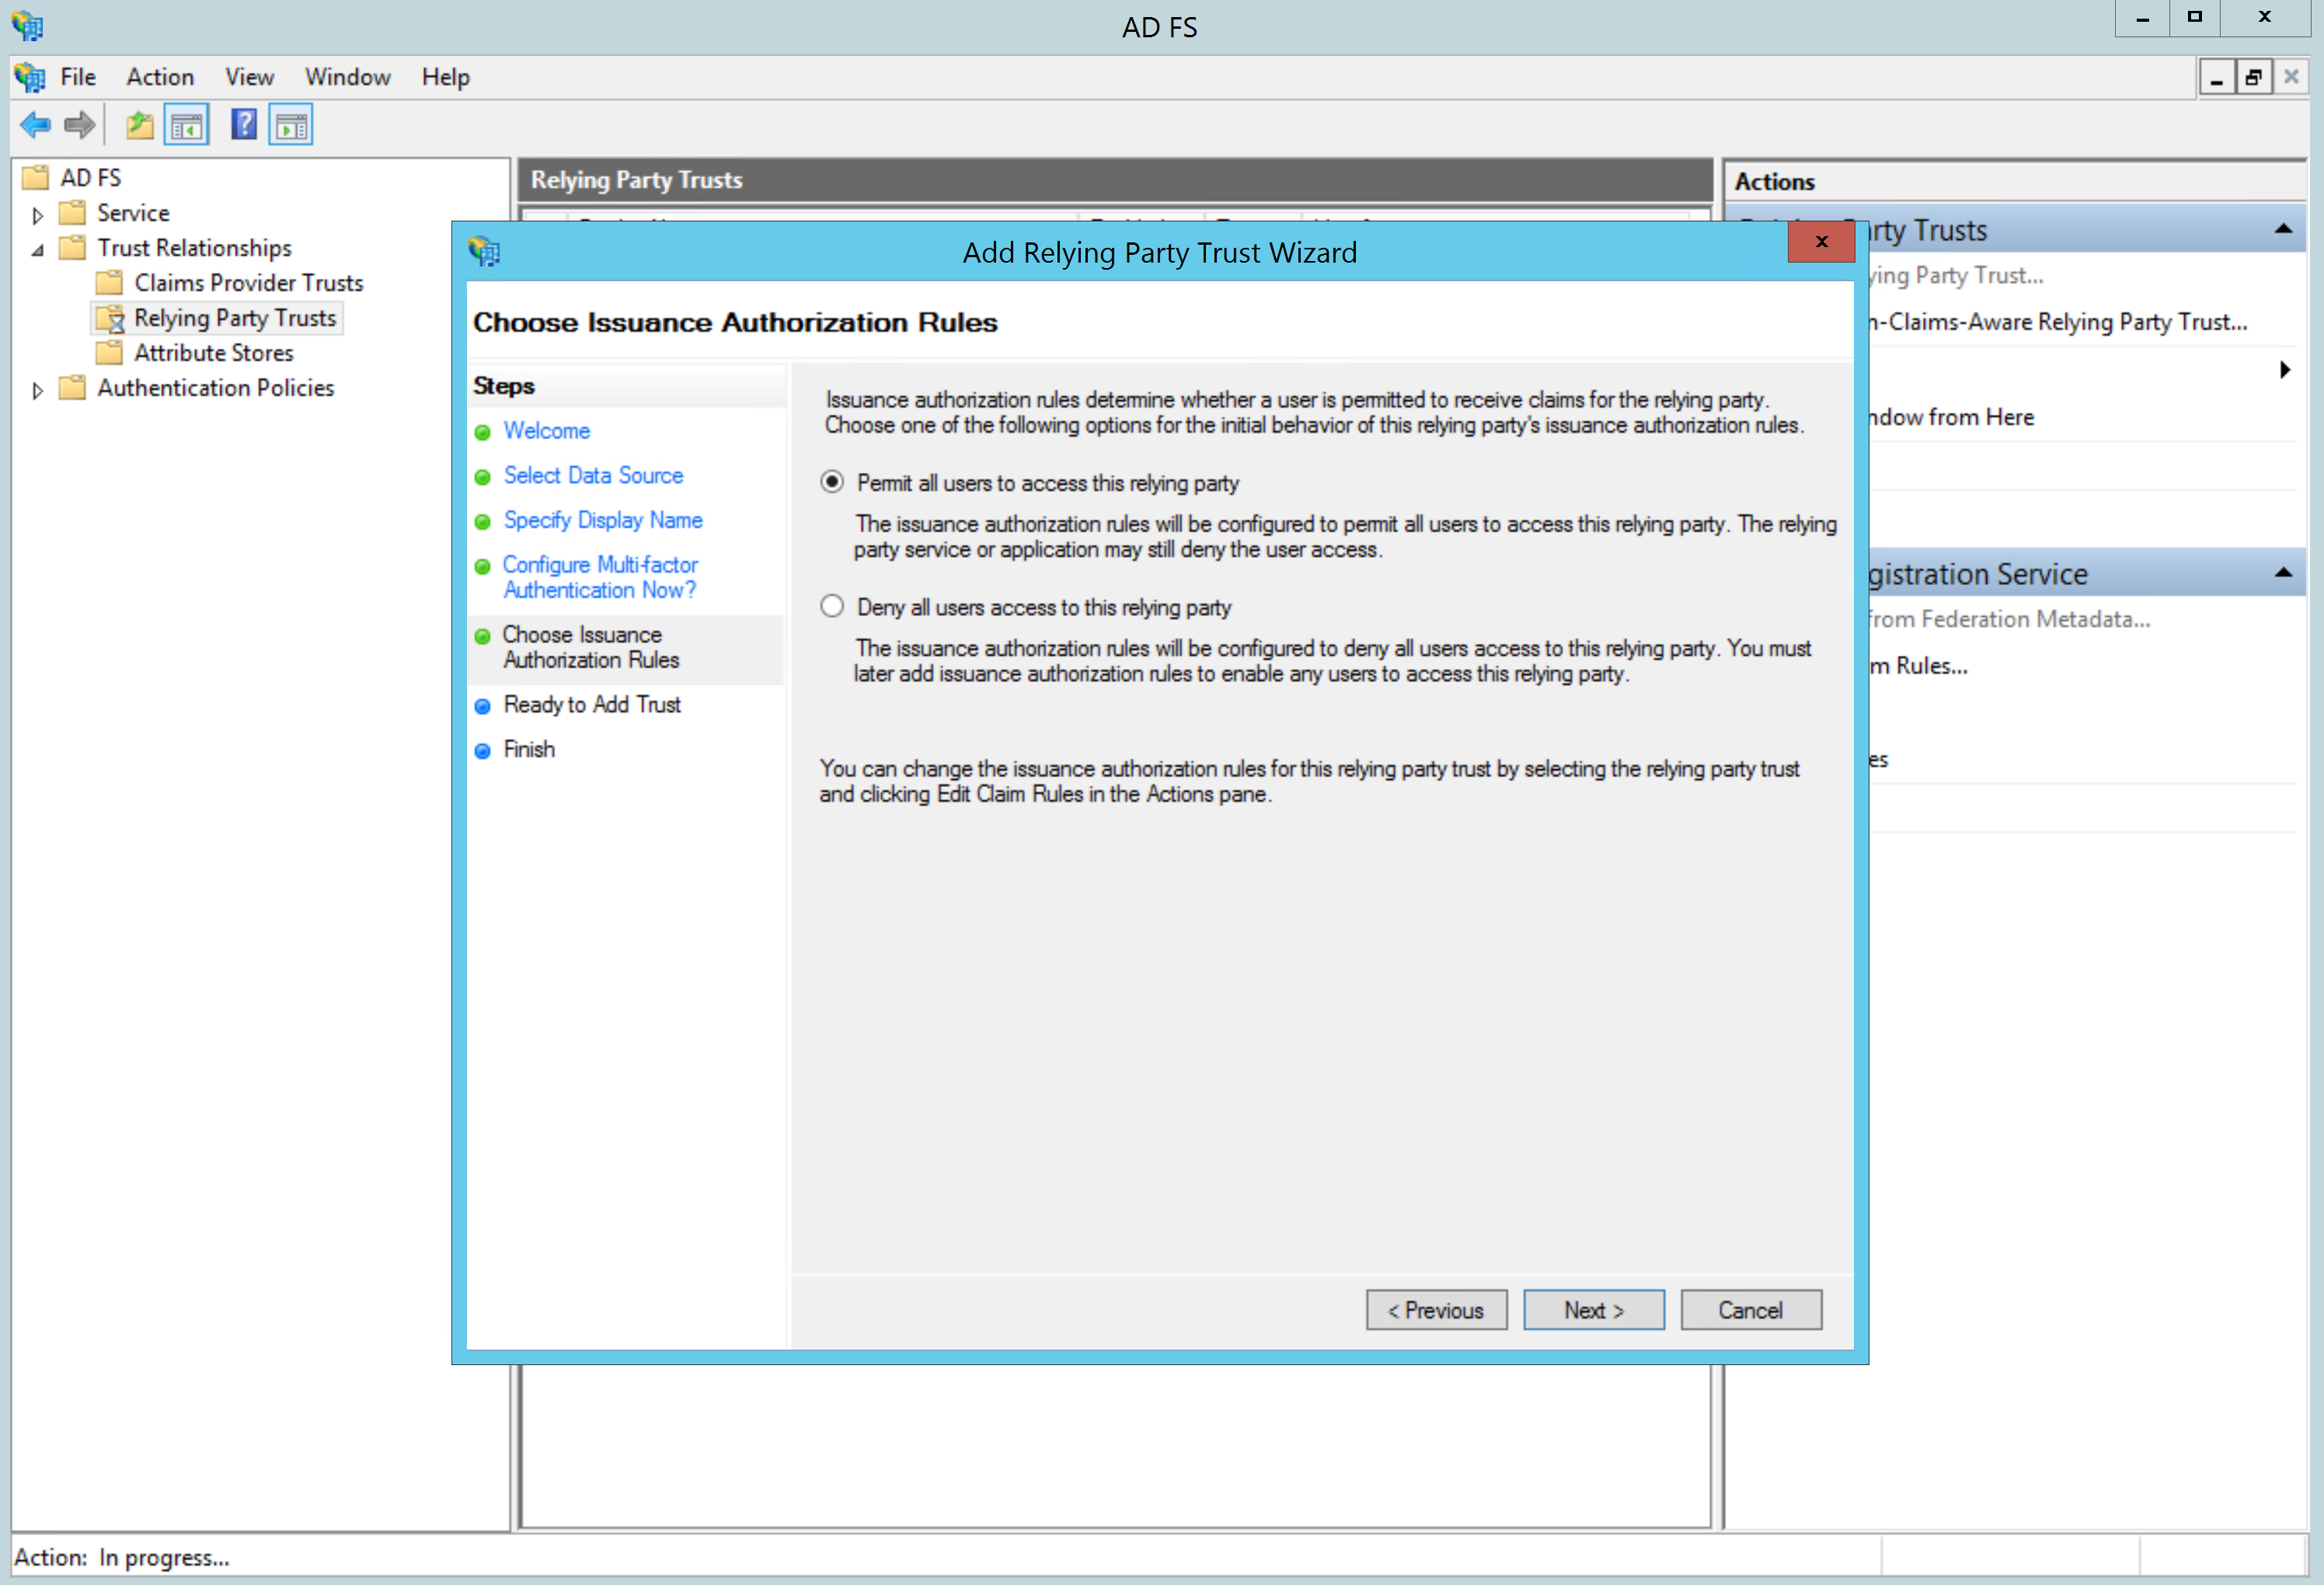
On the next screen, select Permit all users to access this relying party:
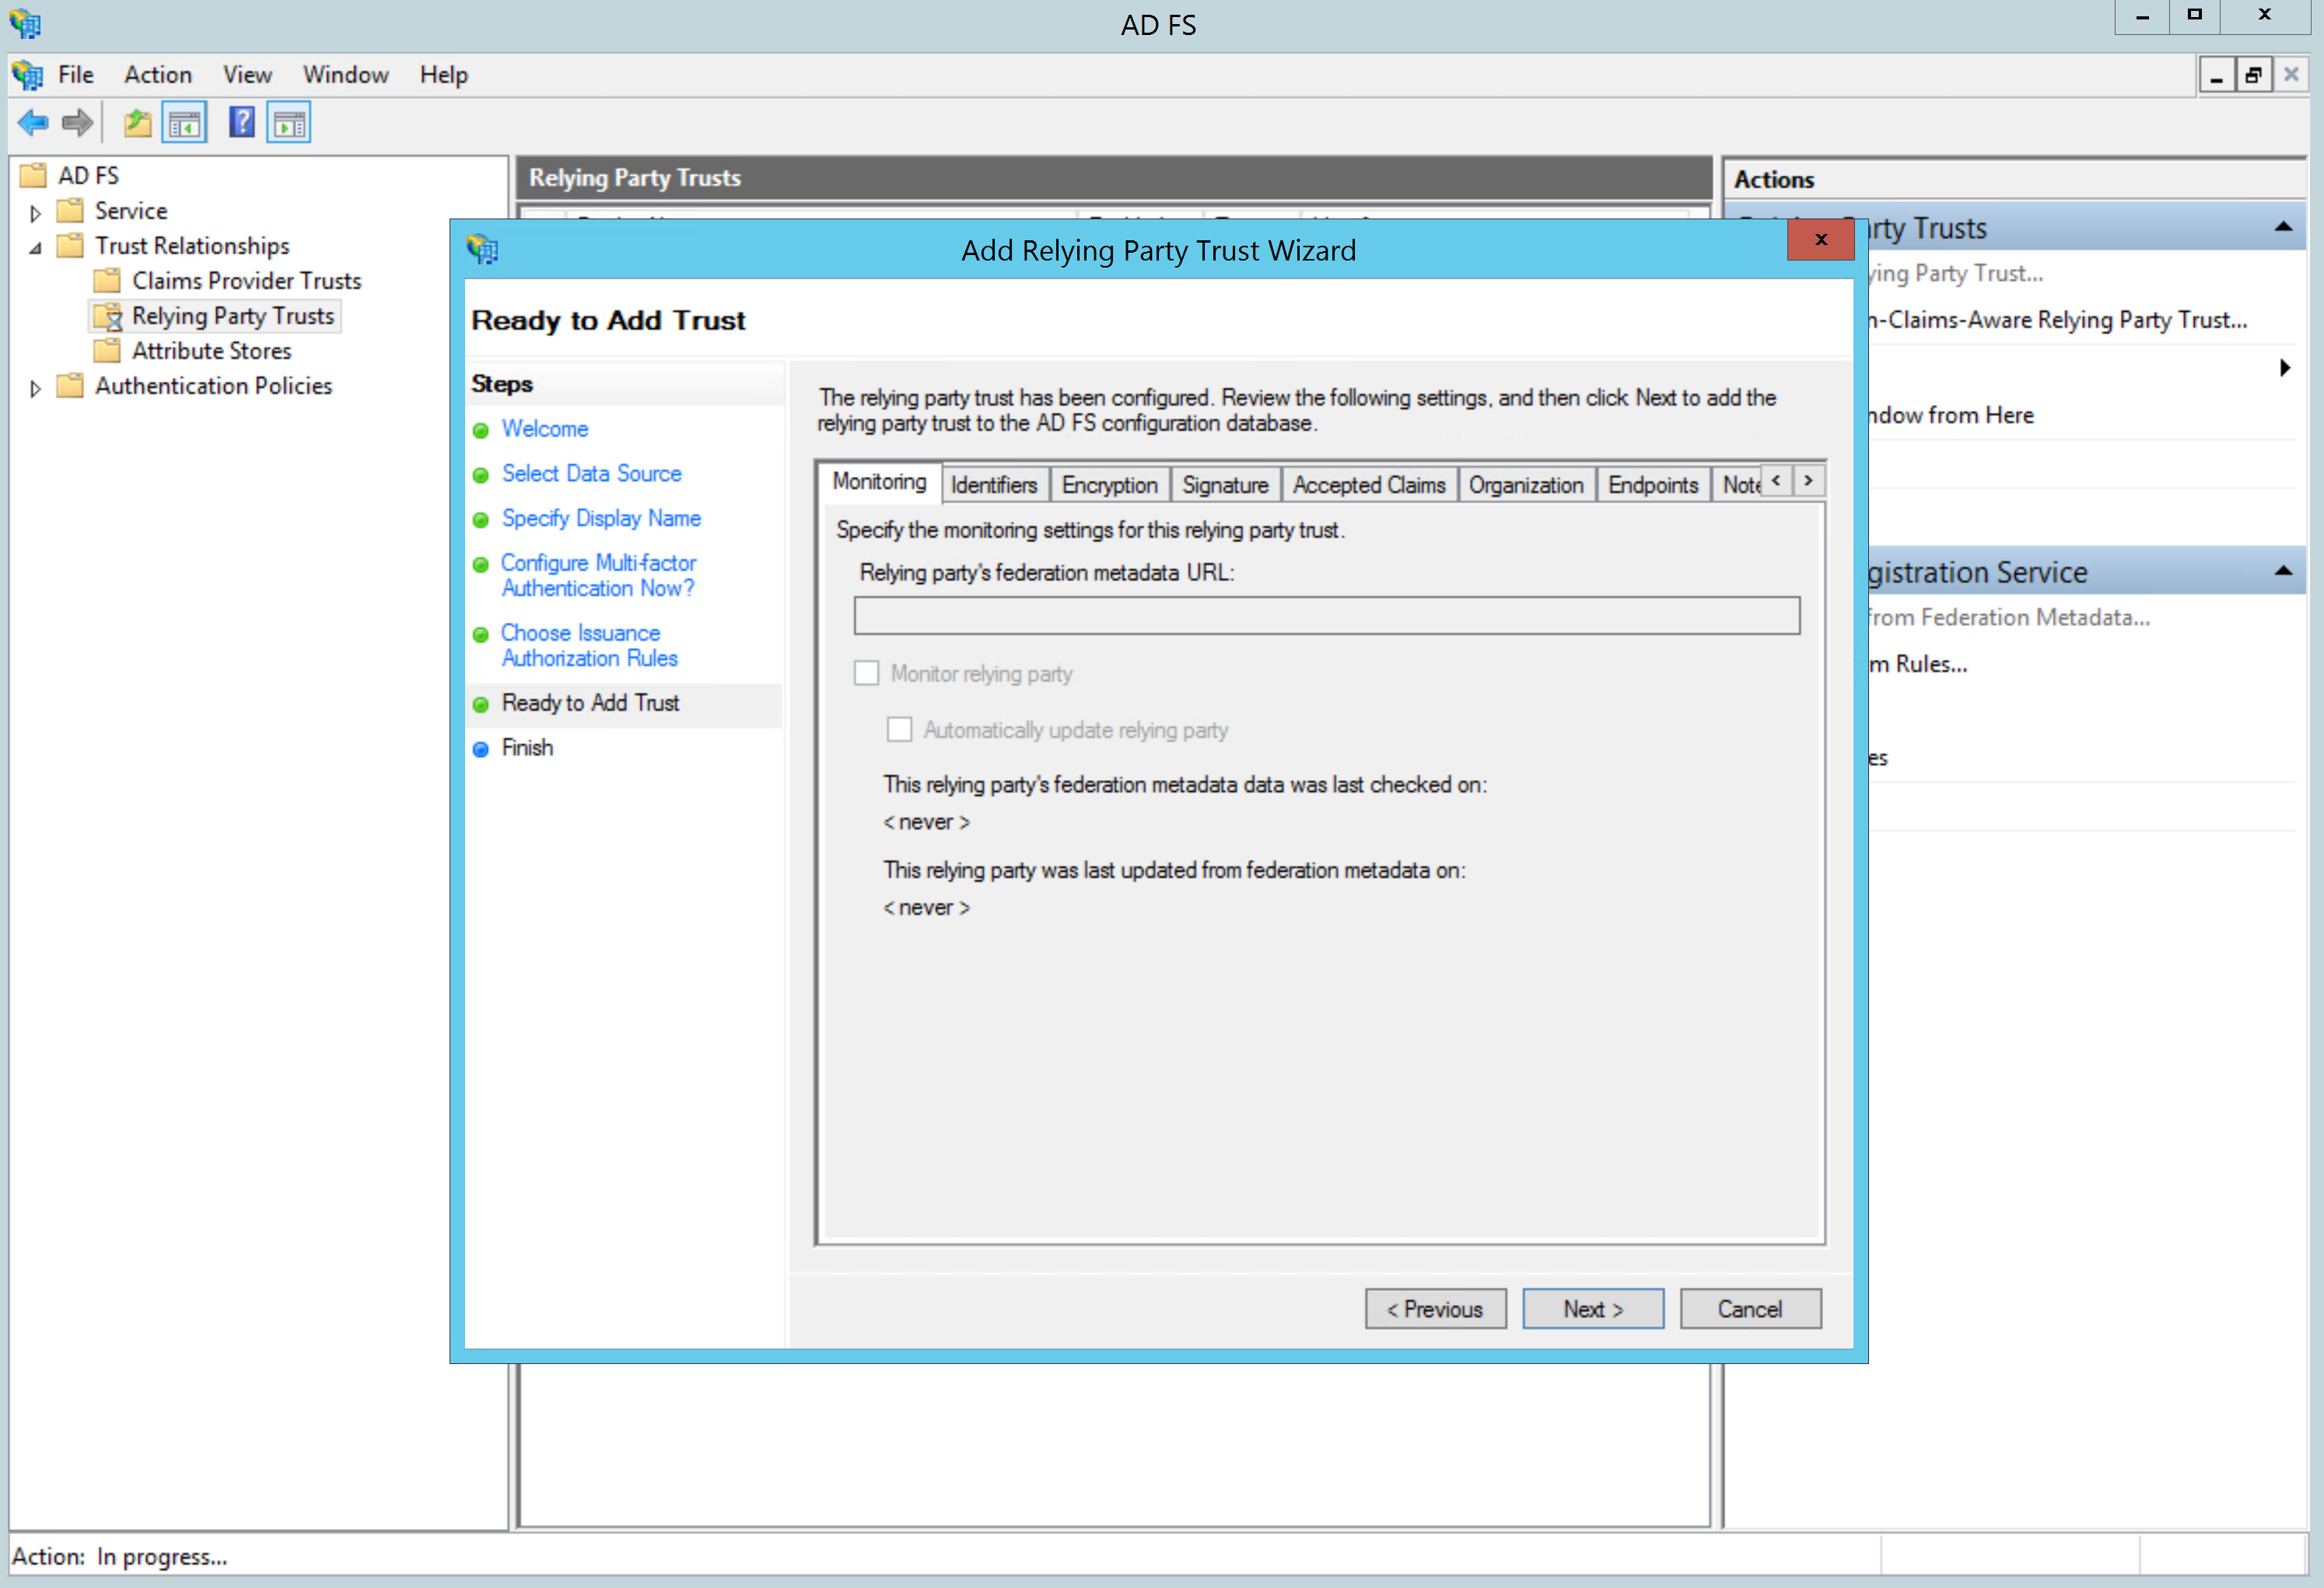
Since we imported the SP settings from the Metadata file, simply click next on the Ready to Add Trust screen:
Make sure that the Open the Edit Claim Rules dialog... option is checked and close the wizard:
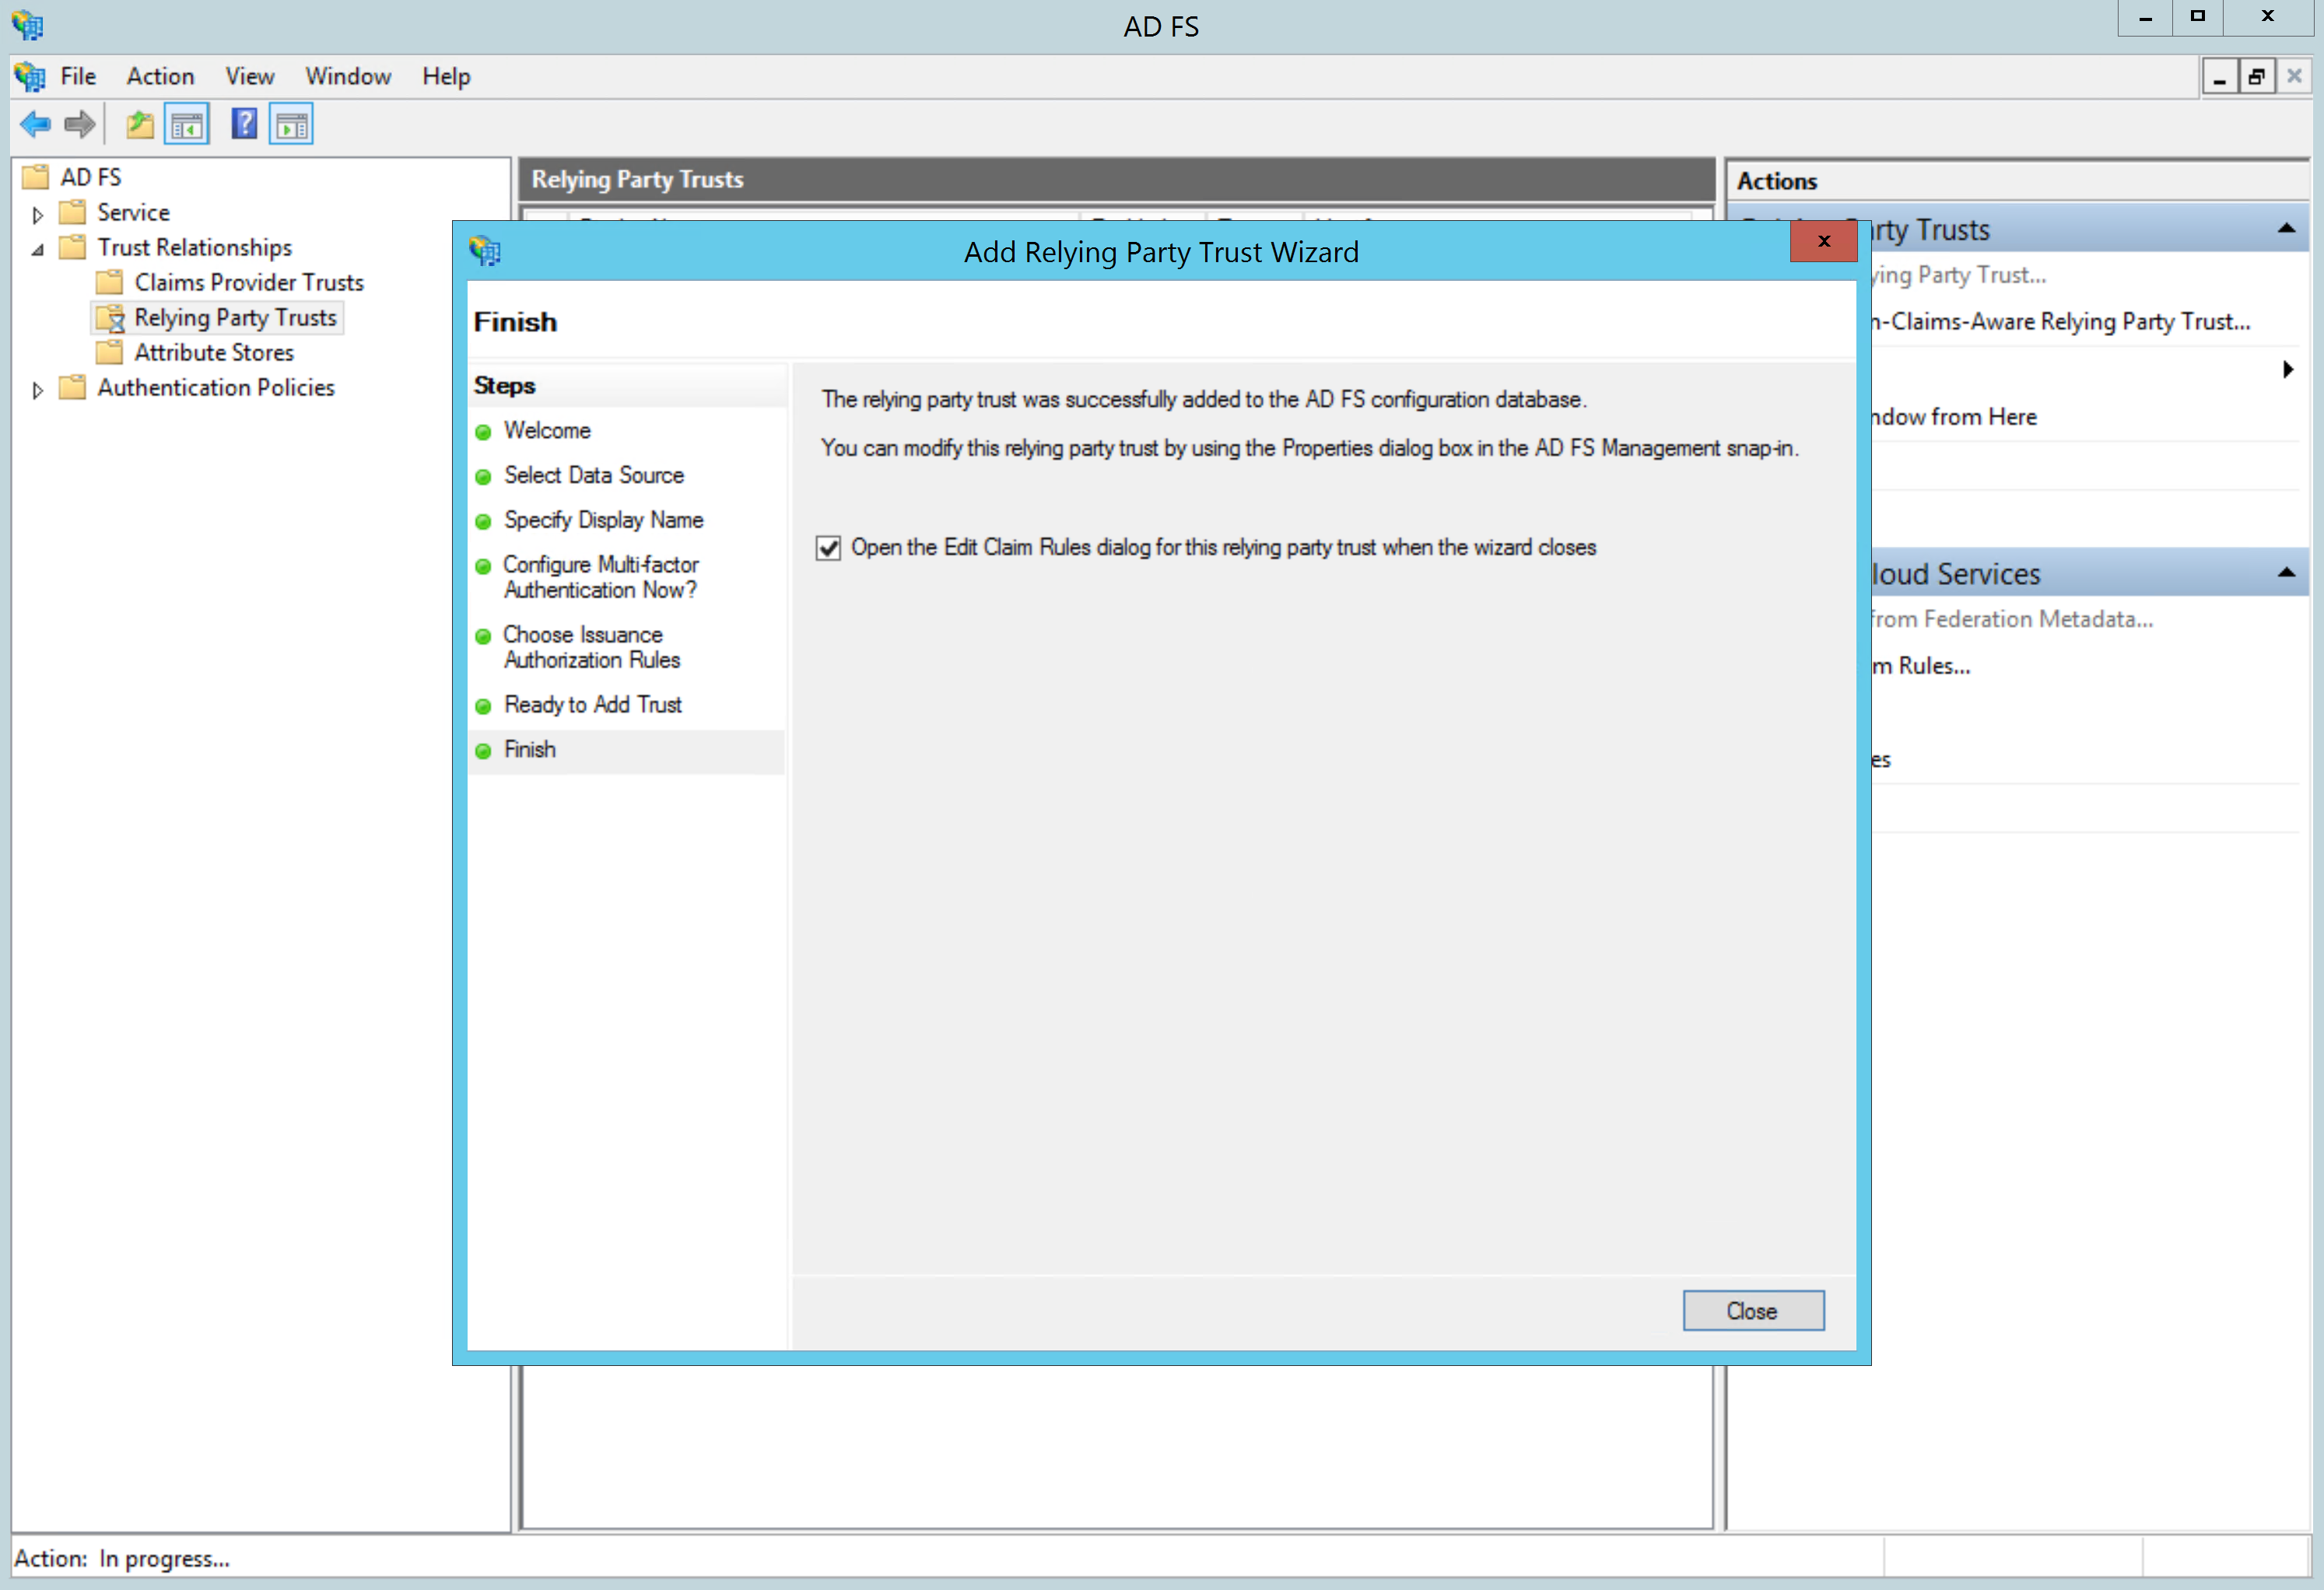
Proceed to configure a SAML claim below.
- Setup a SAML Claim Rule for Nirmata
Nirmata requires that the SAML Name ID field contain the email address of the principal. You can enable this by configuring a SAML Claim Rule in ADFS.
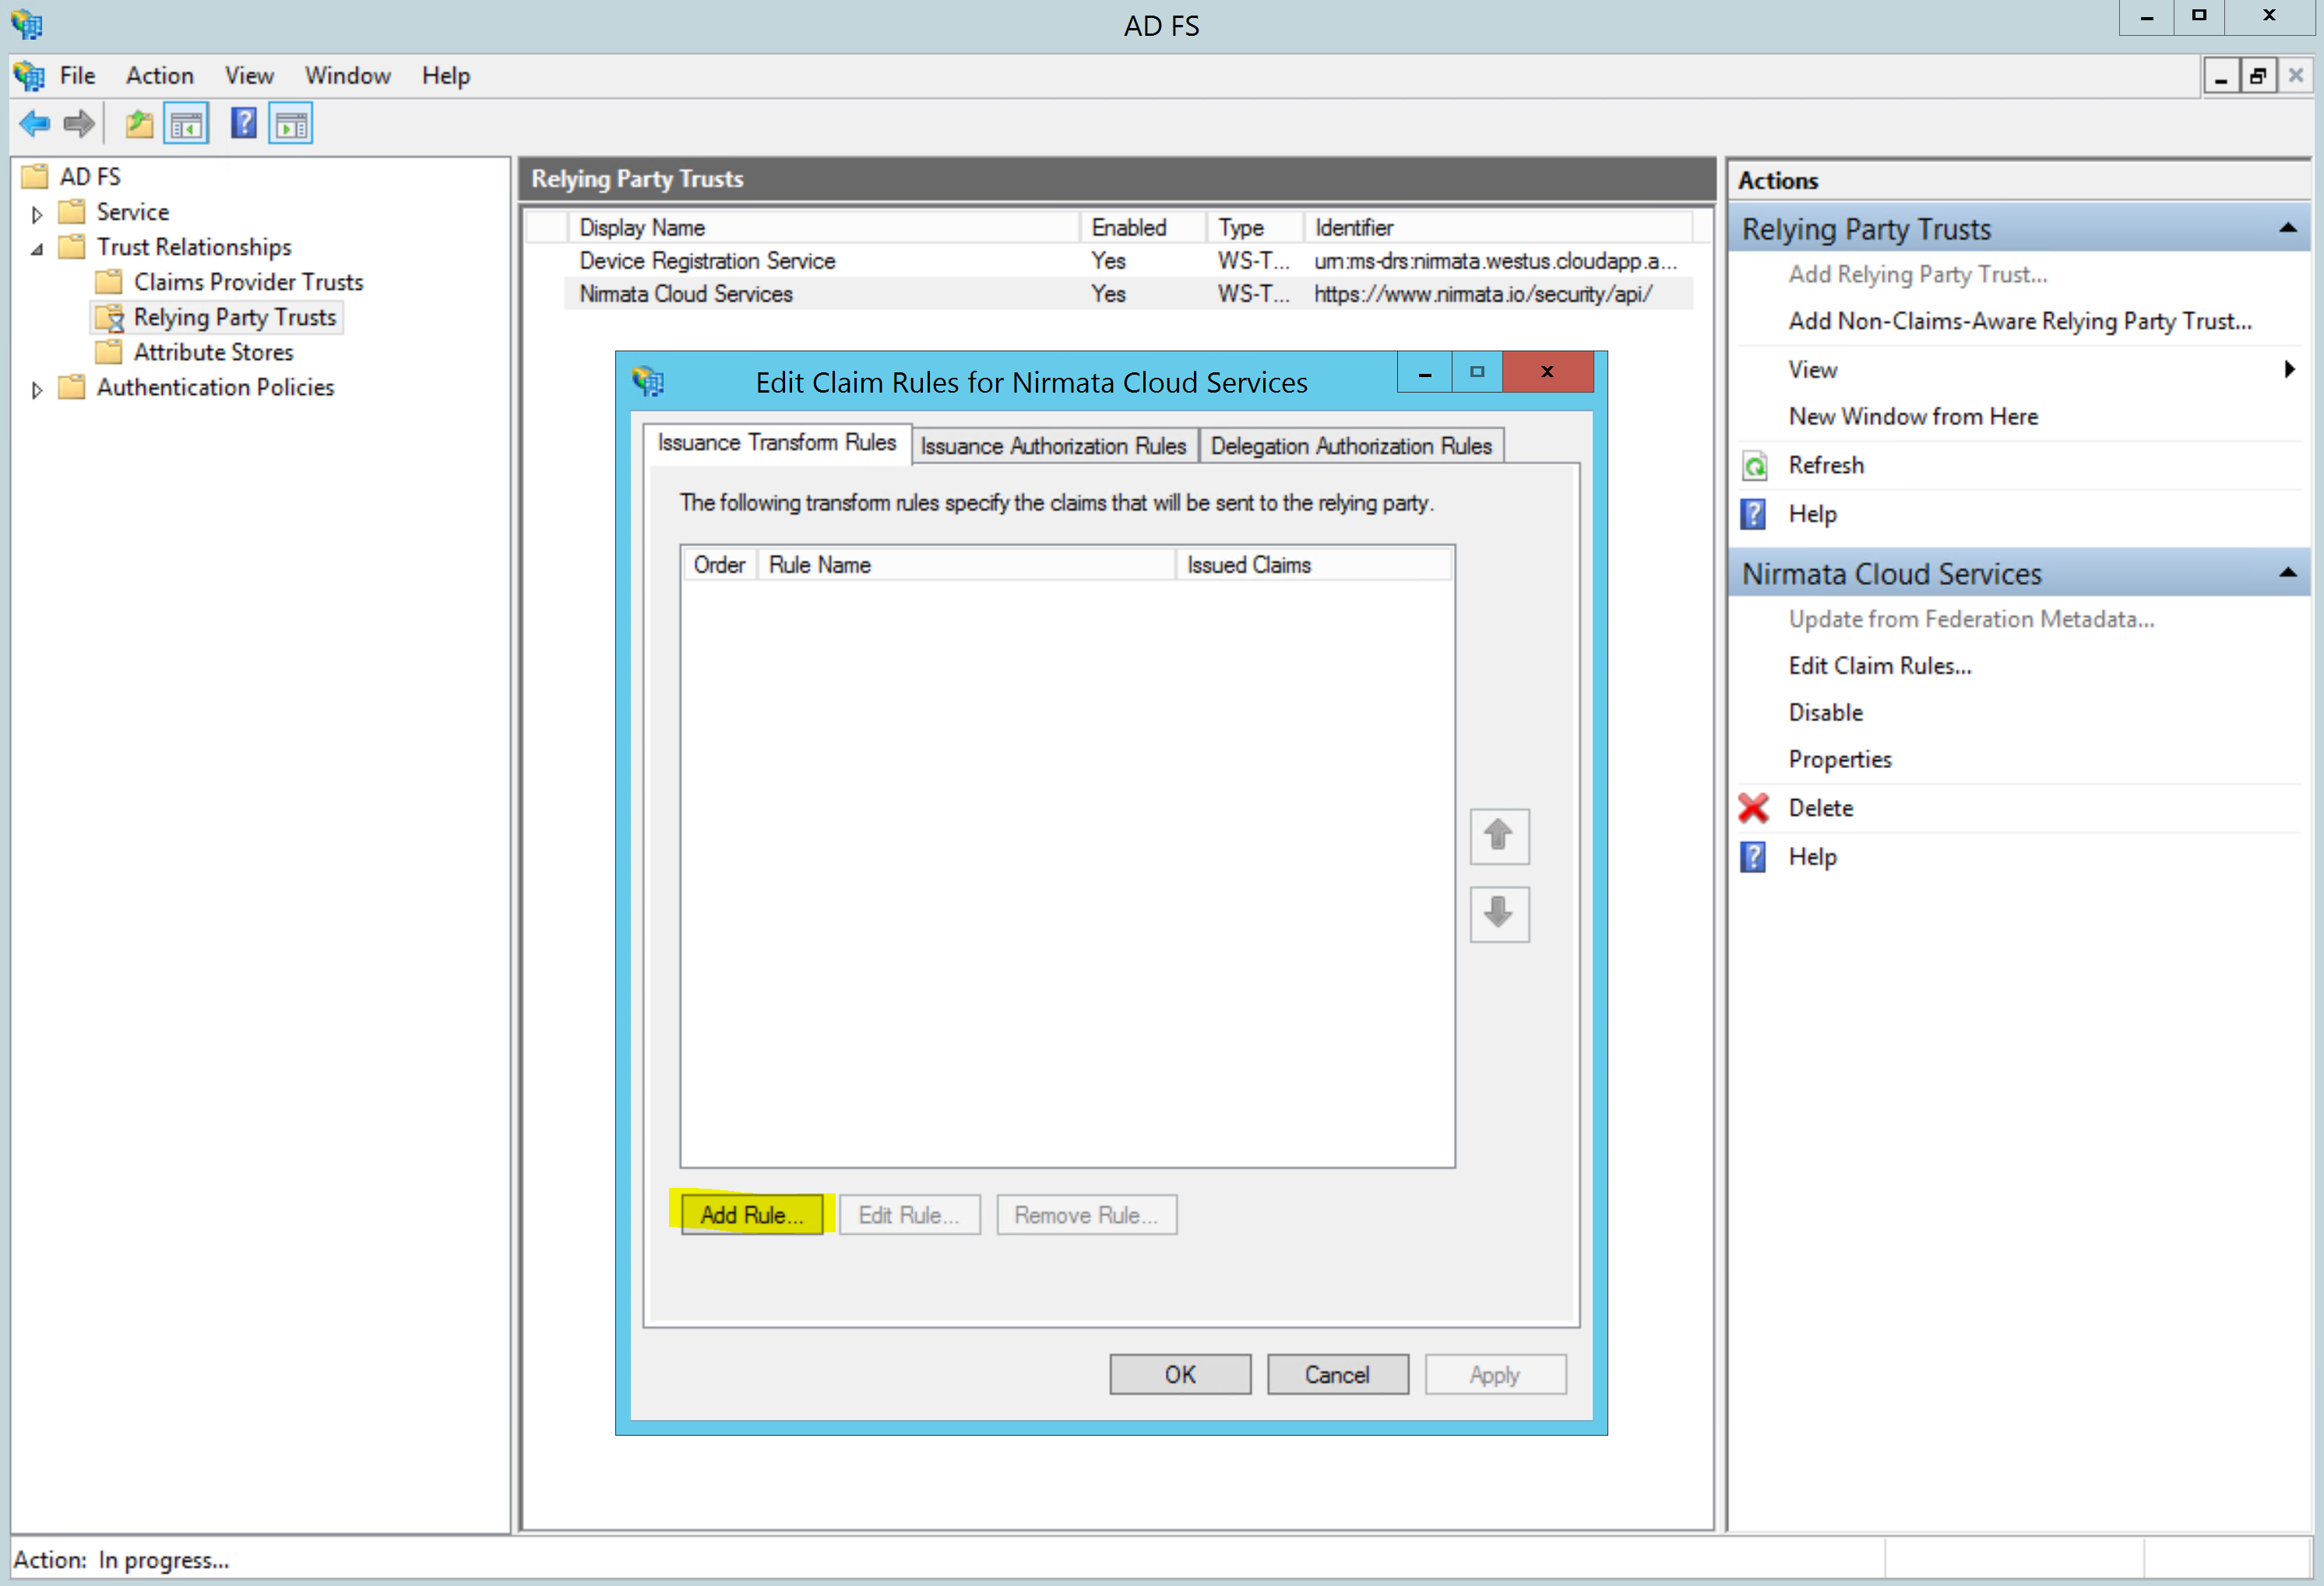
Click on Add Rule.. to configure the claim:
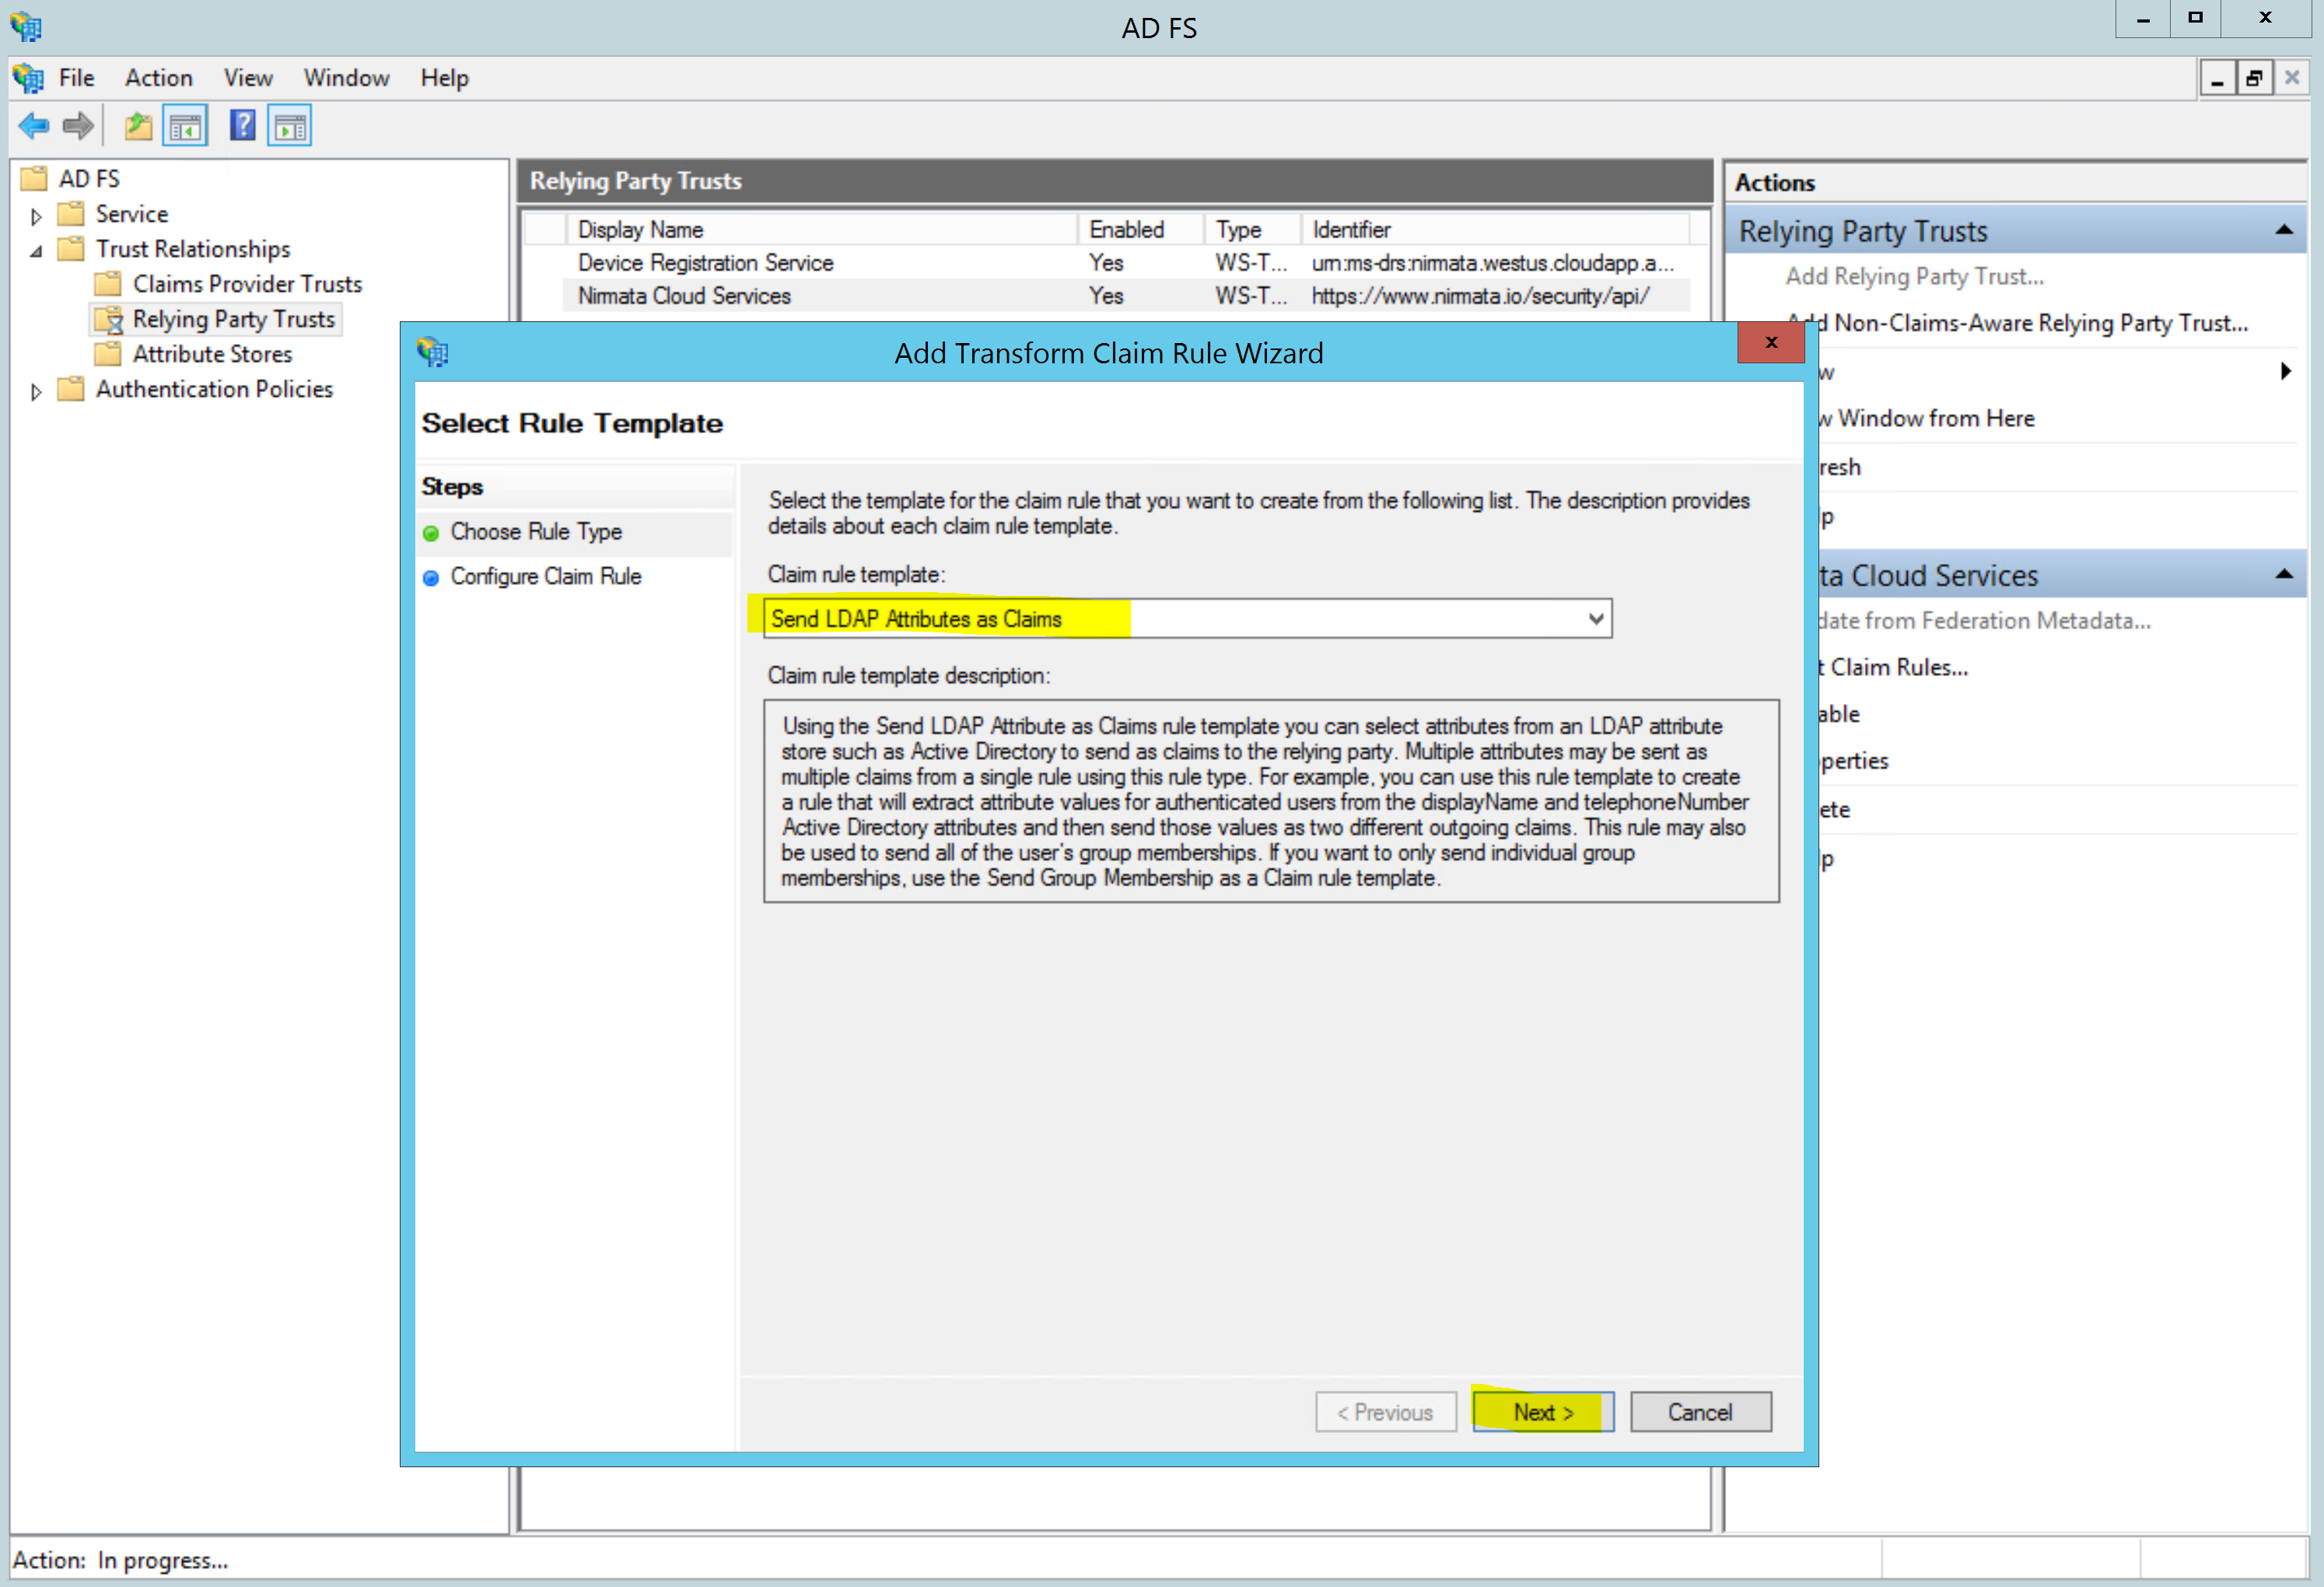
Select Send LDAP Attributes as Claims and click next:
Enter a name for the claim rule, such as “email address”. Then select Active Directory as the Attribute Store. In the mapping section, select E-Mail-Addresses as the LDAP Attribute and Name ID as the Outgoing Claim Type.
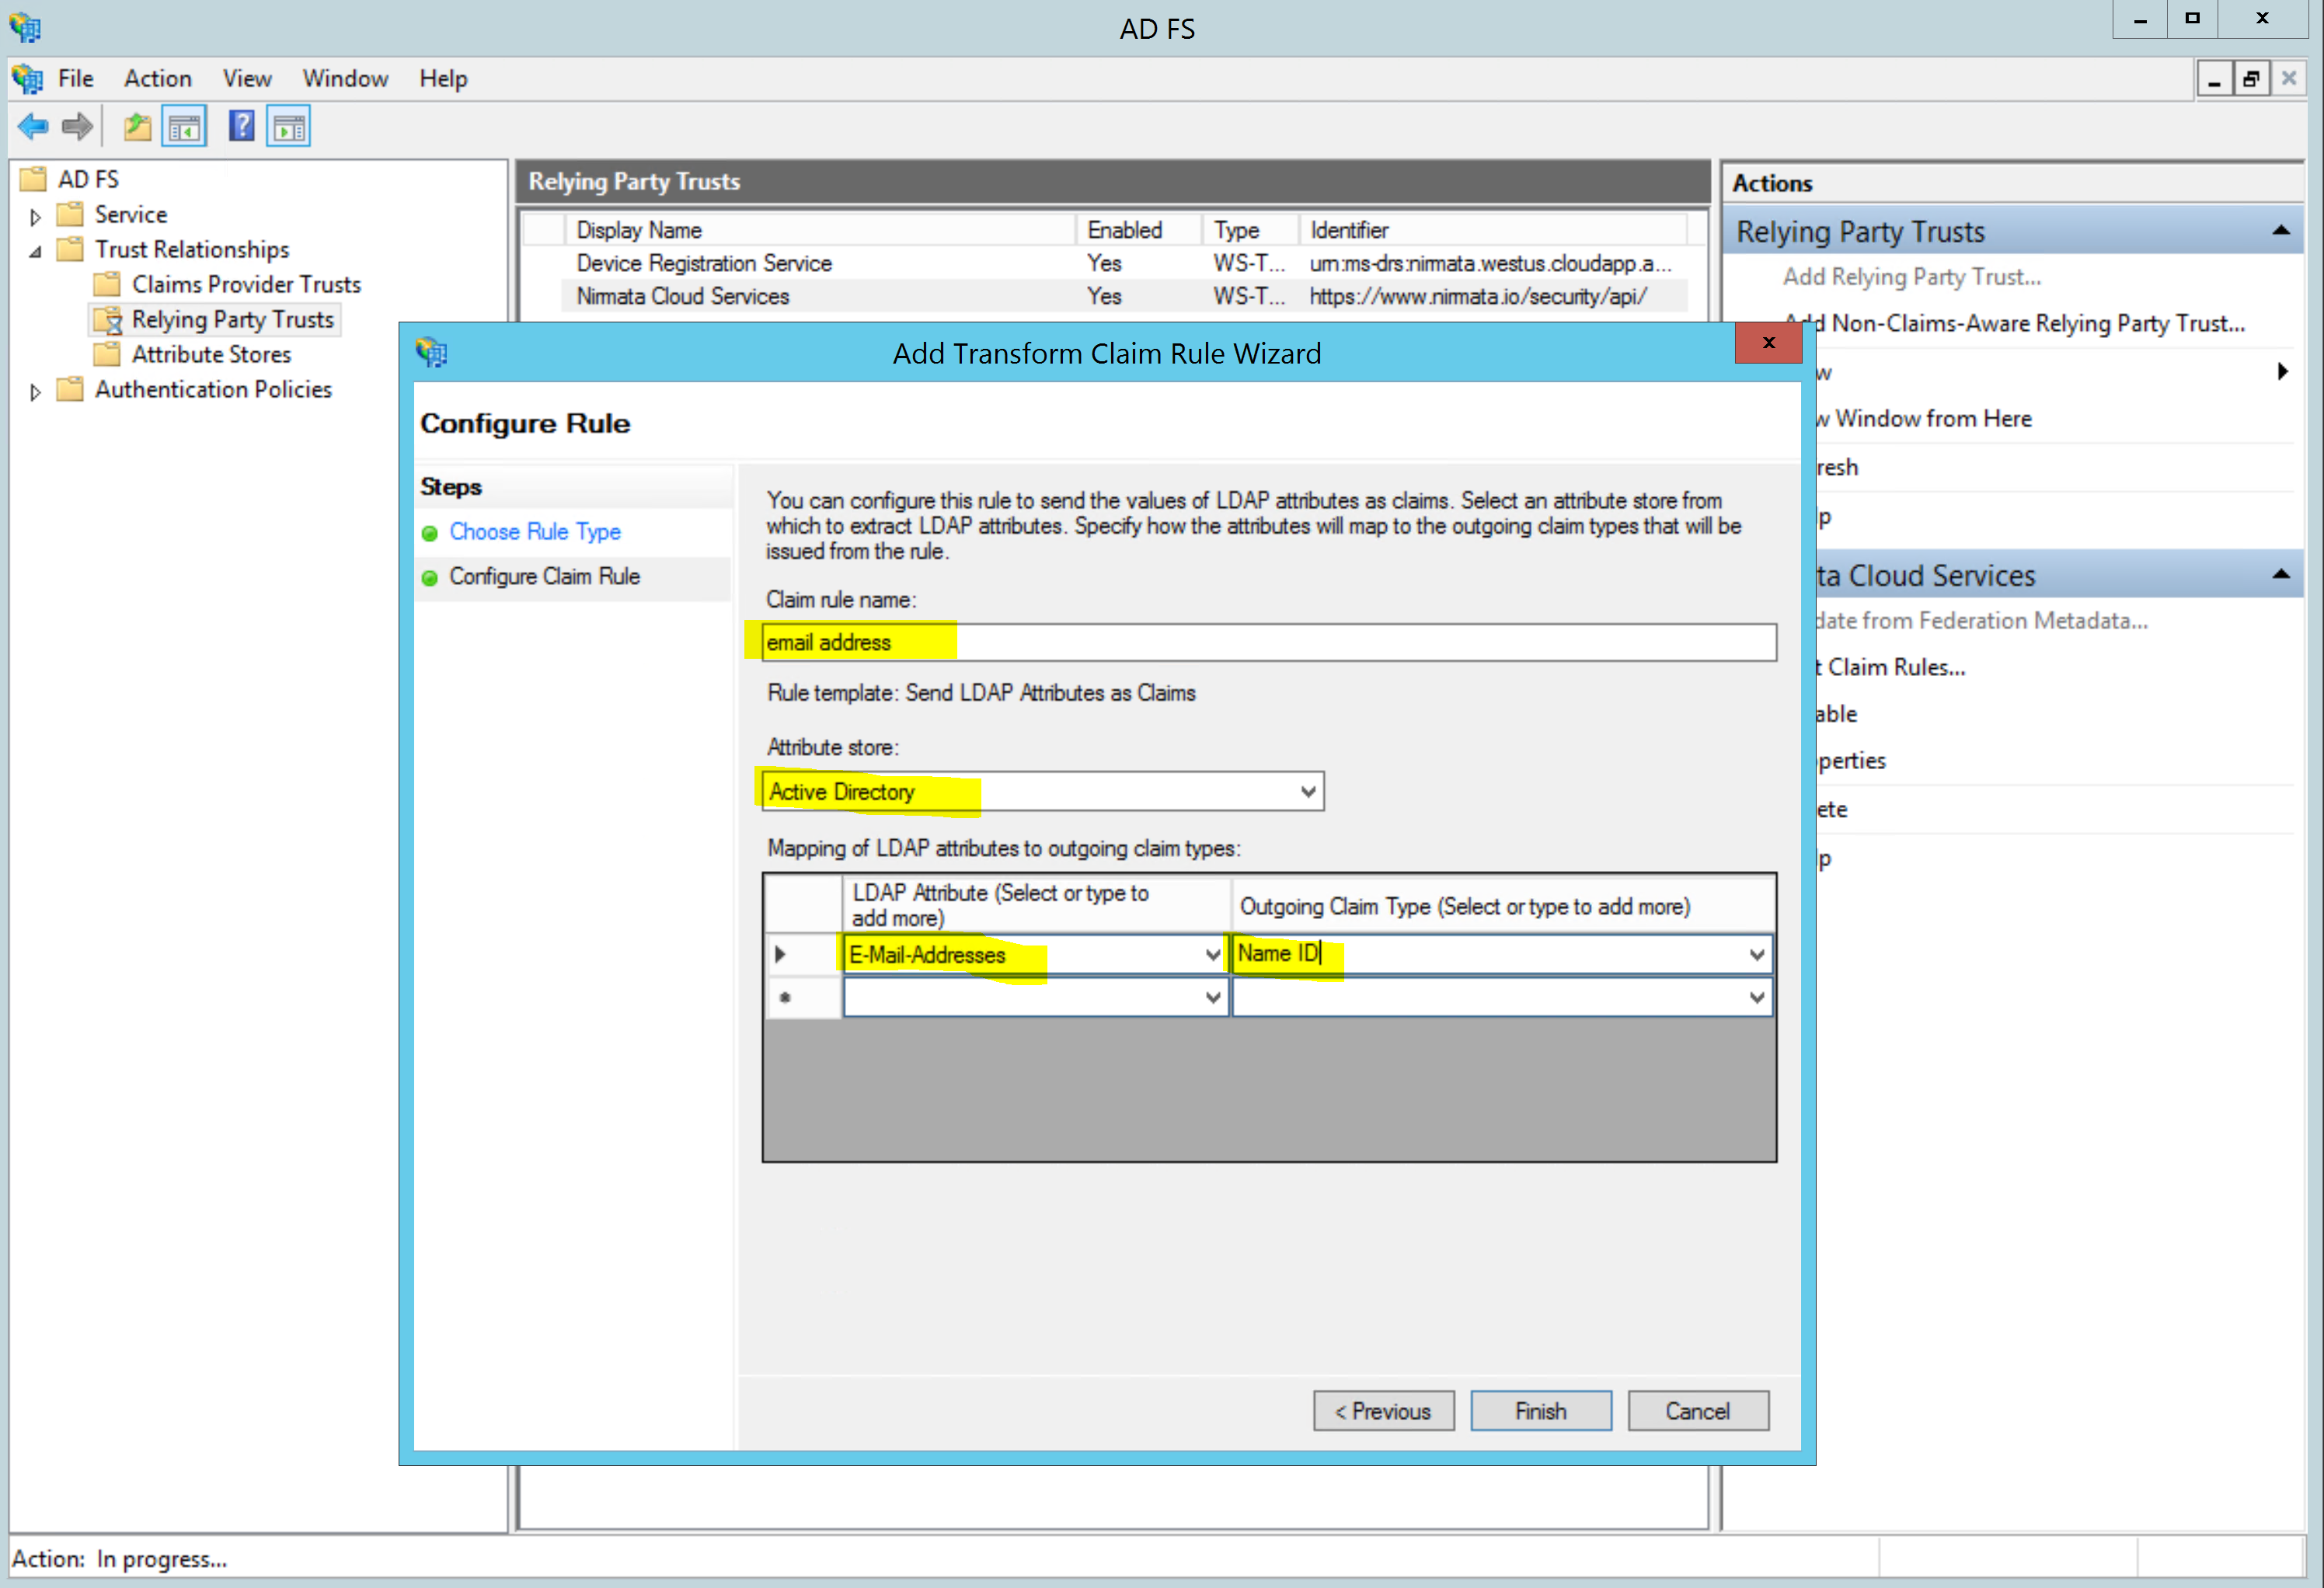
Click Finish to add the claim and then OK to exit the Edit Claim Rules dialog.
- Allow SAML signature certificates to be self-signed
In a SAML message exchange, X.509 Certificates with public and private key pairs are used to sign and encrypt the data. Since the keys are exchanged via Metadata and the SAML messages are exchanged over a secure (TLS) connection, there is no benefit in using CA signed certificates for signing.
Nirmata generates self-signed certificates for SAML signatures and encryption. You must setup AD FS to not require CA certificates for SAML signing and encryption. You can manage these settings using PowerShell as described below.
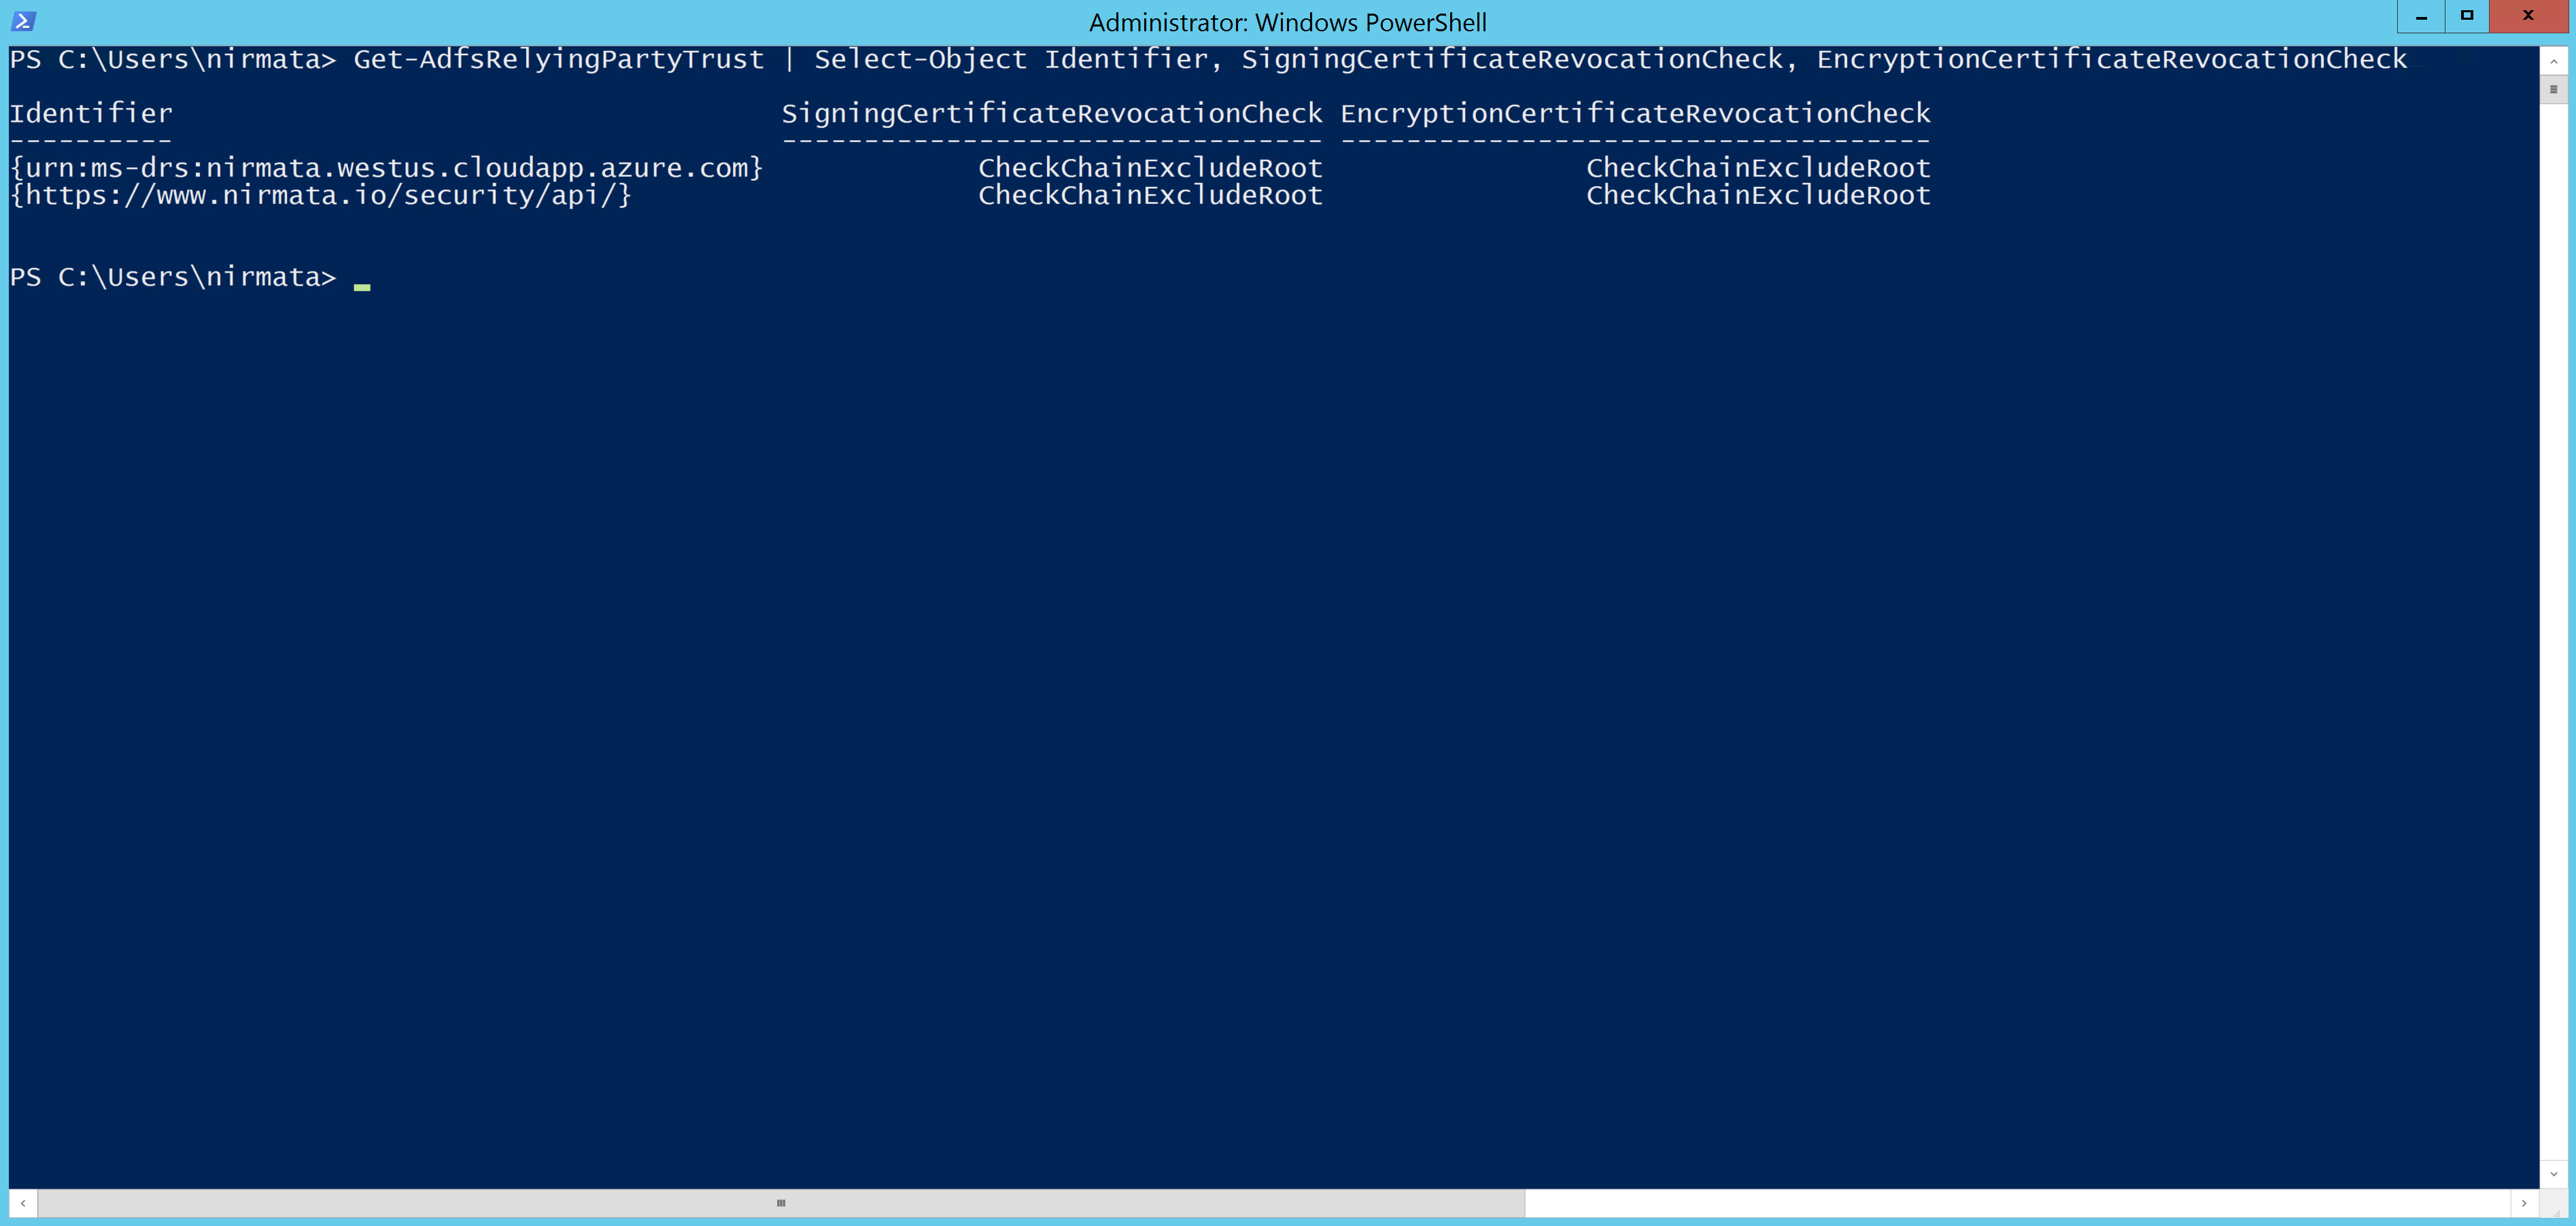
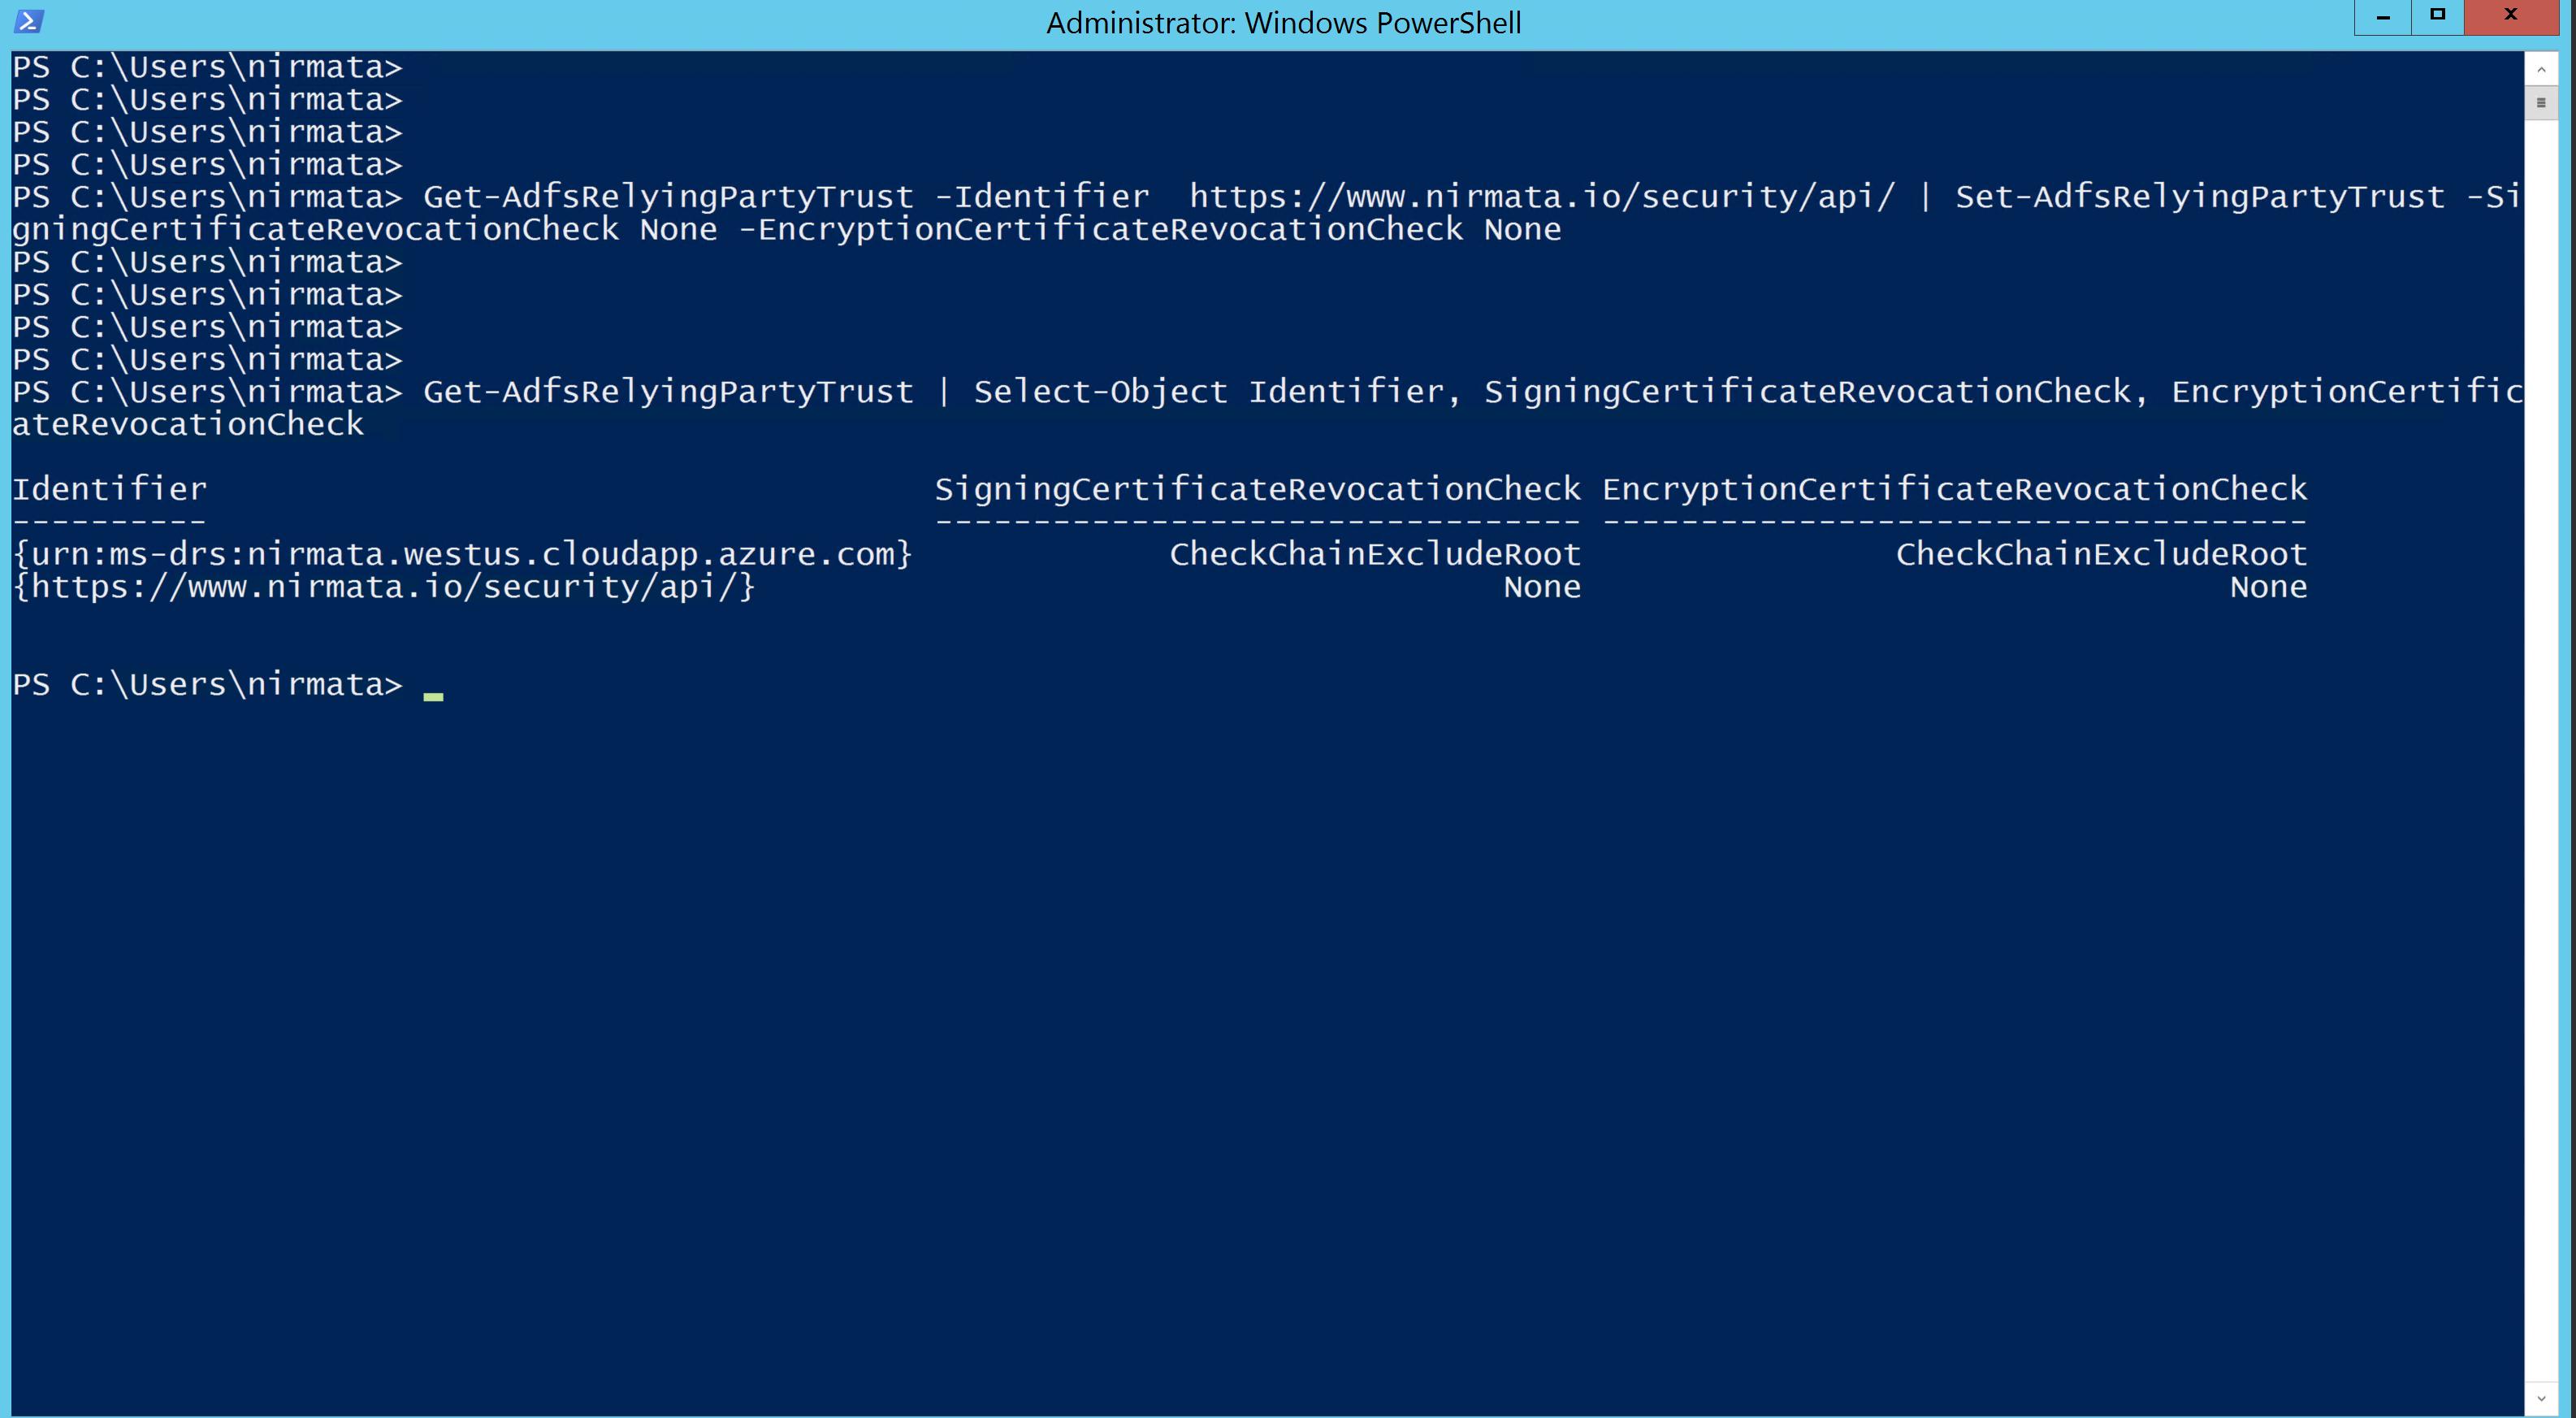
Check you current settings using the PowerShell command:
Get-AdfsRelyingPartyTrust | Select-Object Identifier, SigningCertificateRevocationCheck, EncryptionCertificateRevocationCheck
Look for the Identifier https://www.nirmata.io/security/api.
Use this PowerShell command to disable CA certificate checks for Nirmata:
Get-AdfsRelyingPartyTrust -Identifier https://www.nirmata.io/security/api/ | Set-AdfsRelyingPartyTrust -SigningCertificateRevocationCheck None -EncryptionCertificateRevocationCheck None
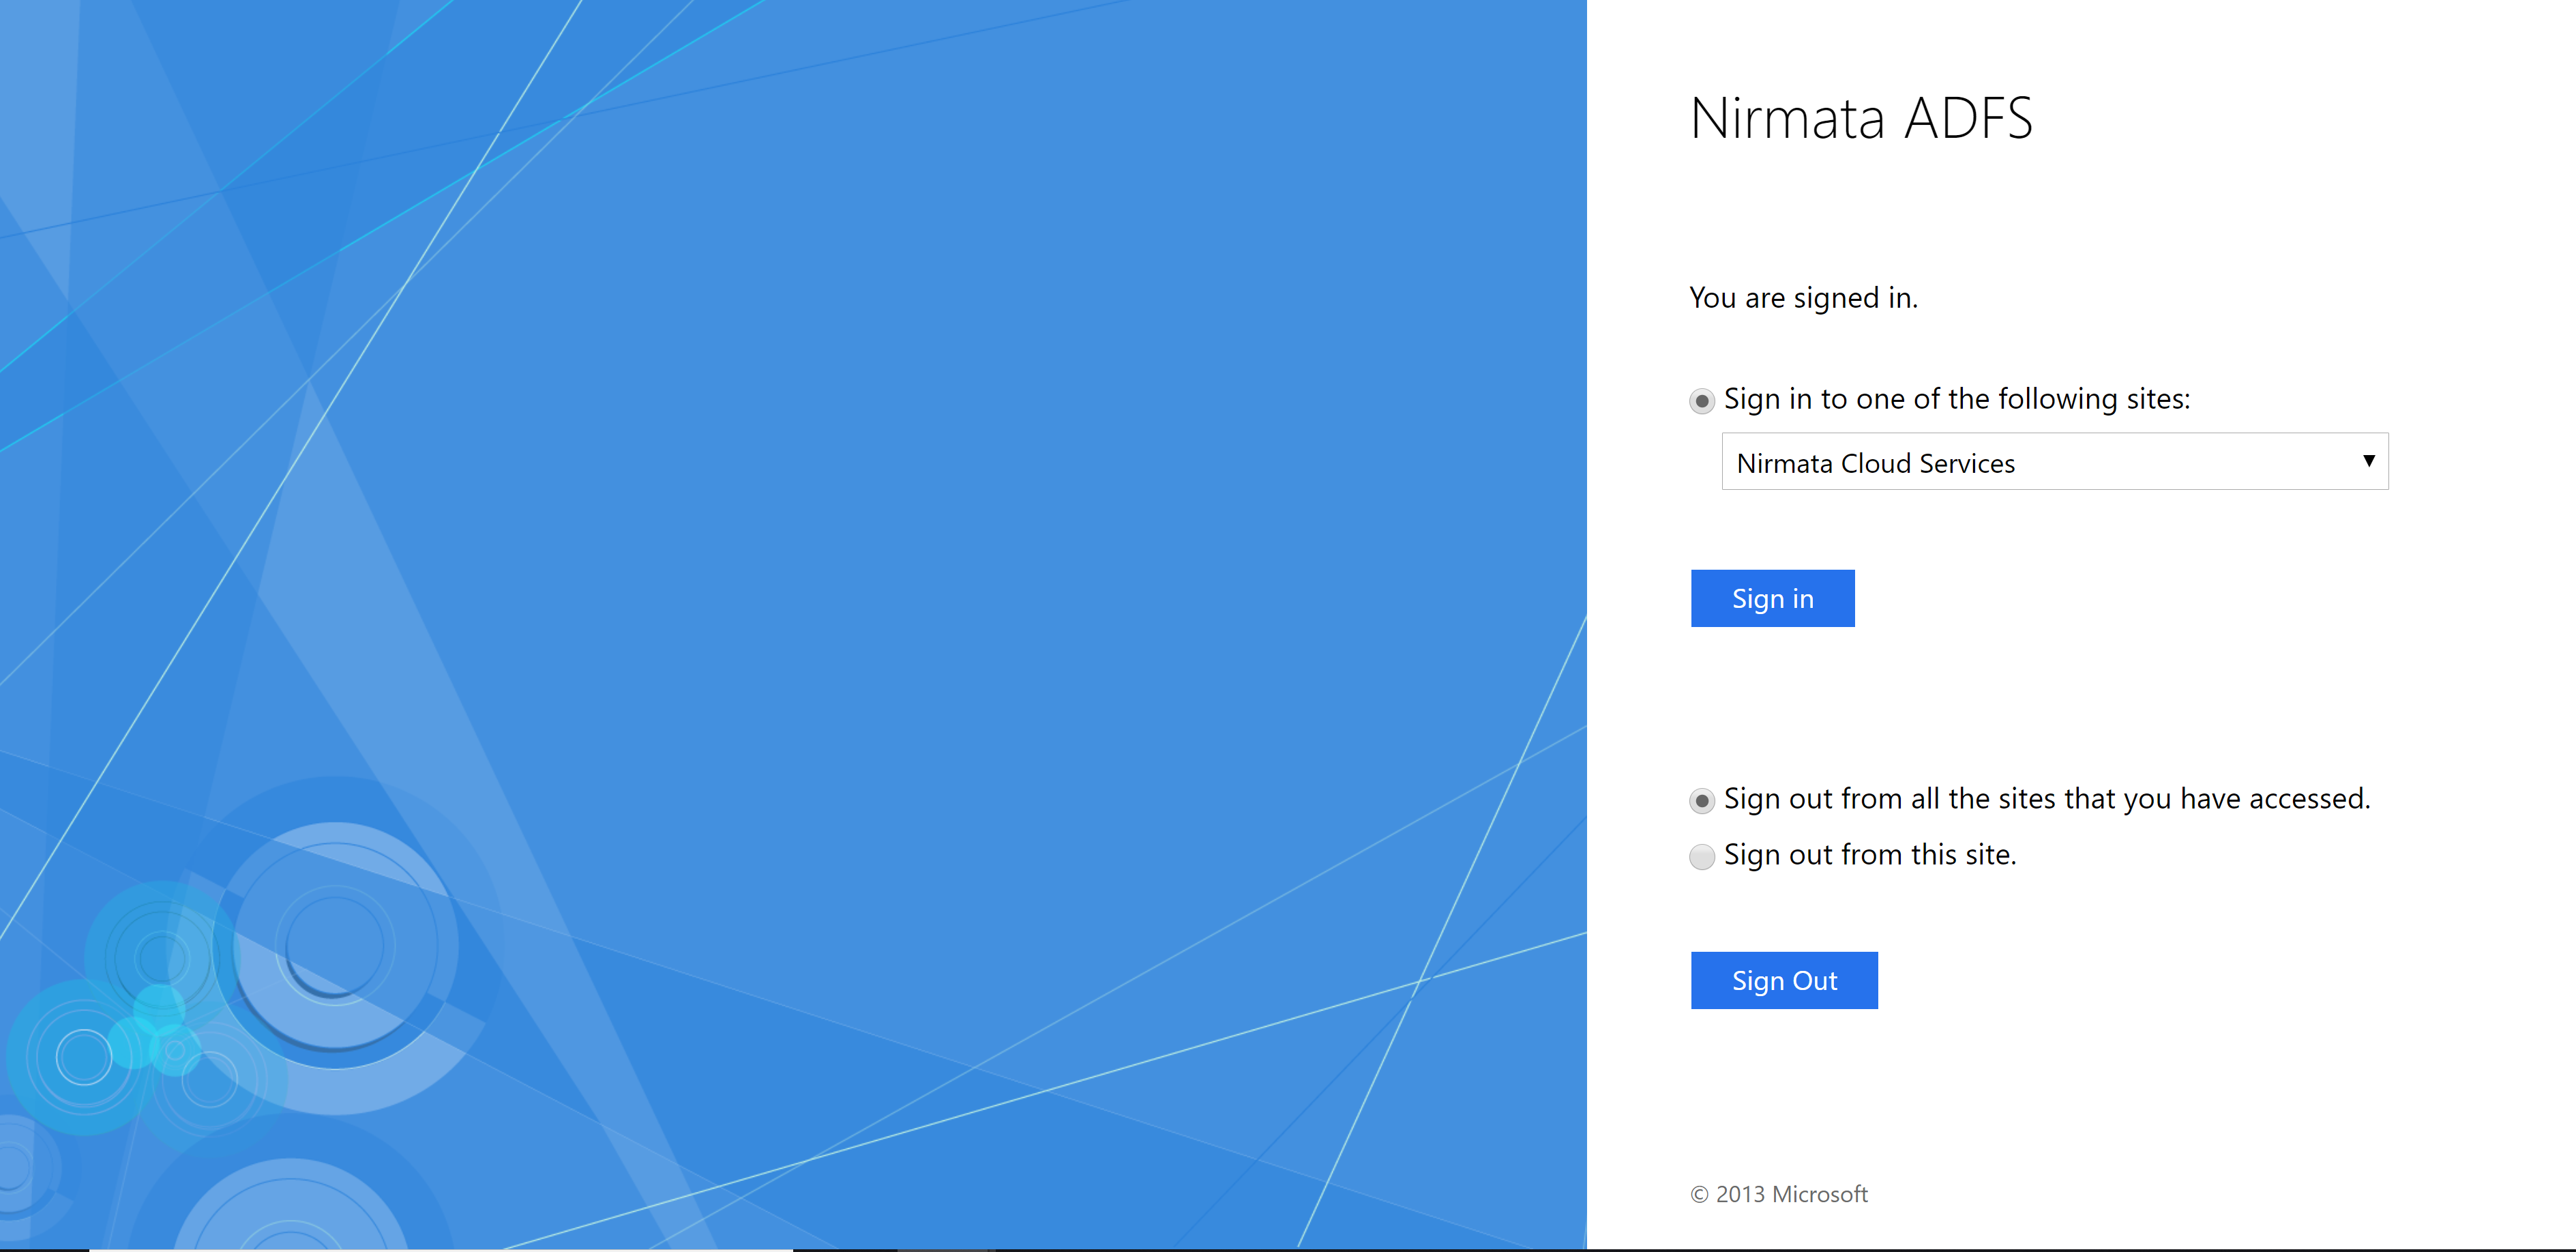
You should now be able to navigate to your AD FS login page and select Nirmata (Nirmata Cloud Services). This will initiate the SAML SSO exchange and authenticate your users with AD FS.
Alternatively, you can also sign in using your email address at: https://nirmata.io/.