For using AWS access using AWS Access Key, you must create a new user with necessary policy access and then use the user access credentials (access key ID and secret access key) for cloud provider integration authentication. You need create a policy with specific permissions for the User.
To create a new user for Nirmata Private Edition:
- Login to the AWS Management Console and select IAM Services.
- Under Identity and Access Management (IAM) > Policies, click Create Policy.
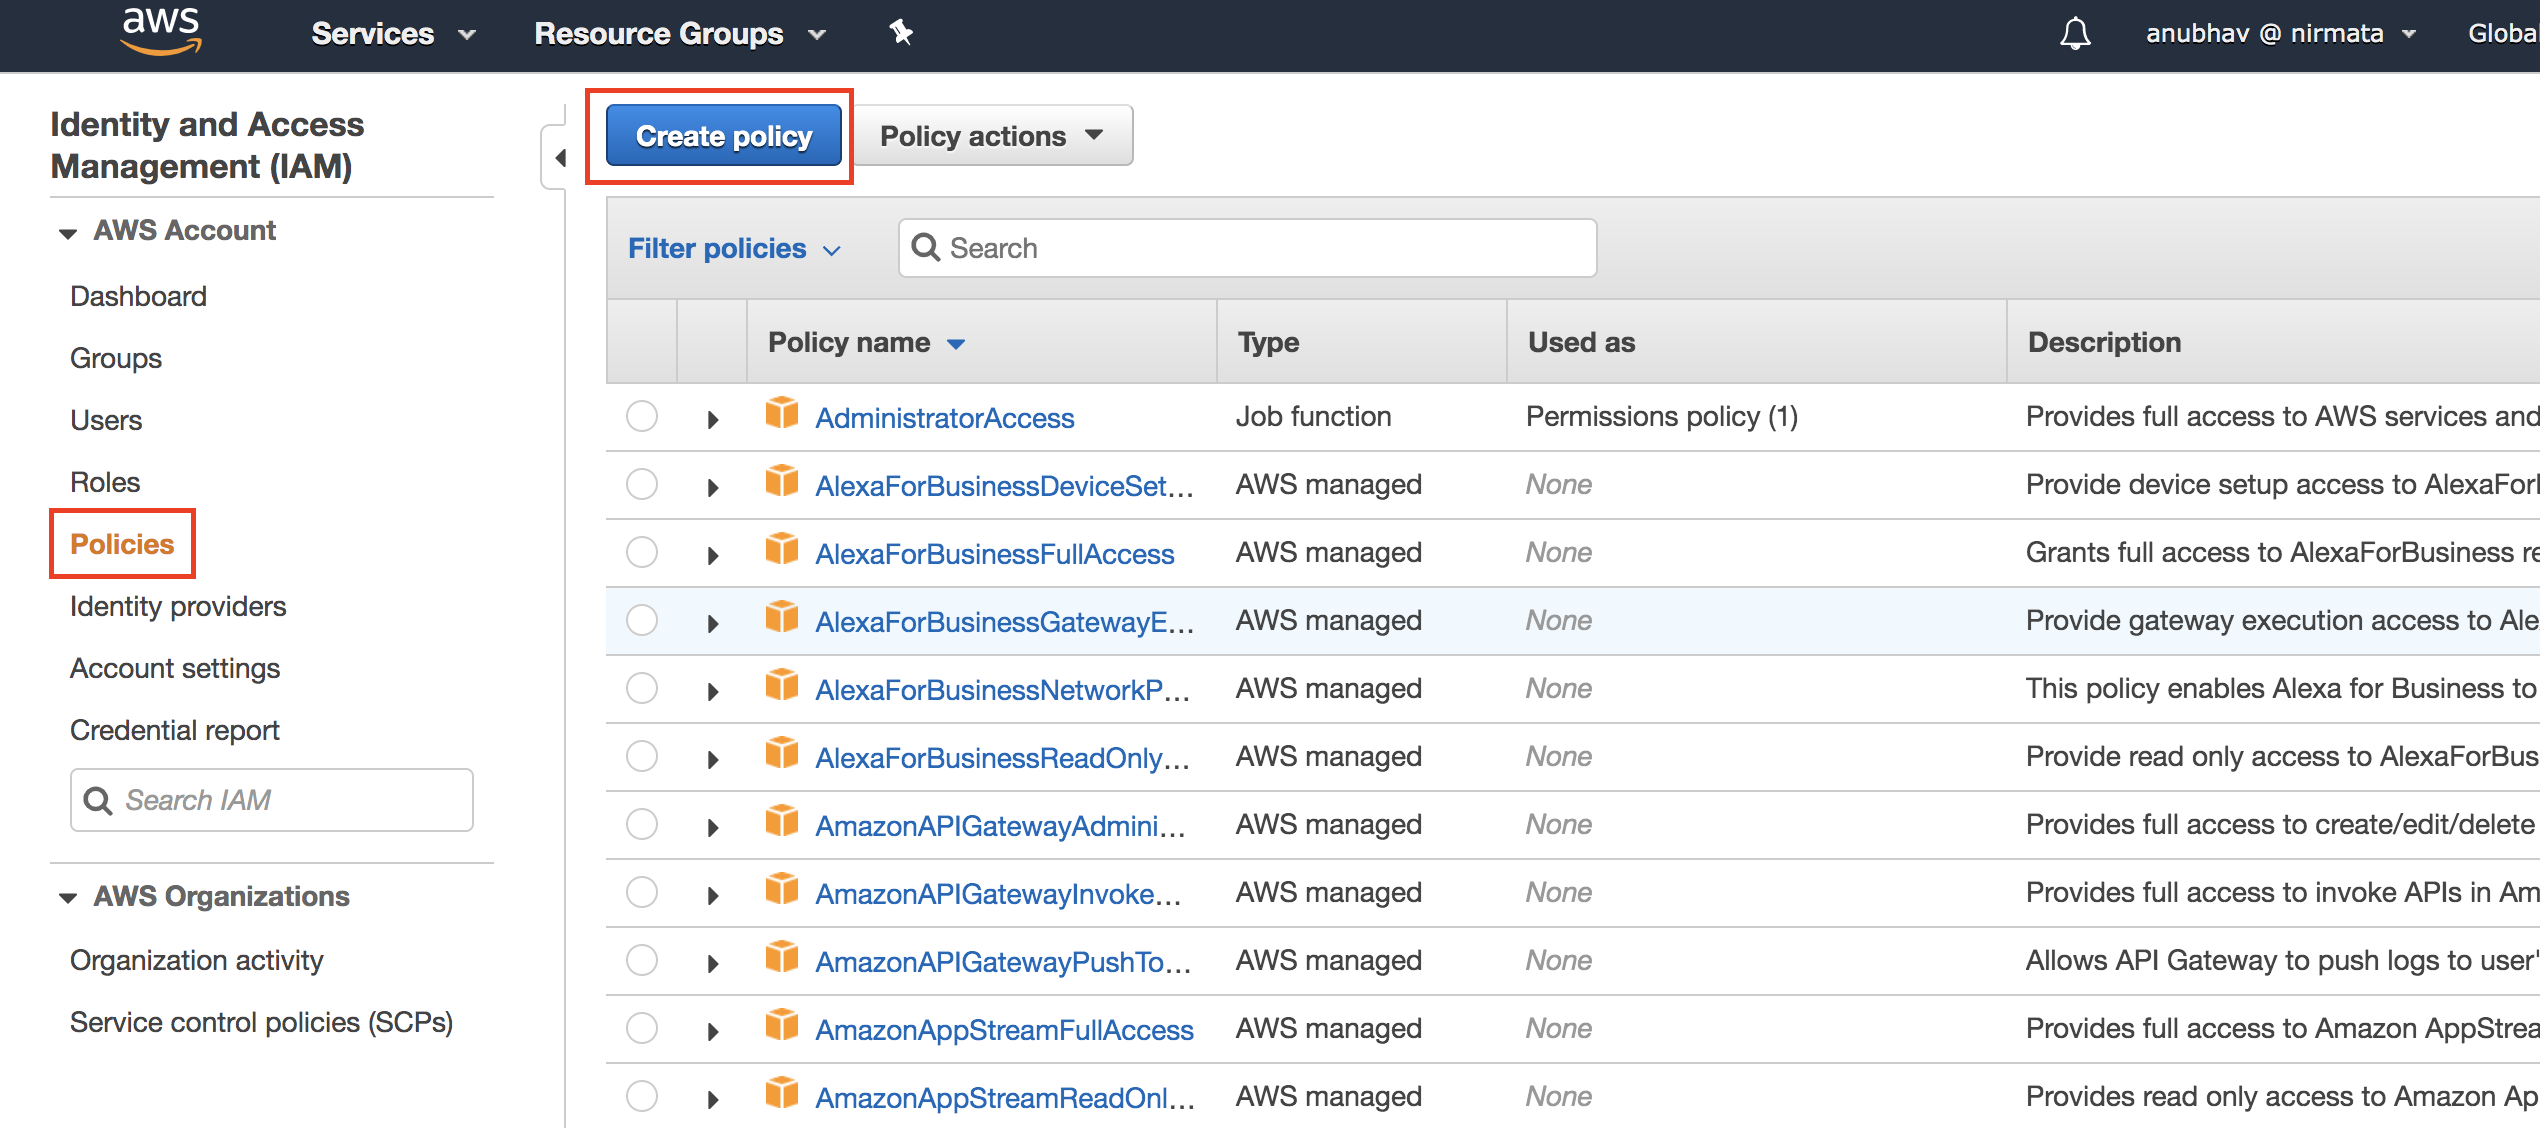
- Under Policy, choose JSON and copy-paste the permissions as highlighted below -
{
    "Version": "2012-10-17",
    "Statement": [
        {
            "Sid": "VisualEditor0",
            "Effect": "Allow",
            "Action": [
                "ec2:TerminateInstances",
                "ec2:StartInstances",
                "ec2:StopInstances"
            ],
            "Resource": "arn:aws:ec2:*:<account number>:instance/*",
            "Condition": {
                "StringEquals": {
                    "ec2:ResourceTag/com.nirmata.createdBy": "nirmata"
                }
            }
        },
        {
            "Sid": "VisualEditor1",
            "Effect": "Allow",
            "Action": [
                "autoscaling:Describe*",
                "iam:List*",
                "iam:Get*",
                "iam:PutRolePolicy",
                "iam:DeleteRolePolicy",
                "iam:GetPolicyVersion",
                "iam:CreateRole",
                "iam:DeleteRole",
                "iam:ListInstanceProfiles",
                "iam:PassRole",
                "iam:SimulateCustomPolicy",
                "iam:CreateServiceLinkedRole",
                "iam:ListPolicyVersions",
                "iam:ListAttachedRolePolicies",
                "iam:CreatePolicy",
                "iam:DeletePolicy",
                "iam:AttachRolePolicy",
                "iam:DetachRolePolicy",
                "iam:TagRole",
                "iam:UntagRole",
                "iam:TagPolicy",
                "iam:UntagPolicy",
                "ec2:DescribeInstances",
                "ec2:DetachNetworkInterface",
                "ec2:CreateTags",
                "ec2:ModifyNetworkInterfaceAttribute",
                "ec2:DeleteNetworkInterface",
                "ec2:RunInstances",
                "ec2:AssignPrivateIpAddresses",
                "tag:TagResources",
                "ec2:CreateNetworkInterface",
                "ec2:Describe*",
                "ec2:DescribeNetworkInterfaces",
                "ec2:AttachNetworkInterface",
                "eks:*",
                "kms:DescribeKey",
                "iam:UntagOpenIDConnectProvider",
                "iam:AddClientIDToOpenIDConnectProvider",
                "iam:TagOpenIDConnectProvider",
                "iam:CreateOpenIDConnectProvider",
                "iam:DeleteOpenIDConnectProvider",
                "iam:RemoveClientIDFromOpenIDConnectProvider"
            ],
            "Resource": "*"
        },
        {
            "Sid": "VisualEditor2",
            "Effect": "Allow",
            "Action": [
                "cloudformation:CreateStack",
                "cloudformation:DeleteStack",
                "cloudformation:CreateChangeSet",
                "cloudformation:UpdateStack",
                "cloudformation:ExecuteChangeSet",
                "cloudformation:Describe*",
                "cloudformation:EstimateTemplateCost",
                "cloudformation:Get*",
                "cloudformation:List*",
                "cloudformation:ValidateTemplate",
                "cloudformation:DetectStackDrift",
                "cloudformation:DetectStackResourceDrift"
            ],
            "Resource": "*"
        }
    ]
}
NOTE:
- Ensure you provide nirmata’s AWS account number, you can find it in Nirmata Cloud Credentials
- Click Review Policy and save the policy.
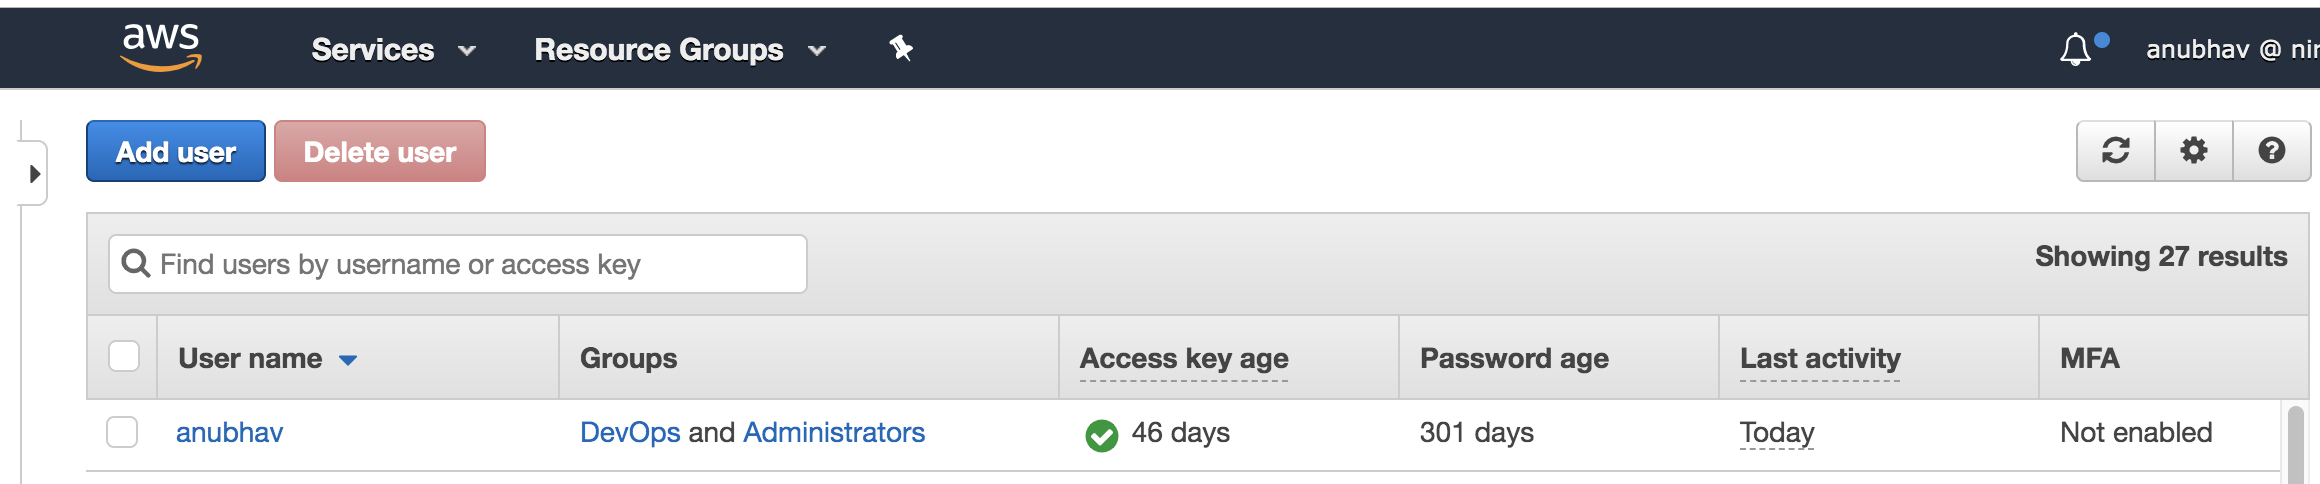
You can now create a user required for EC2 instance management in Nirmata that will use this Policy.
To generate a AWS Access Key ID and Secret key:
- Login to the AWS Management Console and select IAM Services.
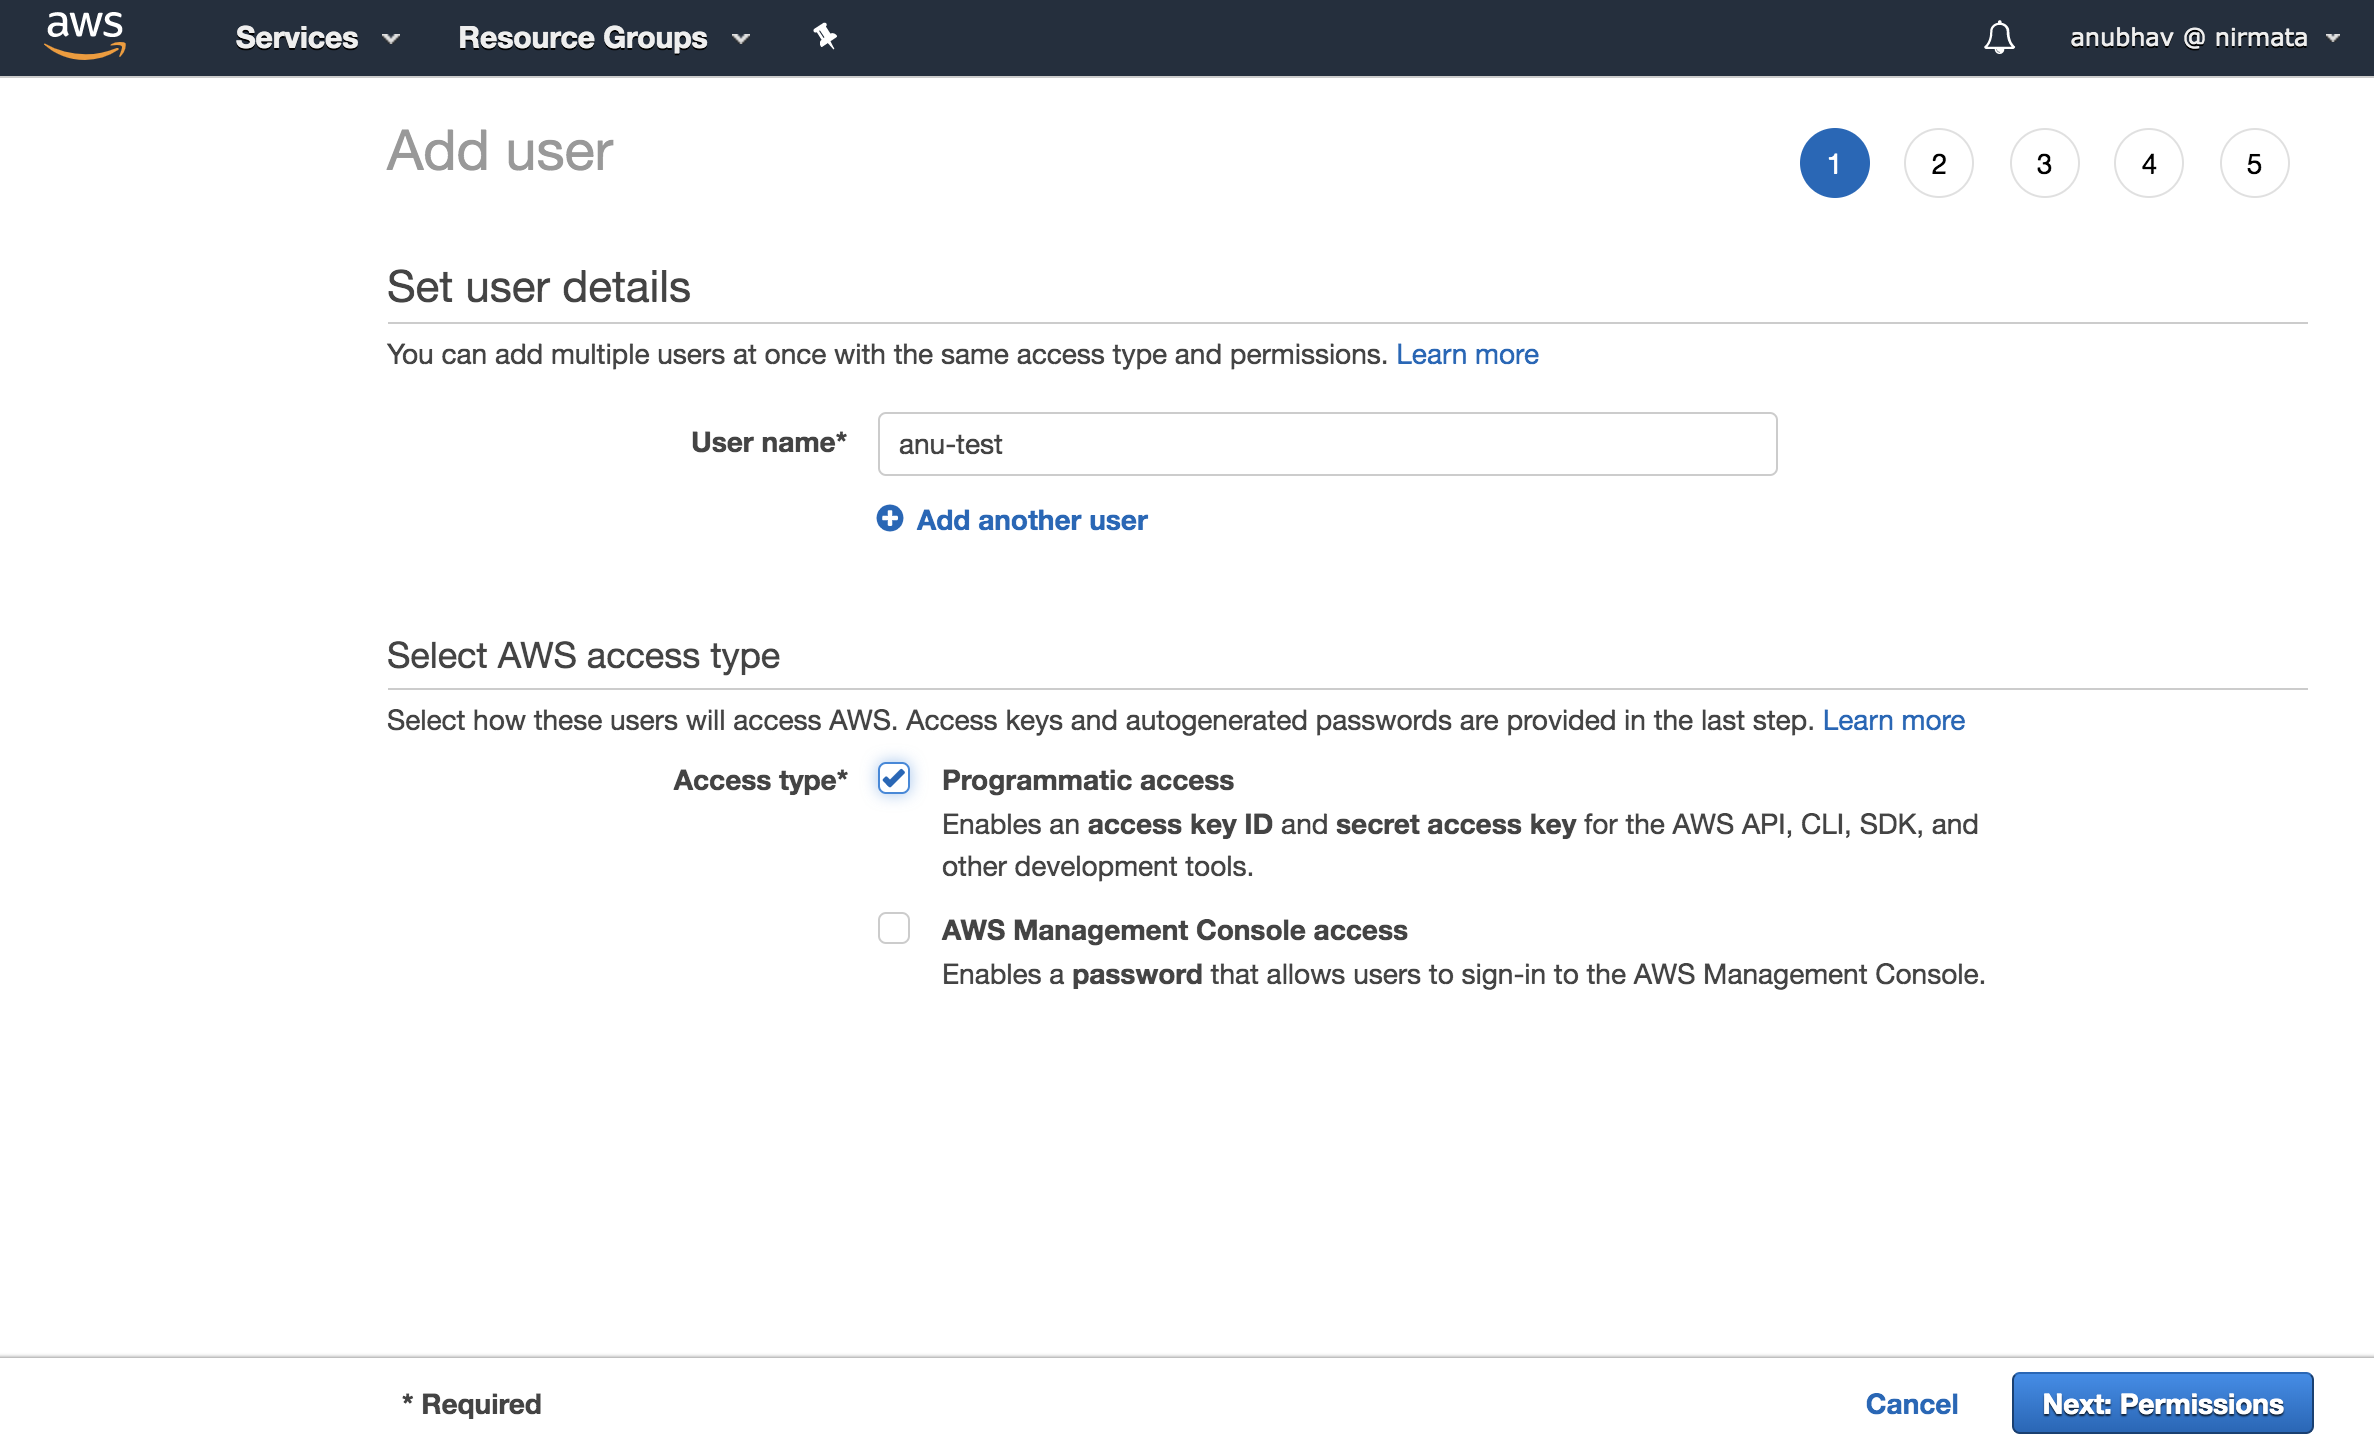
- Select Users and click Add a User.
- Select programmatic access and click Next:Permission.
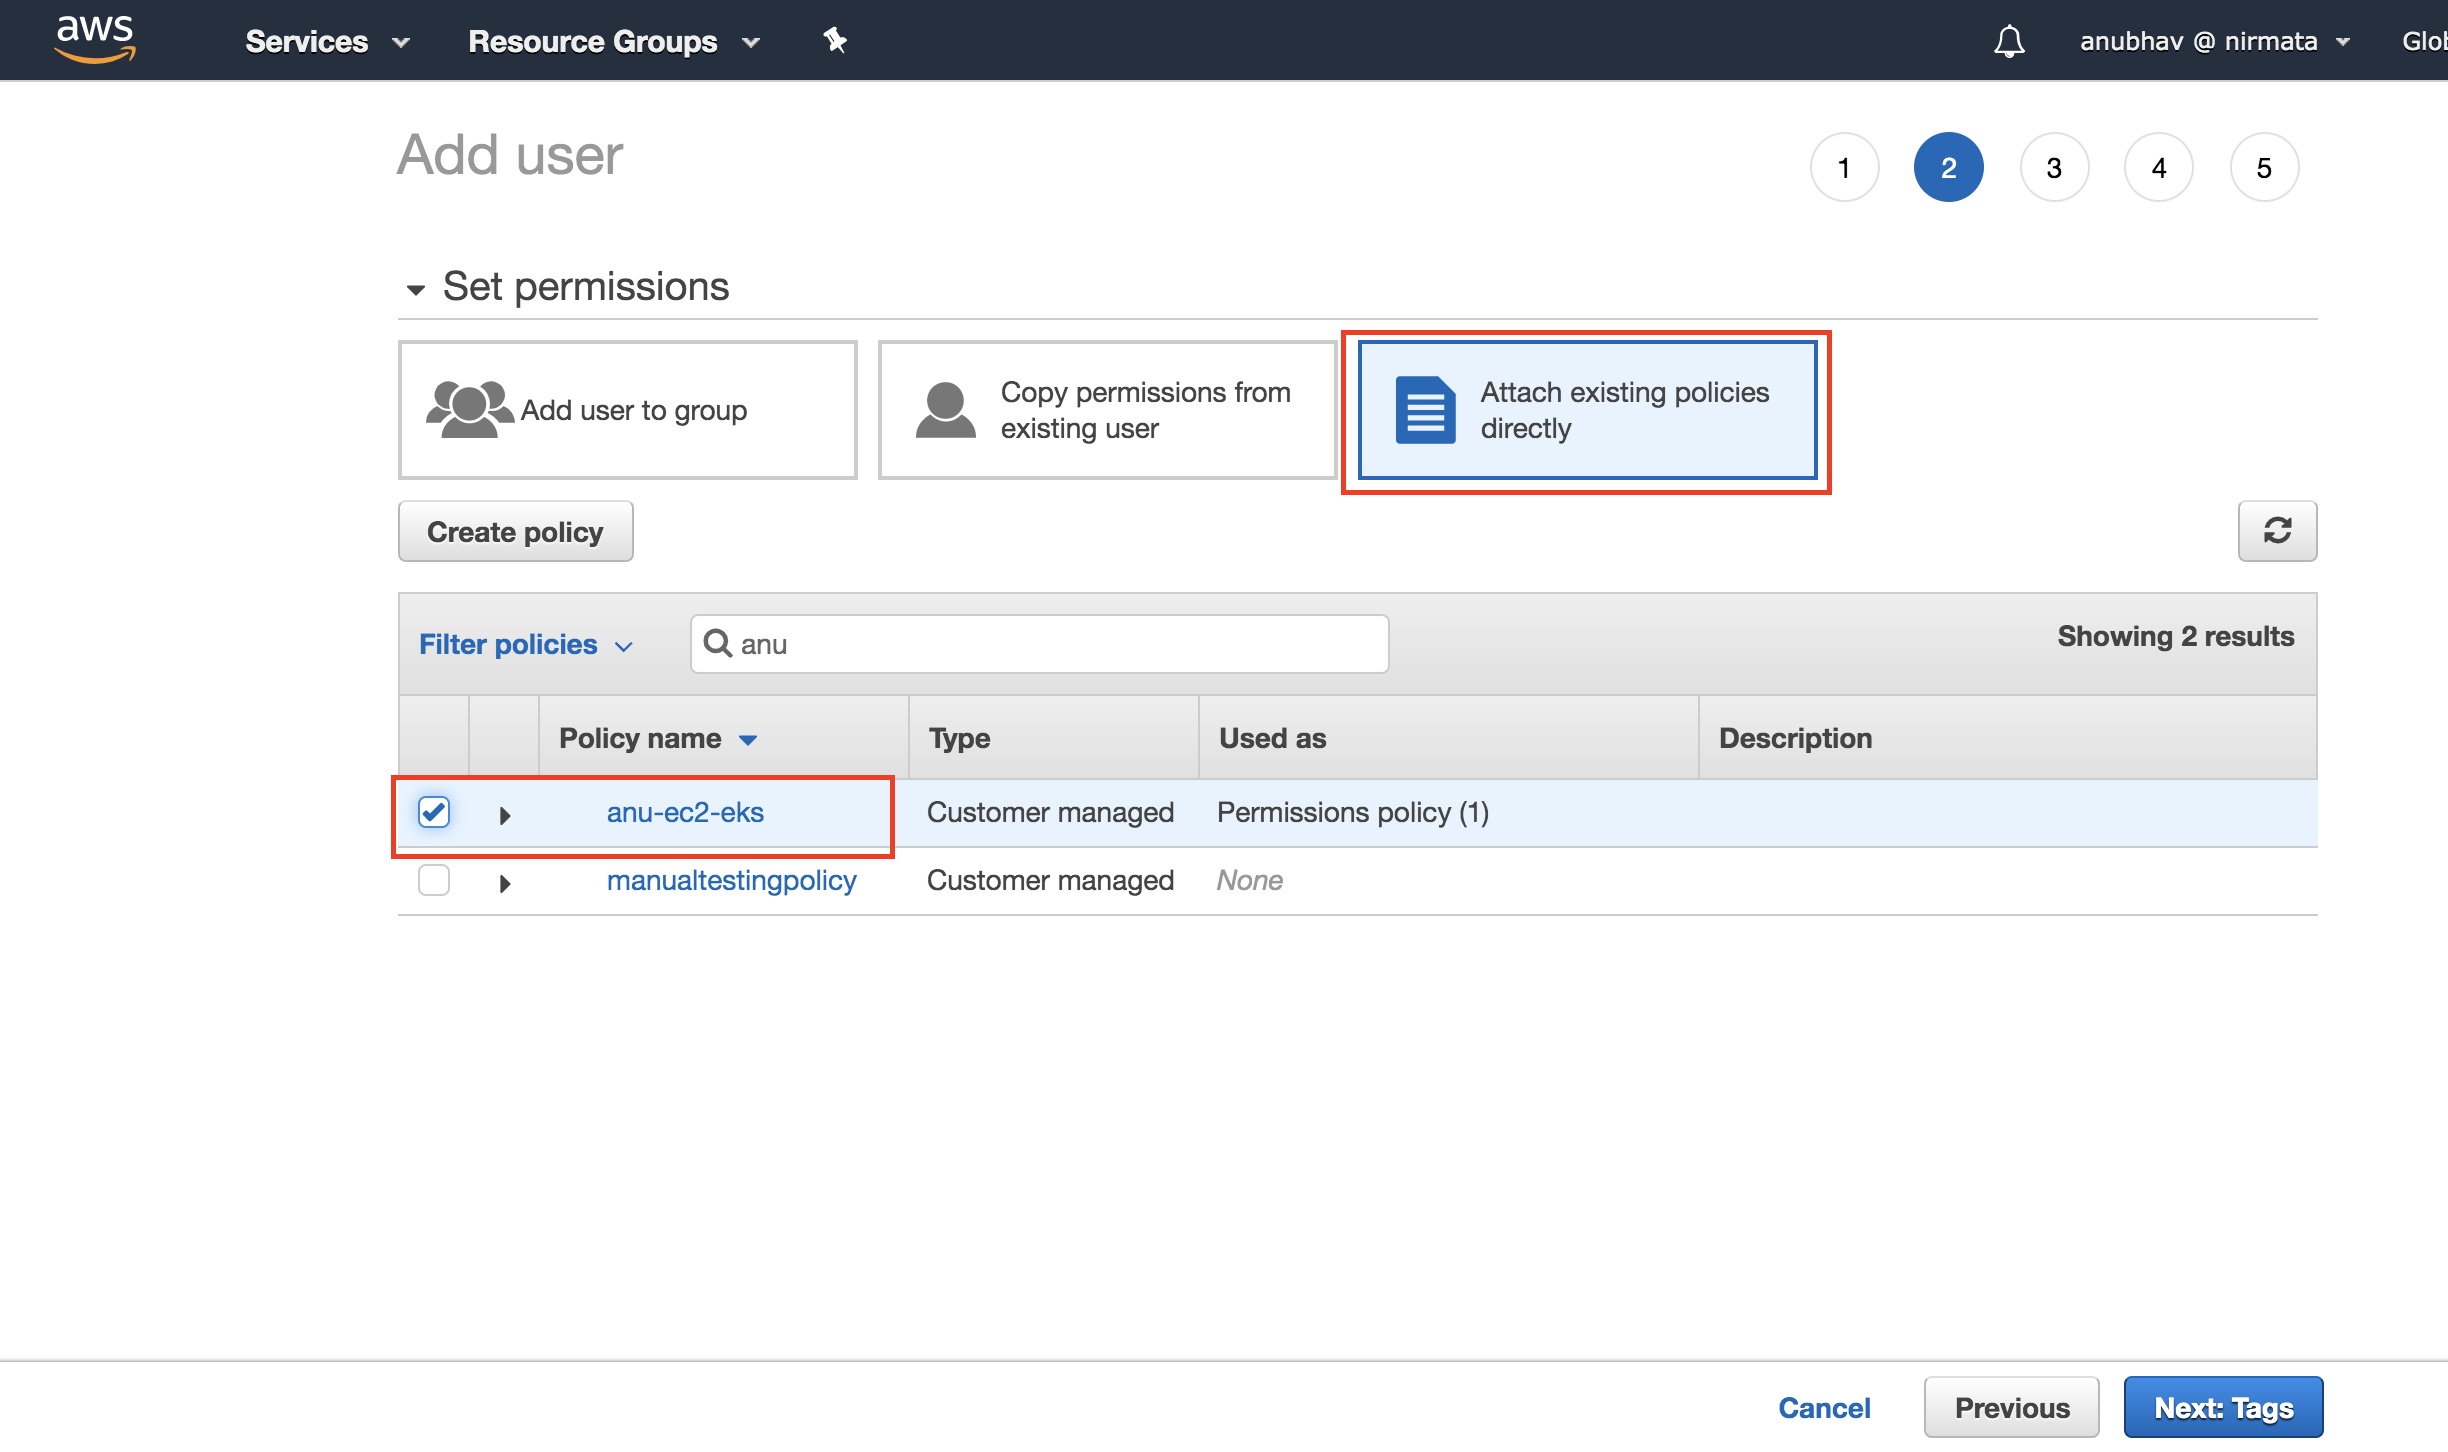
- Choose Attach existing policies directly and select the policy you created above.
-
Click Security Credentials tab on the User menu and click Create Access Key
-
Download the Access Key Id and Secret key .
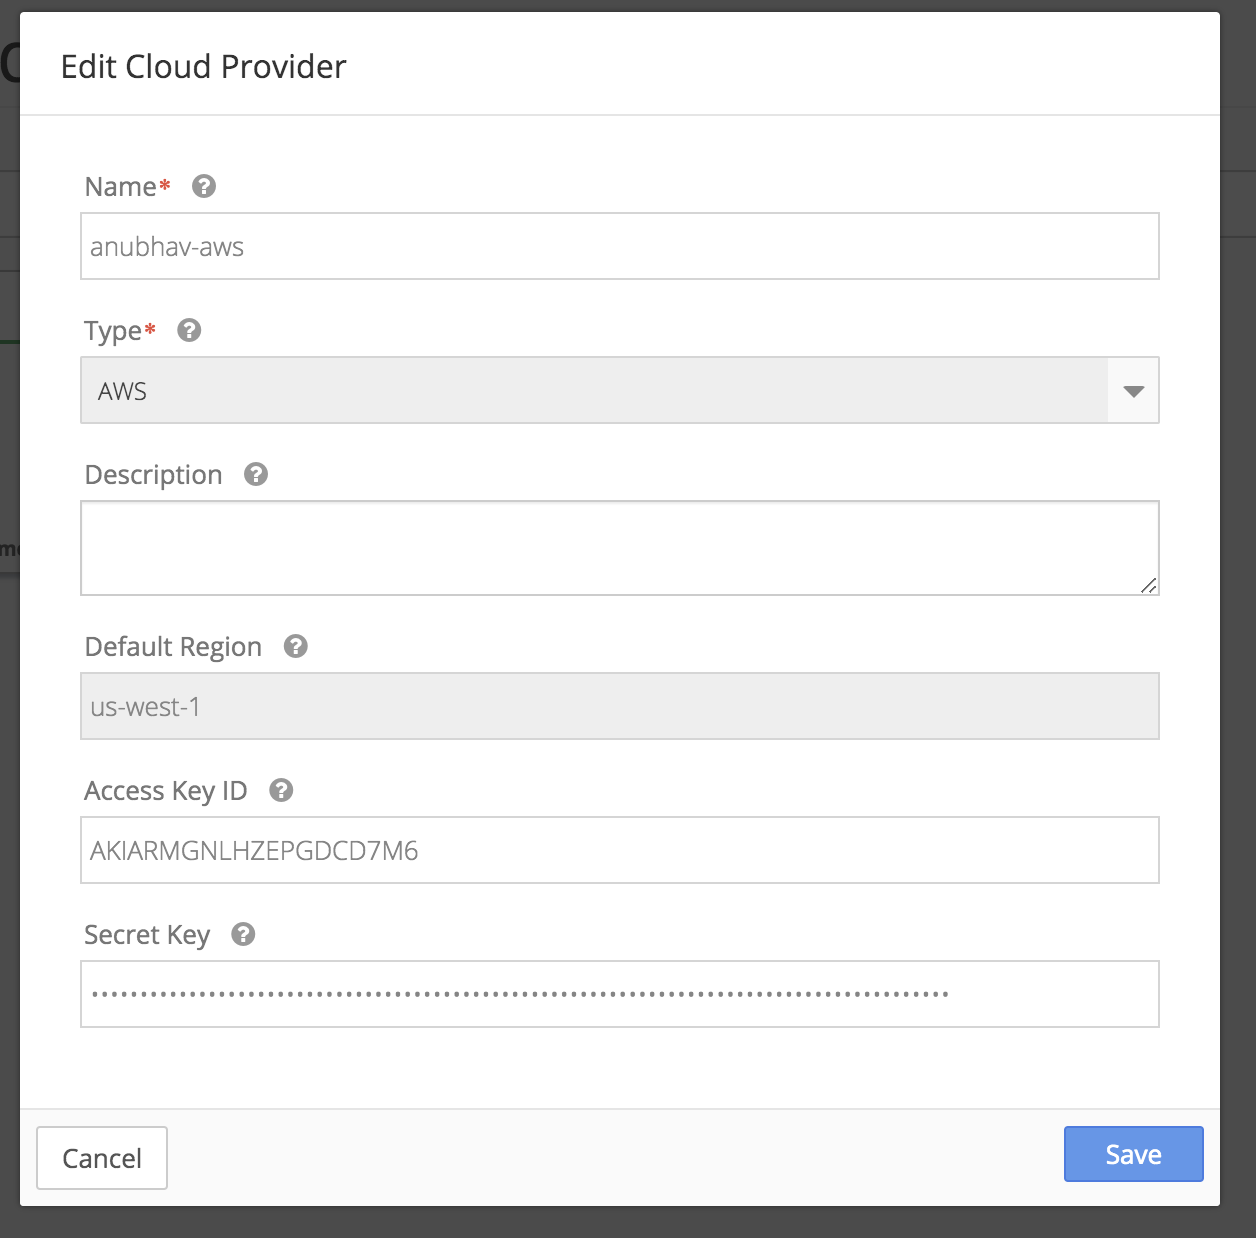
You can add the Access Key ID secret key in Nirmata.
Next Step: Setup an Nirmata Managed Cluster .