Applications deployed in Kubernetes can be fairly complex and are typically composed of several resources such as - Deployments, Statefulsets, ConfigMaps, Secrets, volumes etc. All of these resources need to be saved so that the application can be completely restored when needed.
Velero is an open source tool that helps automate backup and restore of Kubernetes clusters, including any application and its data.
To learn more about features and use cases supported by Velero, check out the latest release documentation.
Velero enables the following use cases:
- Disaster recovery - backup of cluster and restore in case of a disaster.
- Application migration - migrate application along with its data from one cluster to another.
- Application cloning - replicating production environments for testing and debugging.
Also, Velero is fully integrated into the Nirmata Kubernetes management plane and available as add-on for every cluster in Nirmata, so that backups can be easily scheduled, and applications can be quickly recovered when needed.
Nirmata supports Amazon Web Services (AWS), Azure, and Google Cloud Platform (GCP). The next section describes how to create an S3 Bucket on AWS.
Create AWS Bucket
-
Log in to your AWS account.
-
Click on Amazon S3.
-
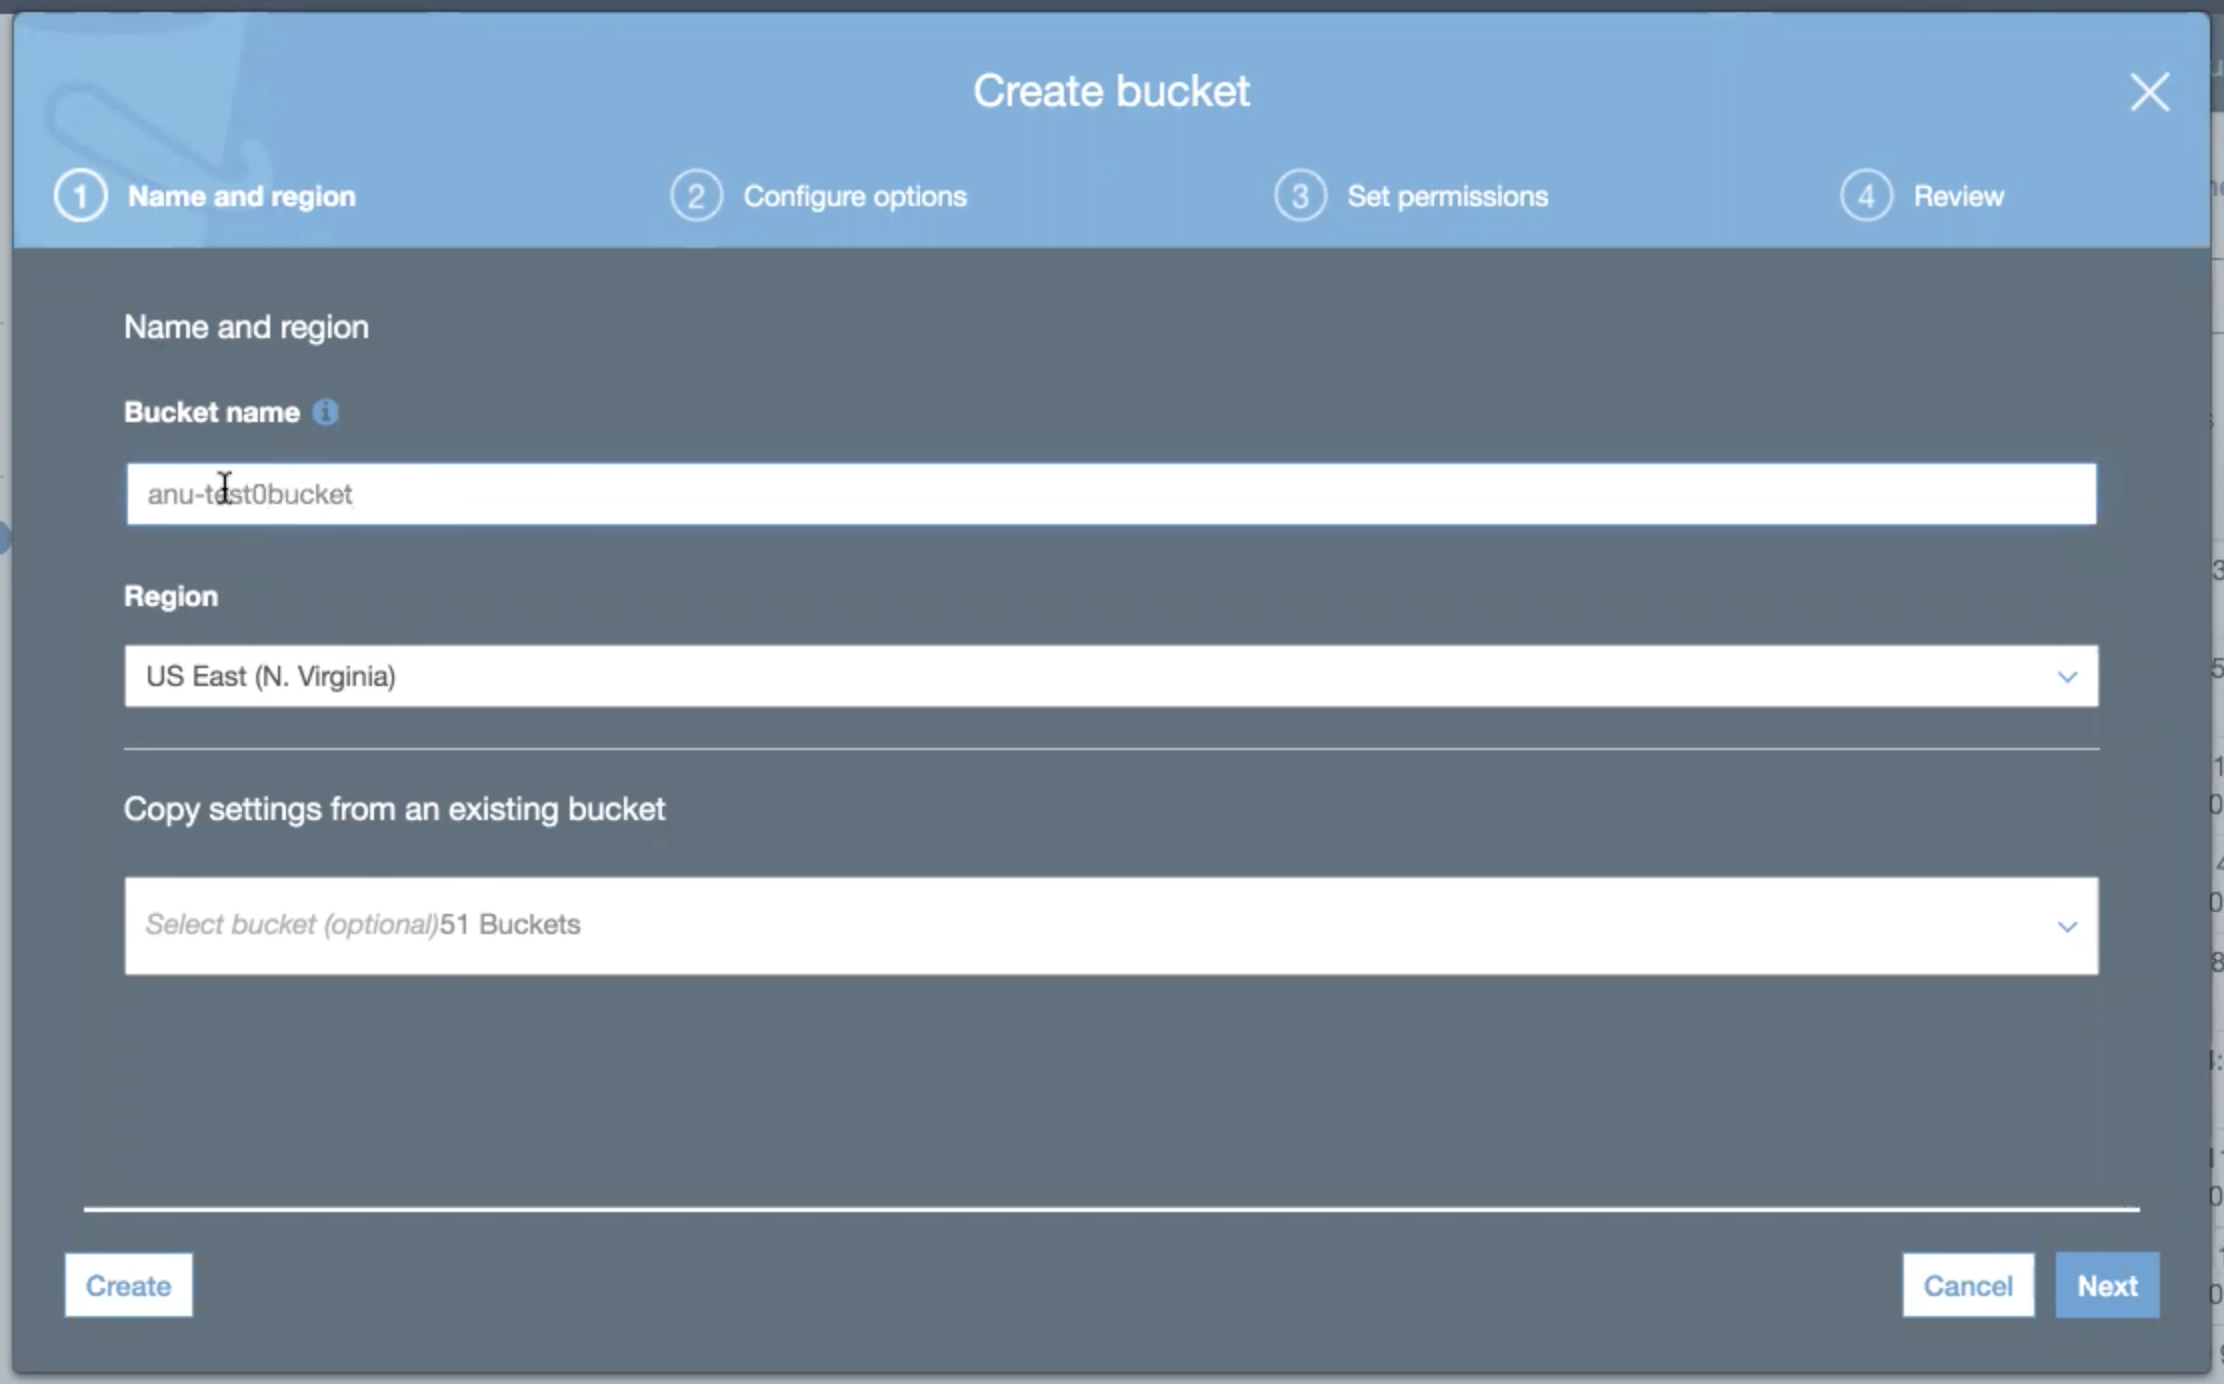
Click the Create bucket button. The Create Bucket overlay appears.
-
Enter a unique Bucket Name.
-
Select the closet Region to your location from the drop down list.
-
To copy settings from an existing bucket:
-
Click the Select Bucket drop down list.
-
Click inside the search widget and type the first few letters of an existing bucket. Matching buckets will appear in the list below.
-
Select an existing bucket from the list to copy its settings.
-
-
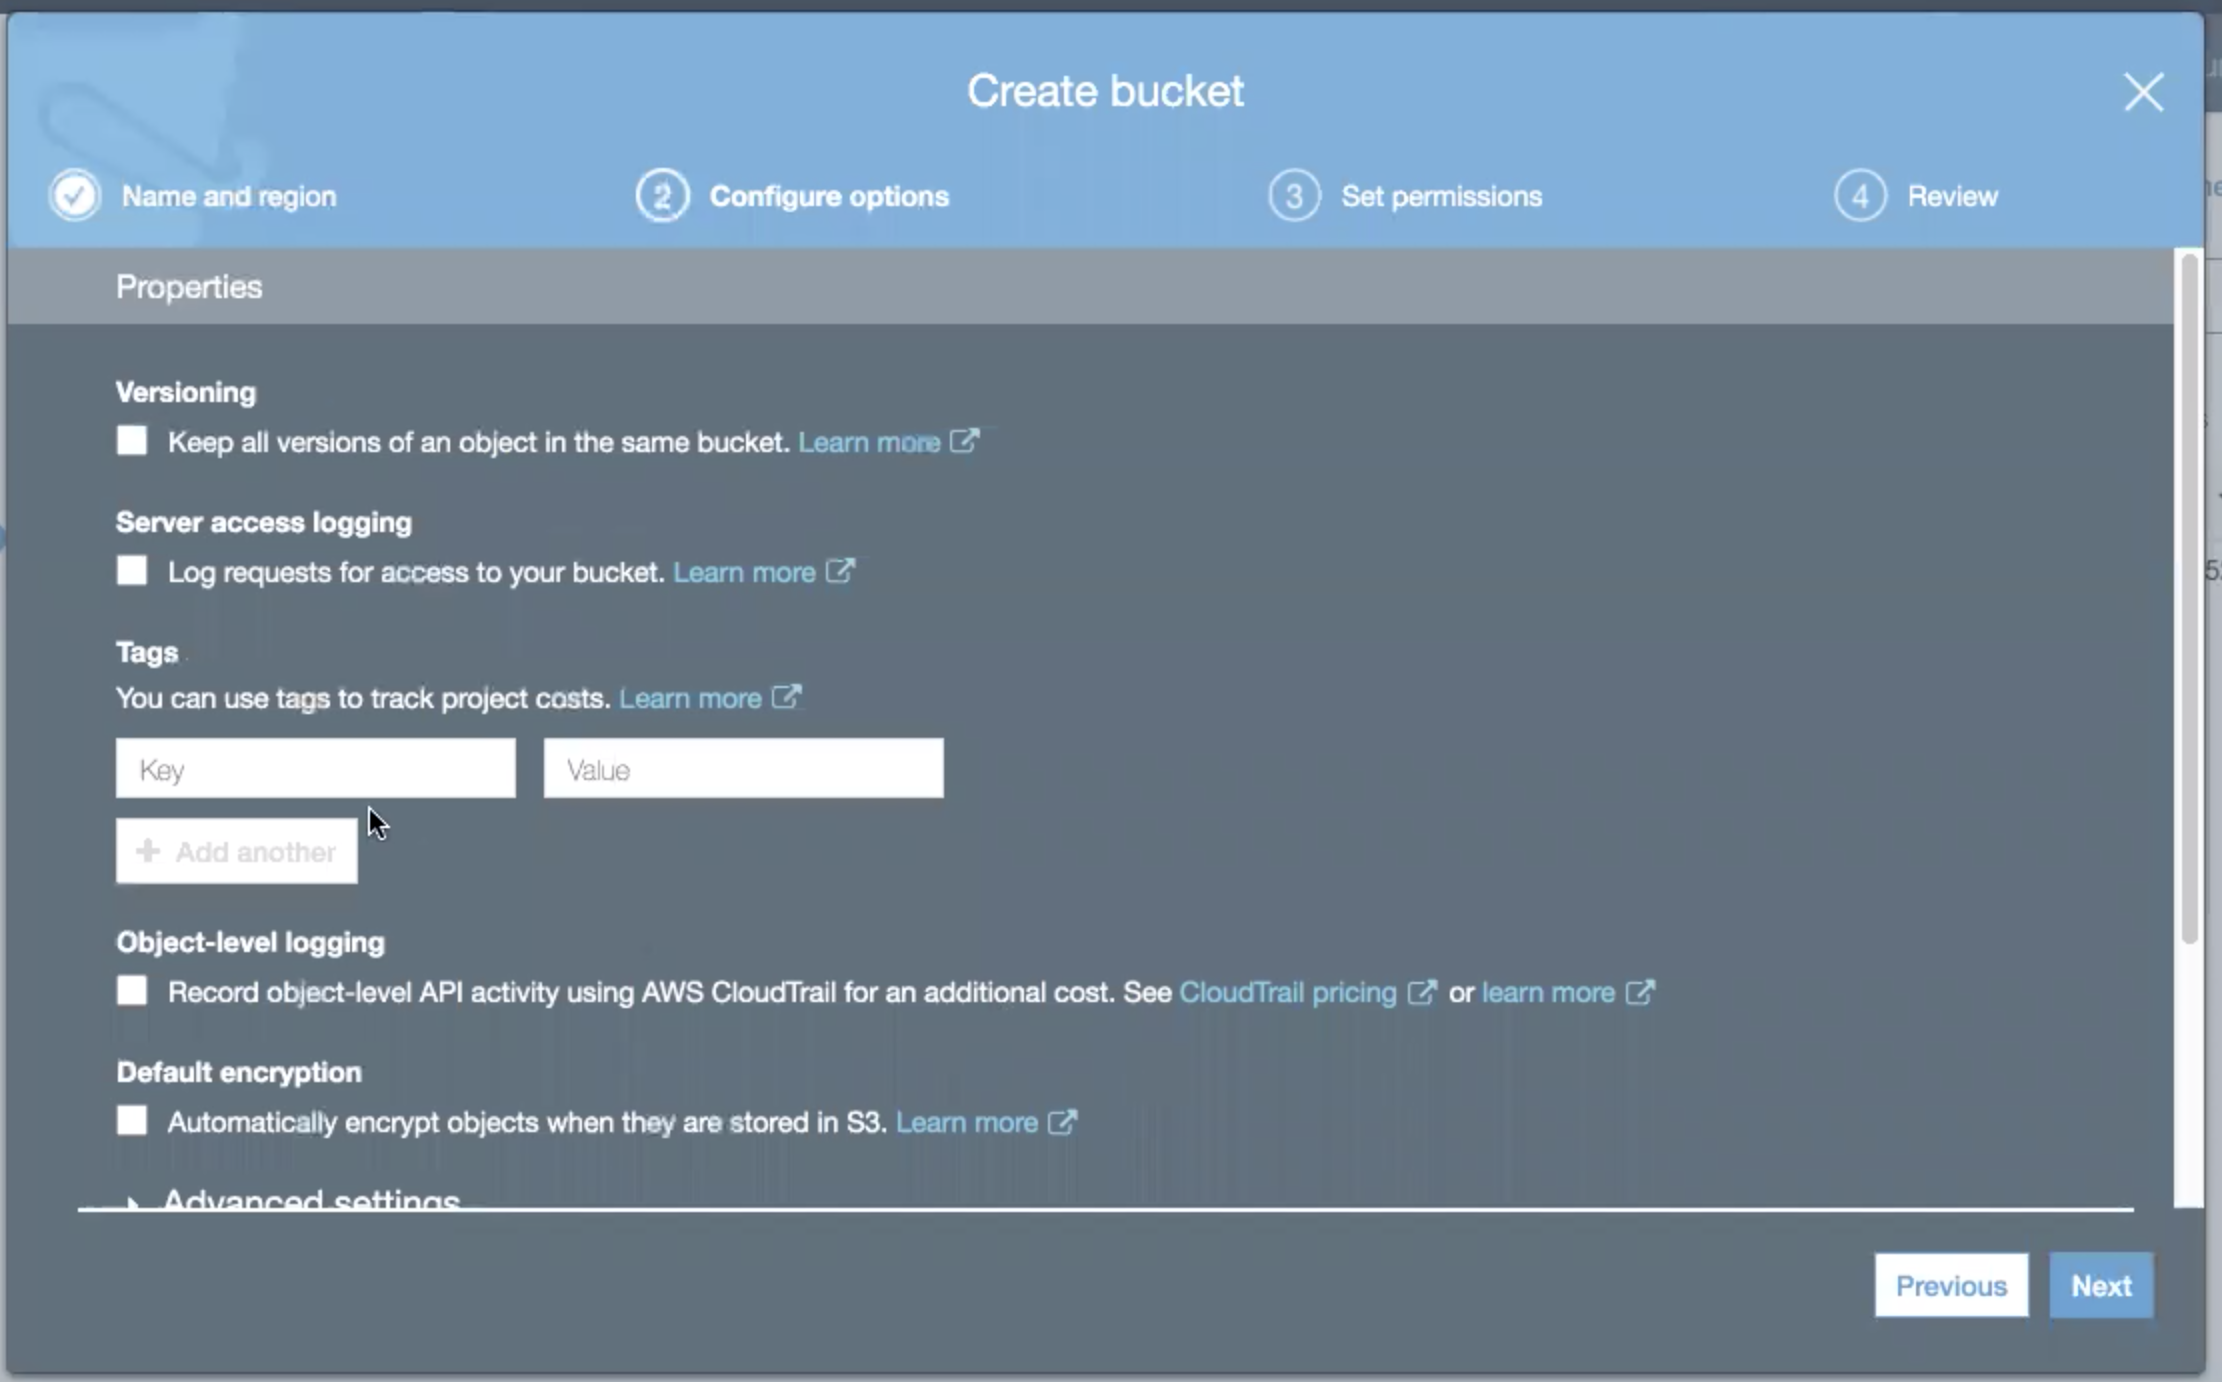
Click the Next button. The overlay transitions to the Configure Options panel.
-
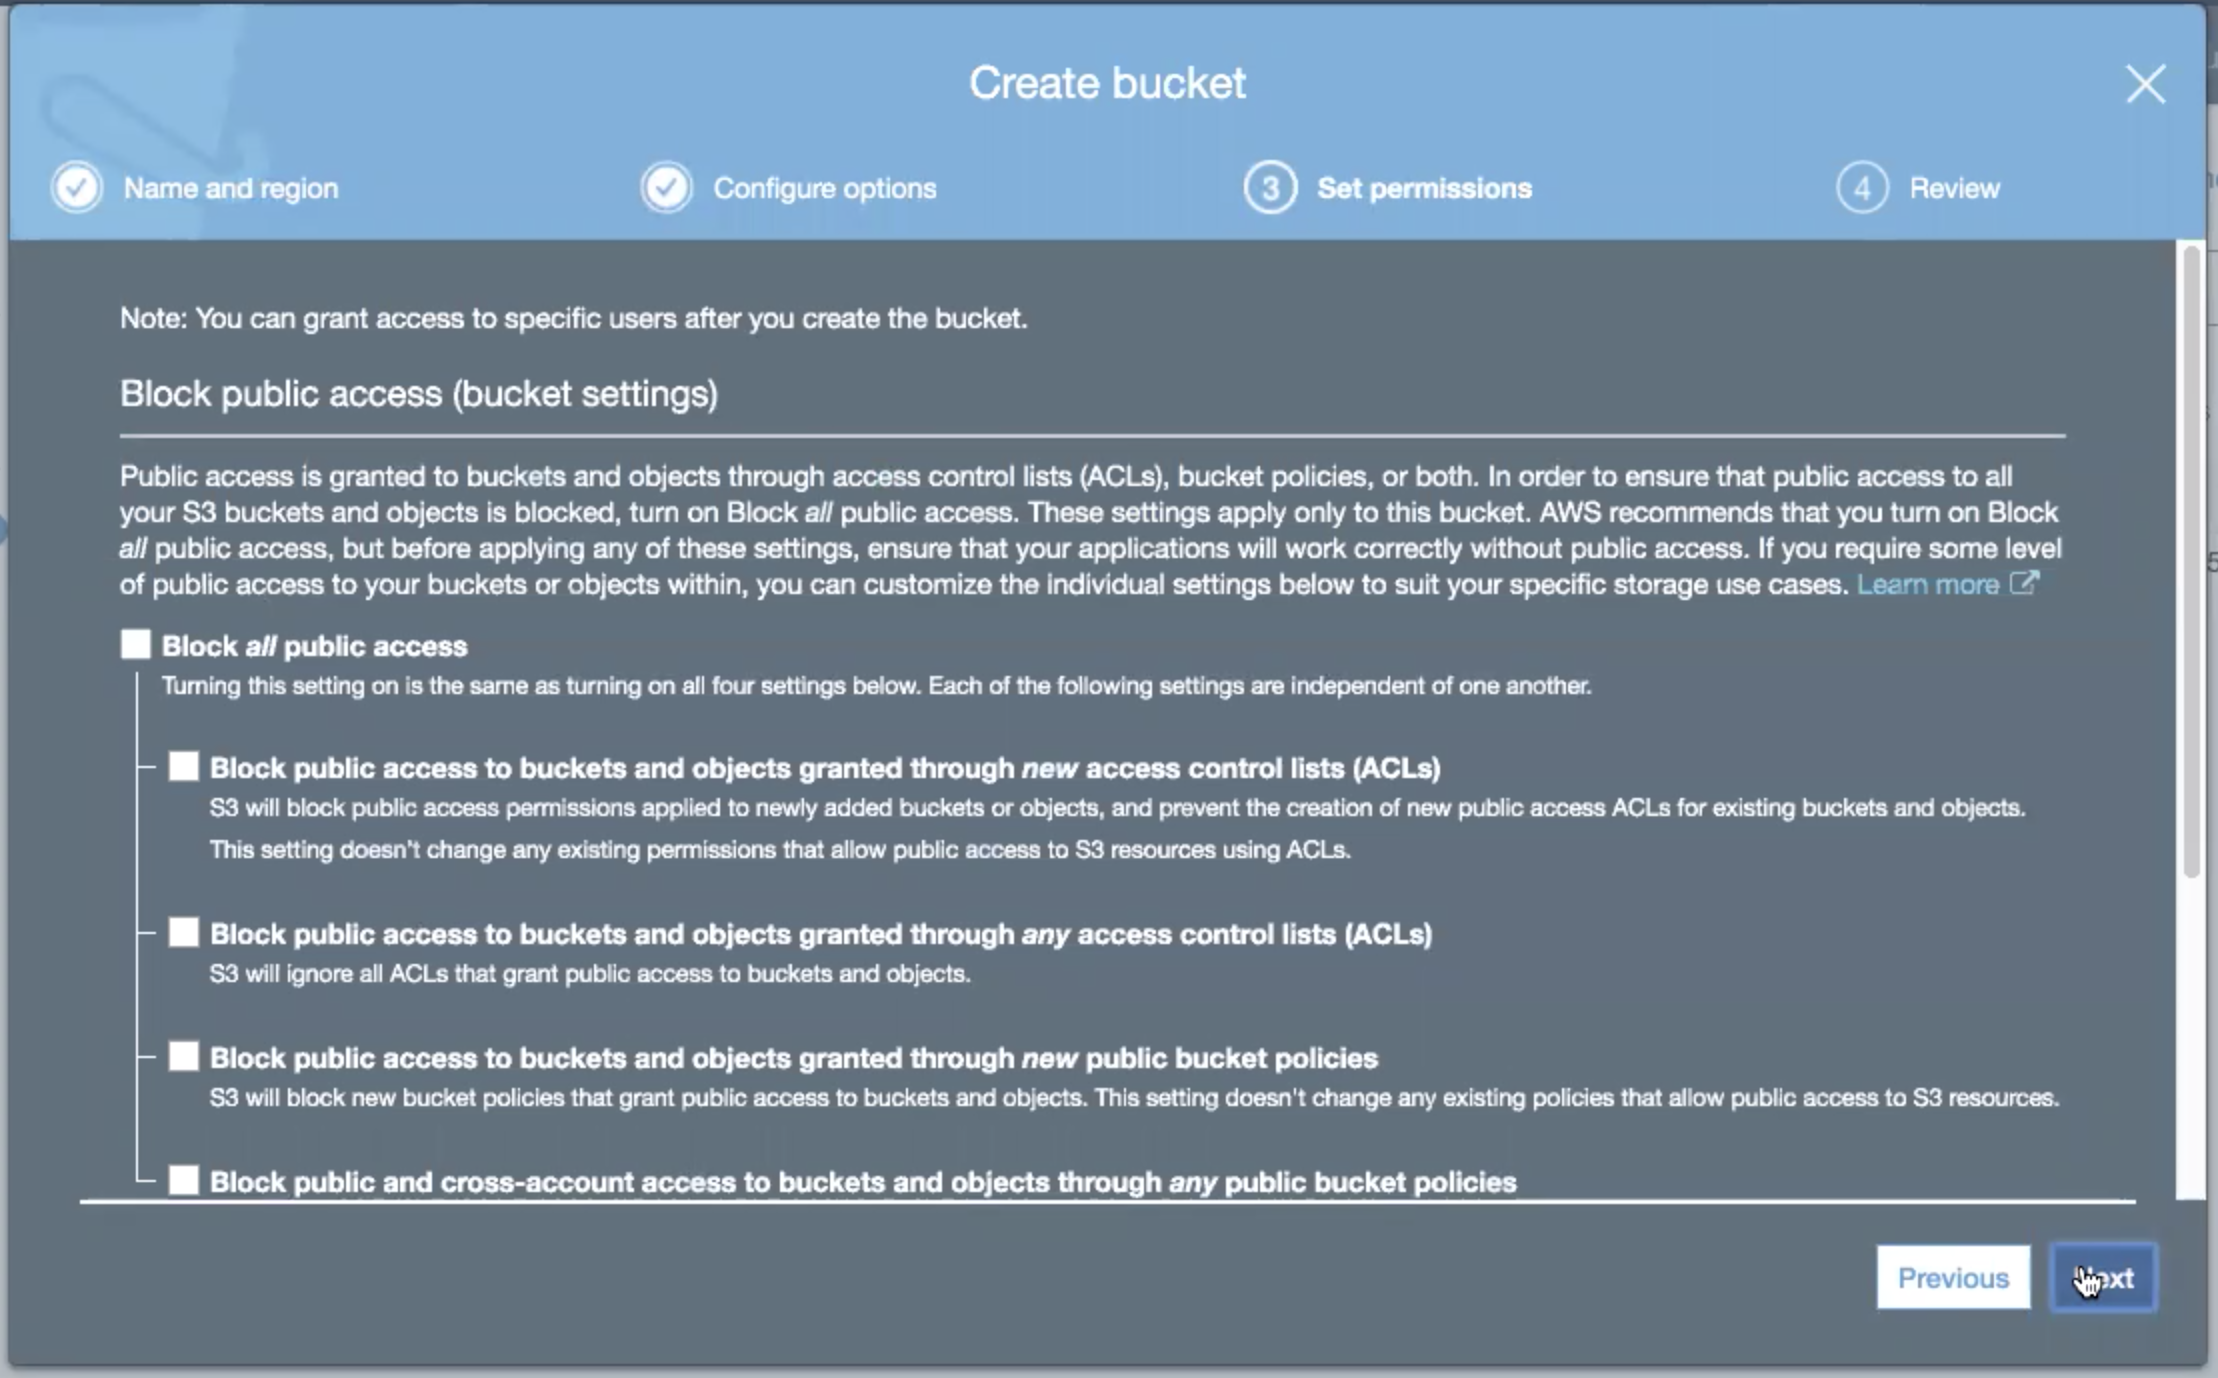
Modify any of the configuration options as required, then click the Next button. The overlay transitions to the Set Permissions panel.
-
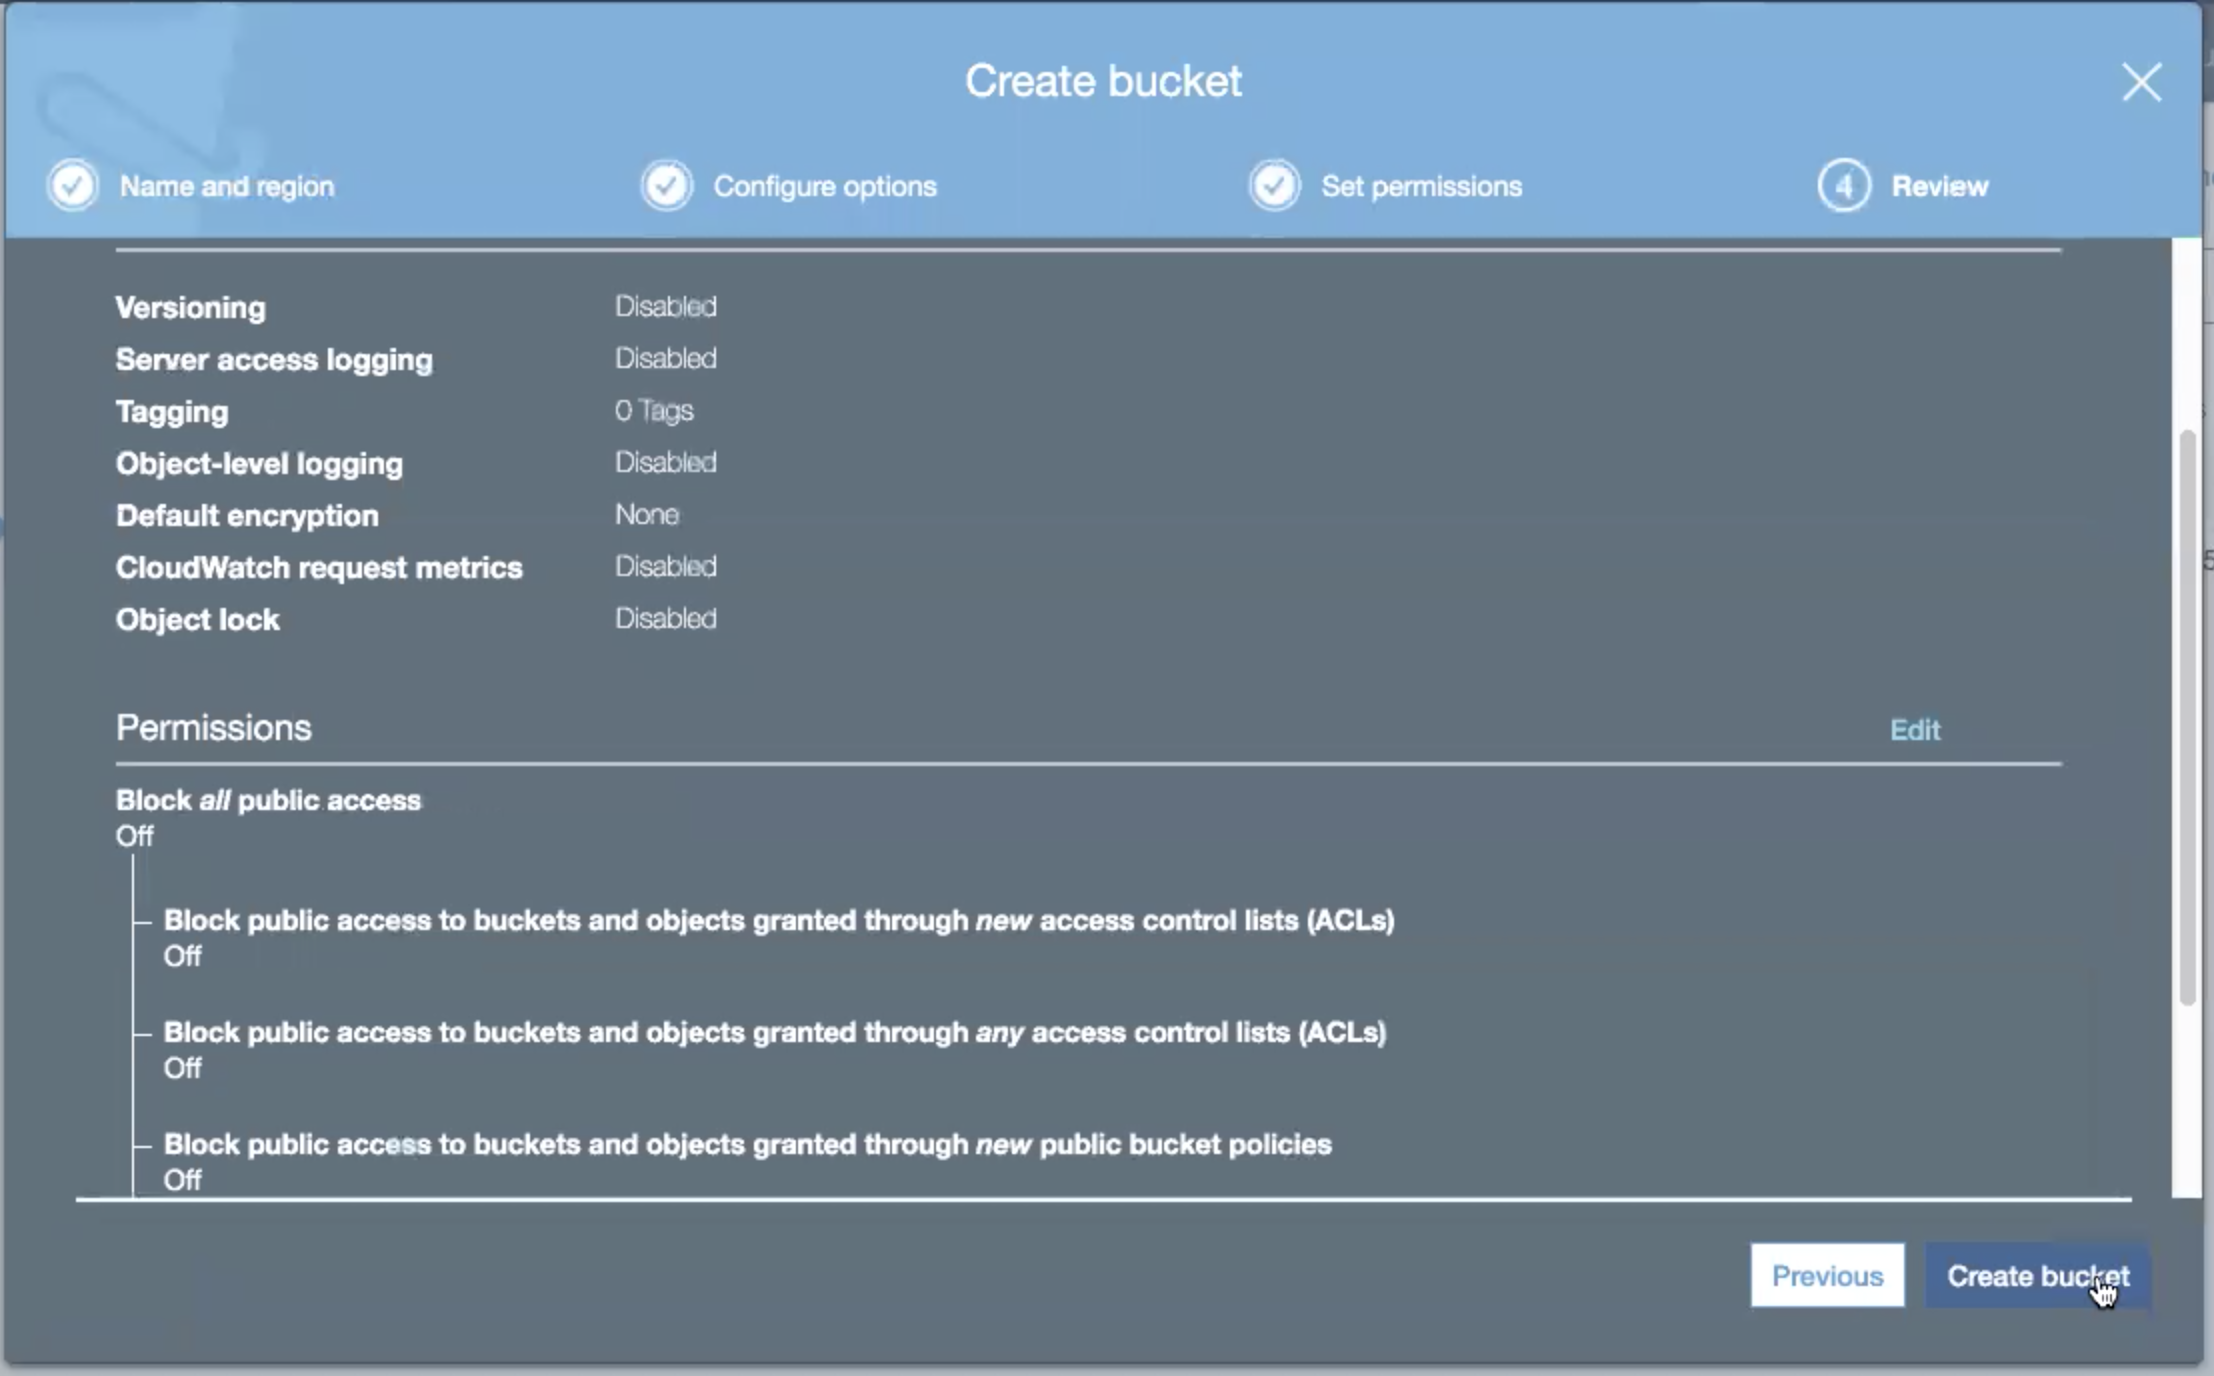
Do not block any access. Click the Next button. The overlay transitions to the Review panel.
-
Review the settings for the new bucket. Click the Previous button to go back and make any changes.
-
Click the Create bucket button to continue.
Installing Velero
-
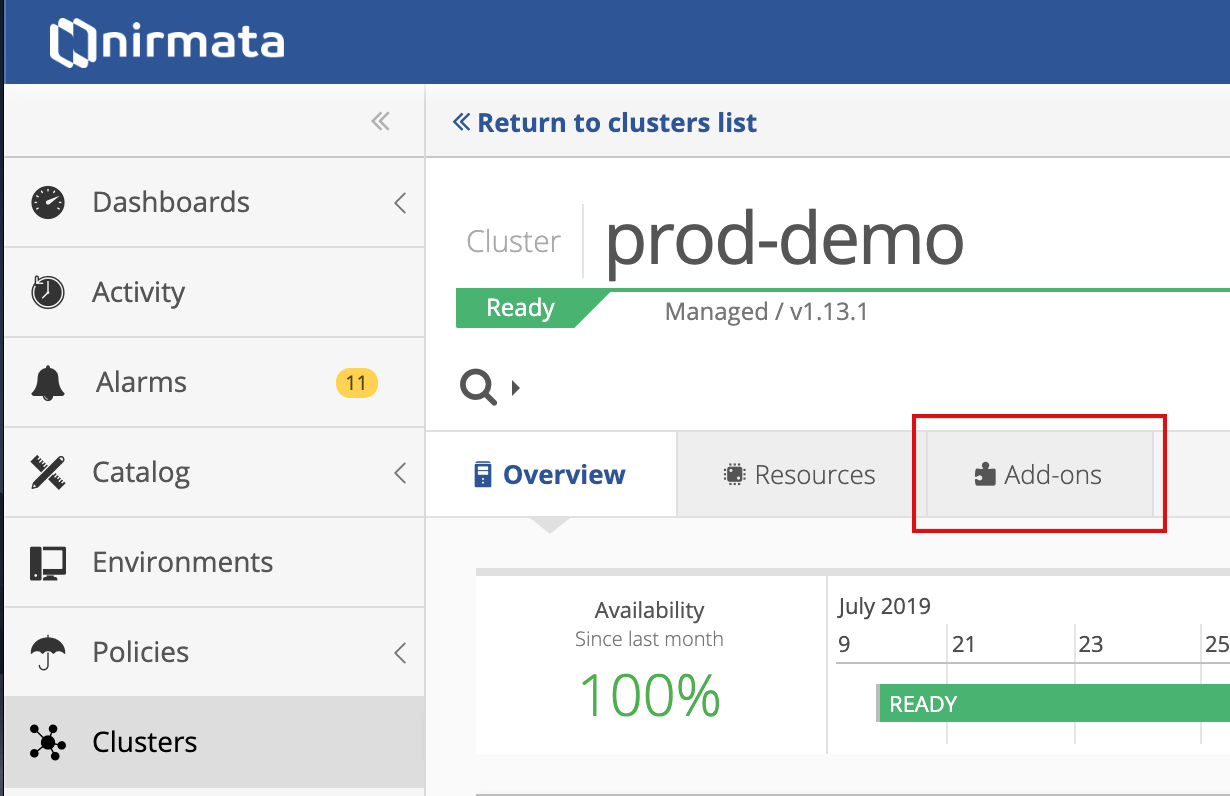
To install Velero on a cluster go to the Clusters panel and click on the cluster you wish to configure.
-
Click Add-ons.
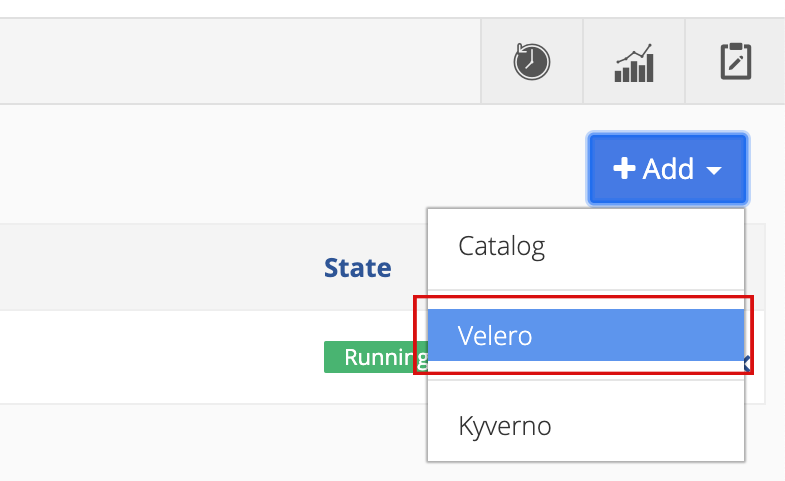
-
Click the Add button on the right and select Add Velero from the menu.
-
To create the Velero add-on using AWS:
- Select the provider from the drop-down list (AWS in this instance).
- Enter an AWS Access key.
- Enter an AWS Secret.
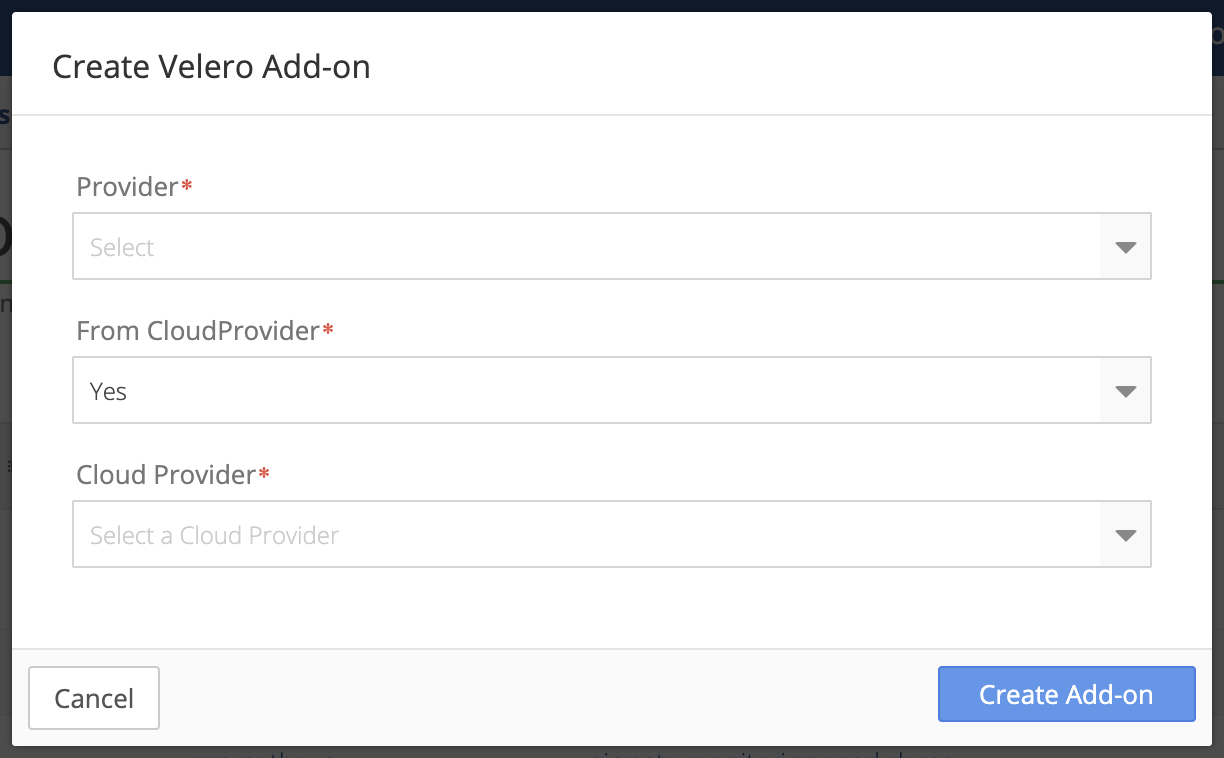
-
Click Create Add-on to continue or click Cancel to return to the previous page.
Kubernetes provides a status for the Velero installation and indicates when it’s complete.
-
Click the Close button on the overlay when the installation is completed.
After deploying the Velero add-on you will return to the Add-ons page. You can view Velero’s run status from here.

Velero Configuration and Setup
Configure Velero by setting up and configuring a Backup Storage Location and setting up a Backup.
Configure Backup and Storage Location
-
Click velero in the Add-on list.
-
Click Configure Backup and Snapshot Location in the Backup Storage Location section.
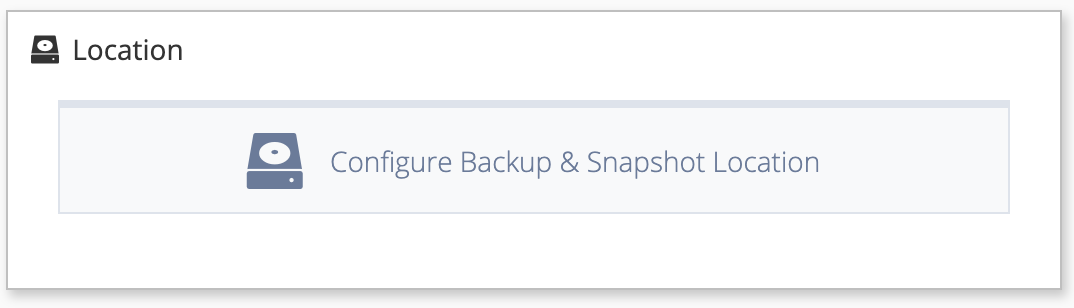
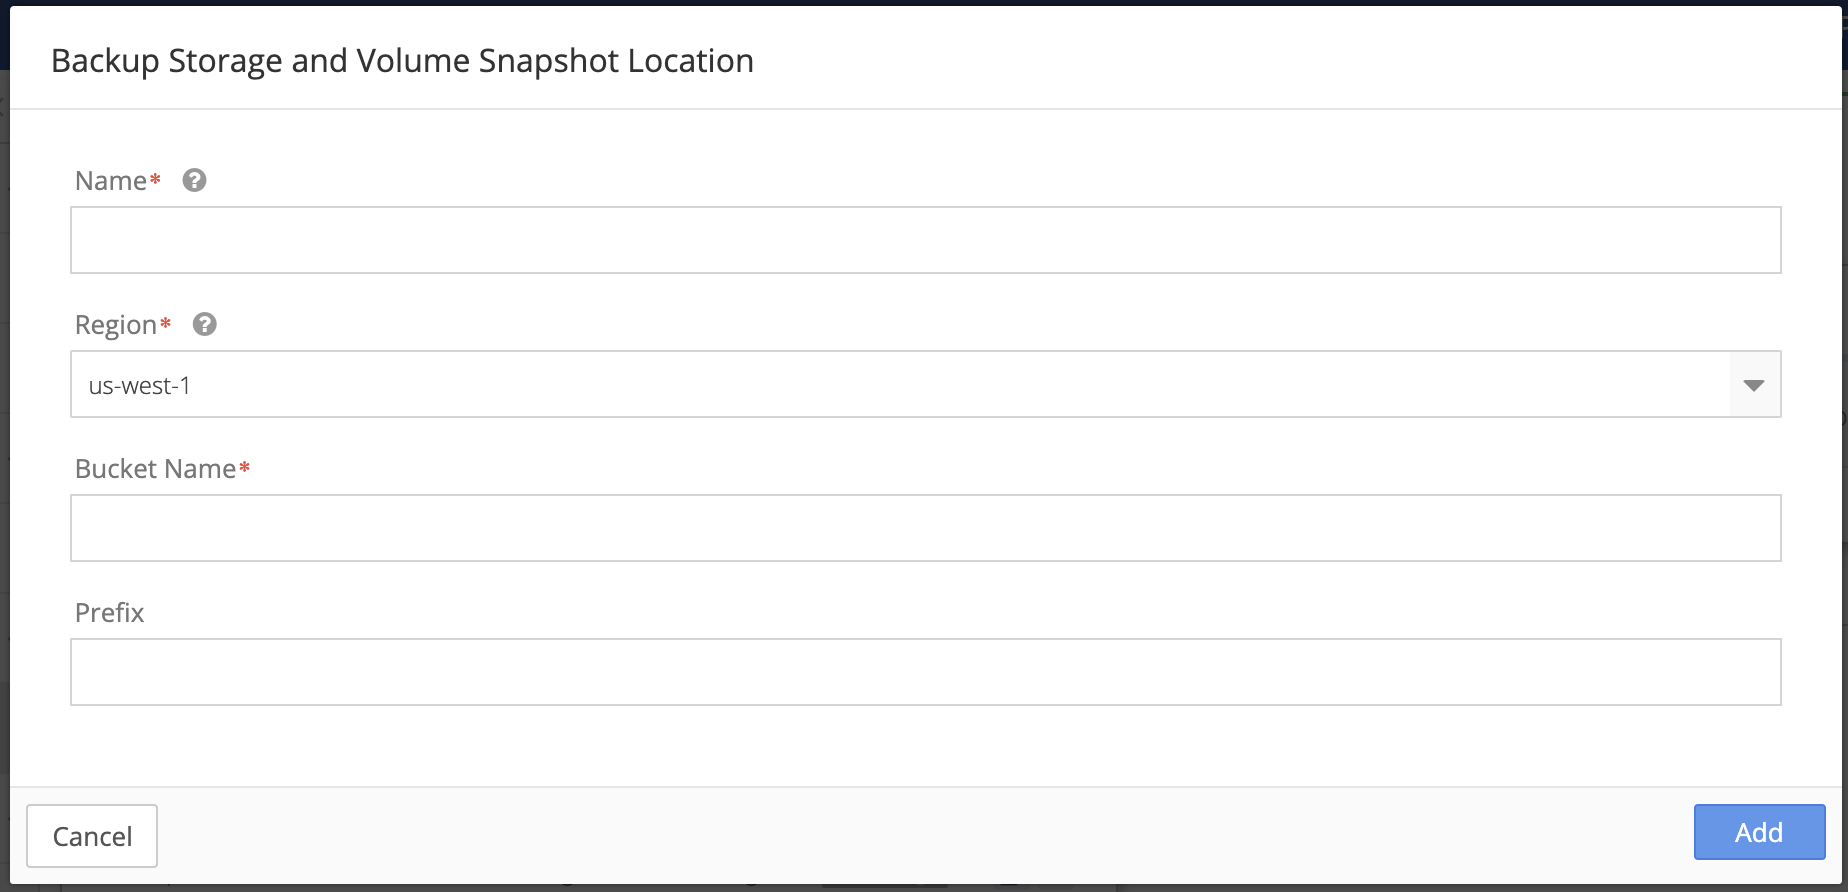
The Add Backup Storage Location overlay appears.
-
Enter the Name of the Backup Storage and Location.
-
Select another Region if you wish to change the default selection.
-
Enter the name of the AWS S3 bucket created earlier in Bucket Name.
-
Enter a Prefix for the directory that will store your backups.
For example, using
prodas a prefix will place all namespace and cluster backups below the prod directory. -
Click Add when completed or click Cancel to return to the previous page.
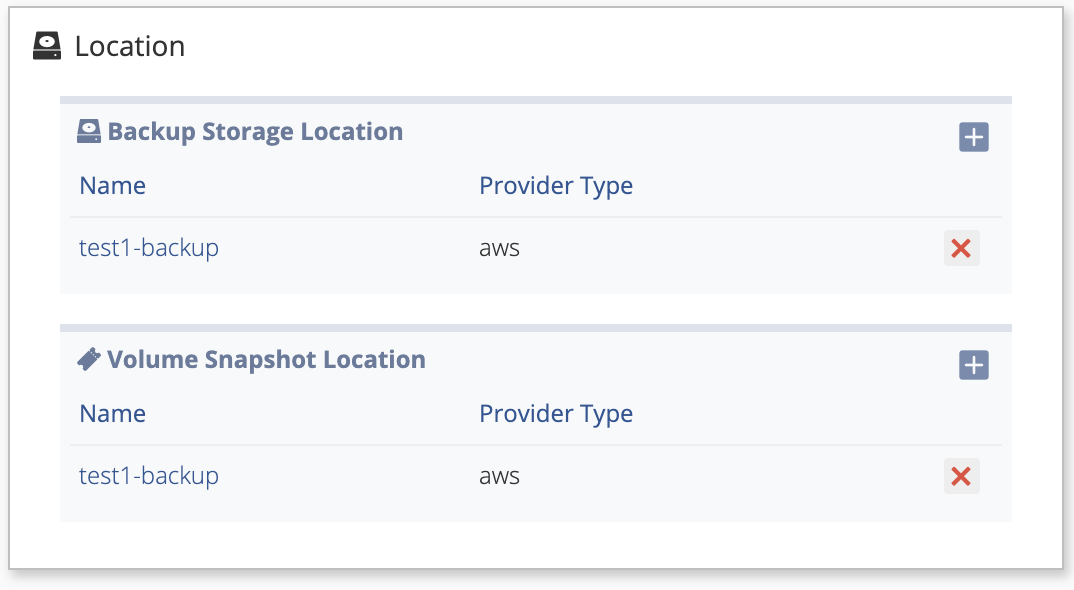
Nirmata displays the newly added Backup Storage and Volume Snapshot Location on the Add-ons page.
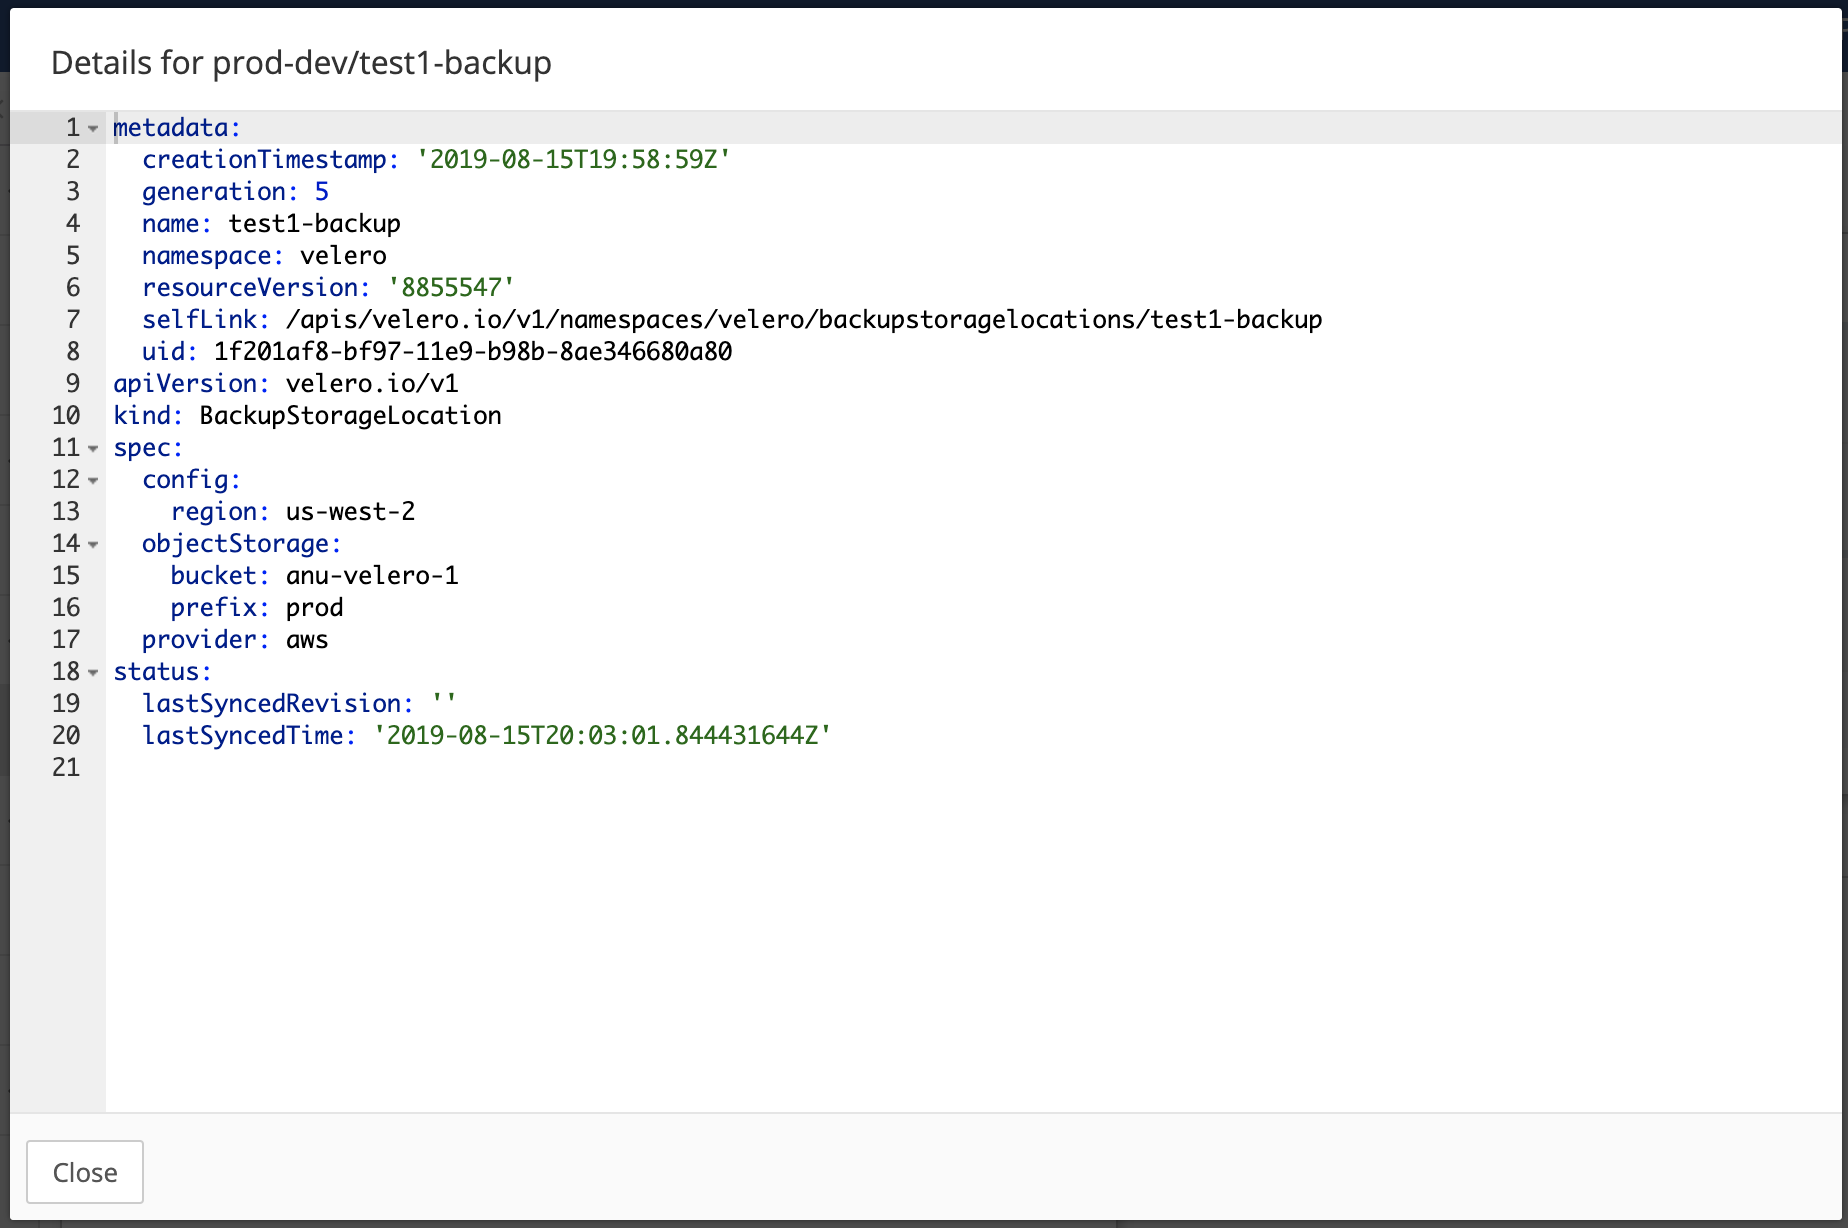
You can verify the configuration is correct by reviewing the Backup storage location manifest.
-
Click the name of the newly created Backup Storage Location under Name. The Storage Location Manifest overlay appears.
-
Note the Status section and the
lastSyncedTime. The presence of a status and timestamp indicates the backup location setup and configuration were completed successfully.
Create Backup
-
To create backups for the cluster or a cluster namespace click Create Backups on the Backup/Restore Details page.

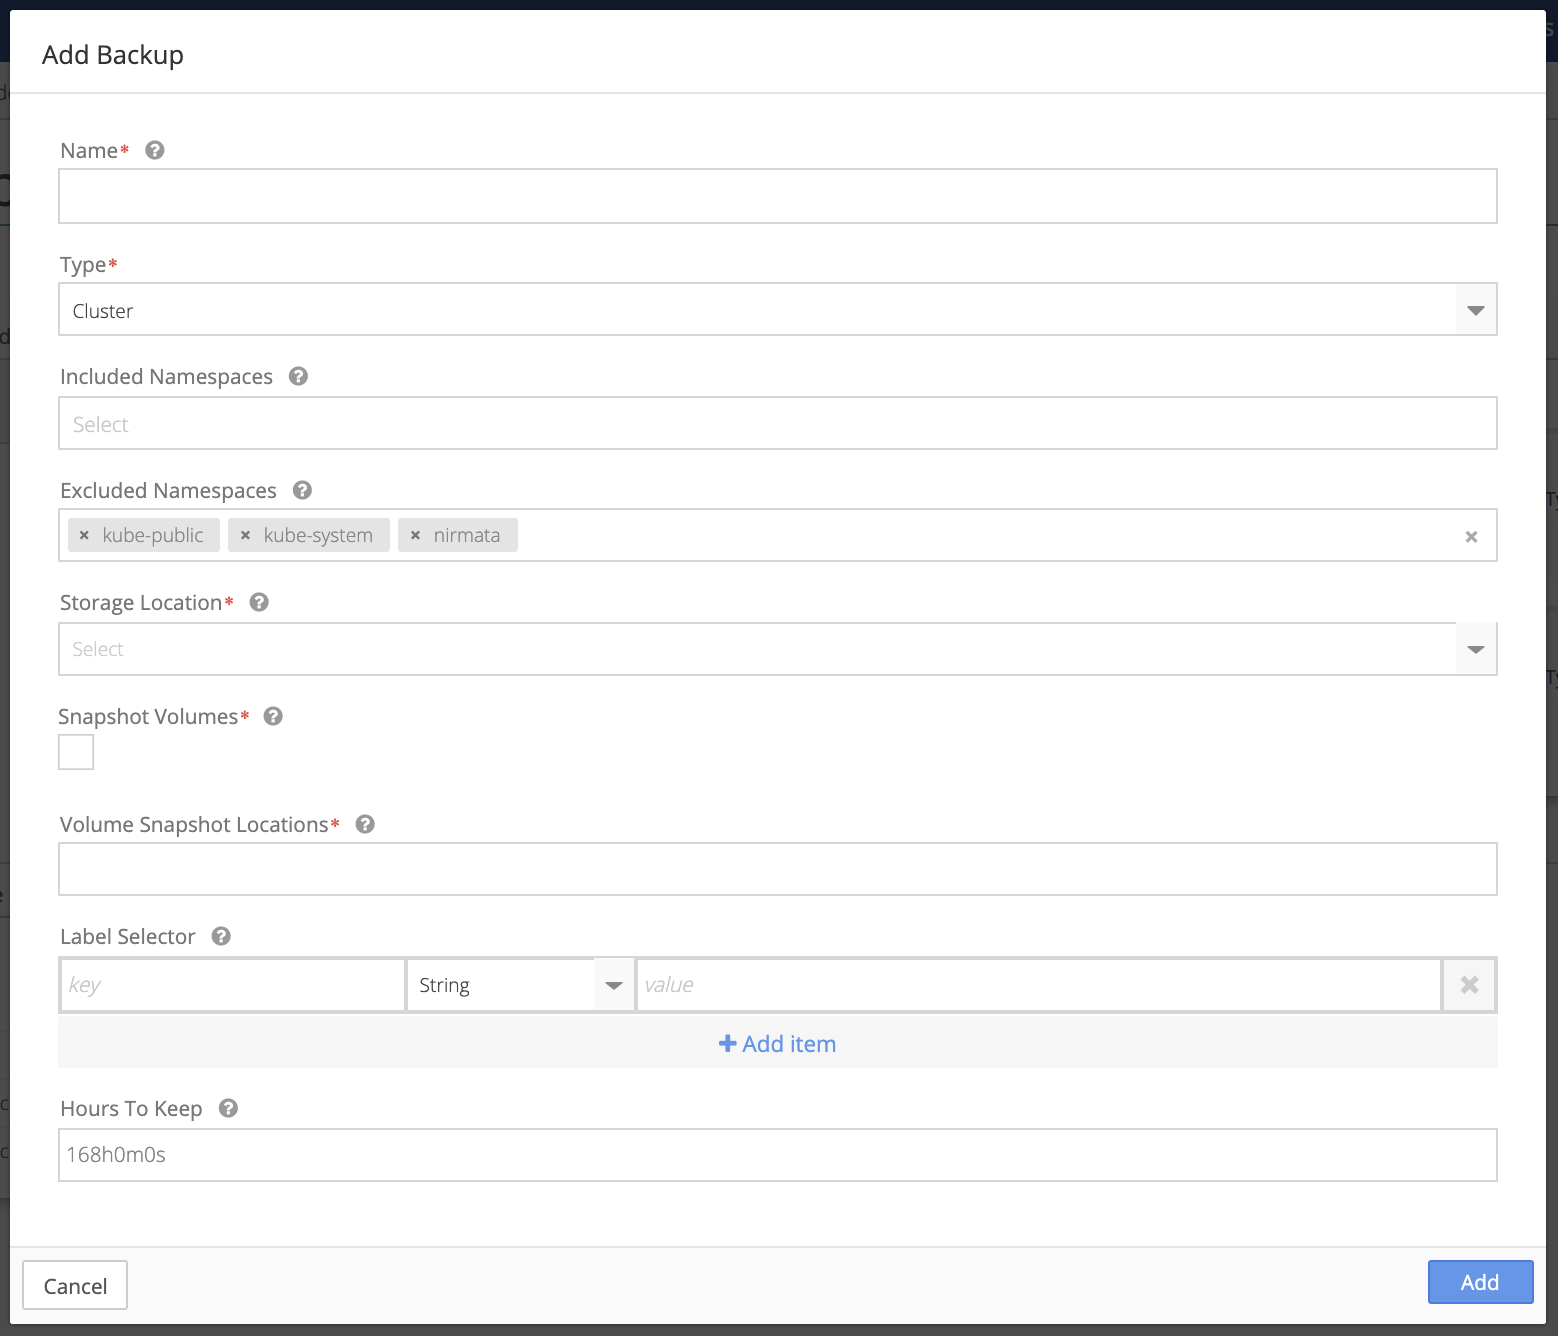
The Add Backup overlay appears.
-
Enter a Name for the backup.
-
Select a Type of backup from the drop down menu: Cluster or Namespace.
-
Click Included Namespaces.
-
Select default from the Included Namespaces drop down list, or choose a specific namespace as required.
Note: the Kubernetes and Nirmata namespaces are automatically excluded. Click the x next to a namespace you wish to include in backups.
Storage Location should be automatically populated using the location created in the previous step (see Configure Backup and Storage Location ).
-
Check Snapshot Volumes if you wish to enable the volume snapshot capability.
- Select your Volume Snapshot Location from the drop-down list.
- Enter key/value pairs for Label Selector.
- Choose the type (String, Number, or Object) from the drop-down list for the key/value pair.
-
Click Add Item if you wish to enter more key/value pairs.
-
Enter the number of Hours To Keep or leave the default of 168h0m0s. Use the notation provided in the default if you change this value.
-
Click Add to complete or click cancel to return to the Back/Restore Details page.
The backup should automatically begin, indicated by the Status column of the Backups in the Backup & Restore section of the Add-ons page.
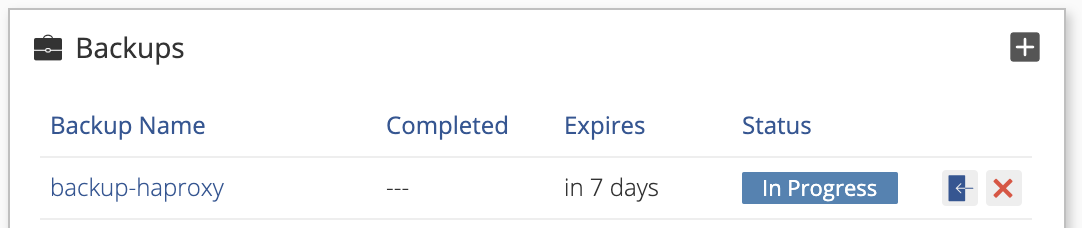
You will see the status of the newly created backup in the Backup & Restore section of the page. The Status changes to Completed when the backup has finished.
-
Click the name of your backup to open the backup details overlay.
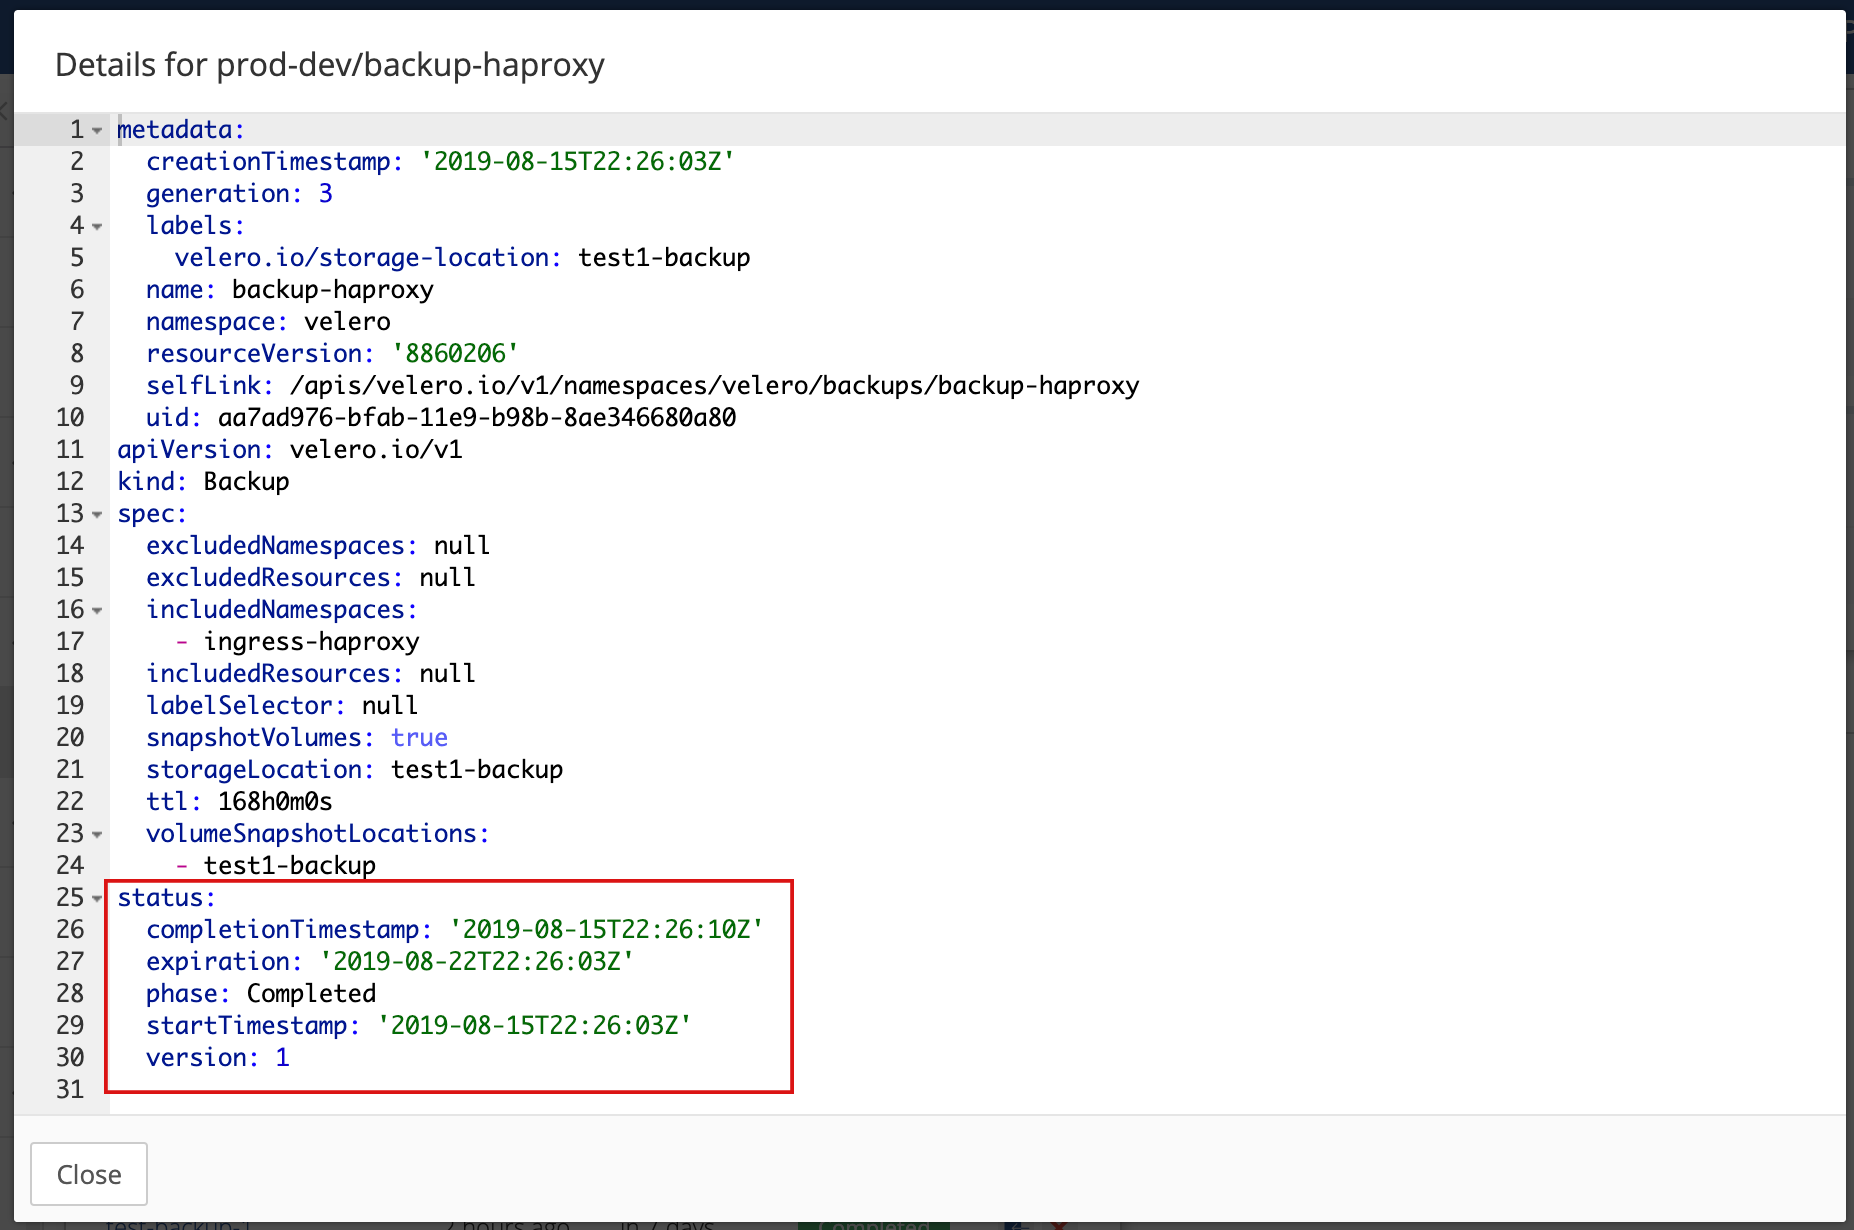
Note the Status section indicates a successfully completed backup.
-
Click the Close button to return to the Backup/Restore page.
Schedule Backup
-
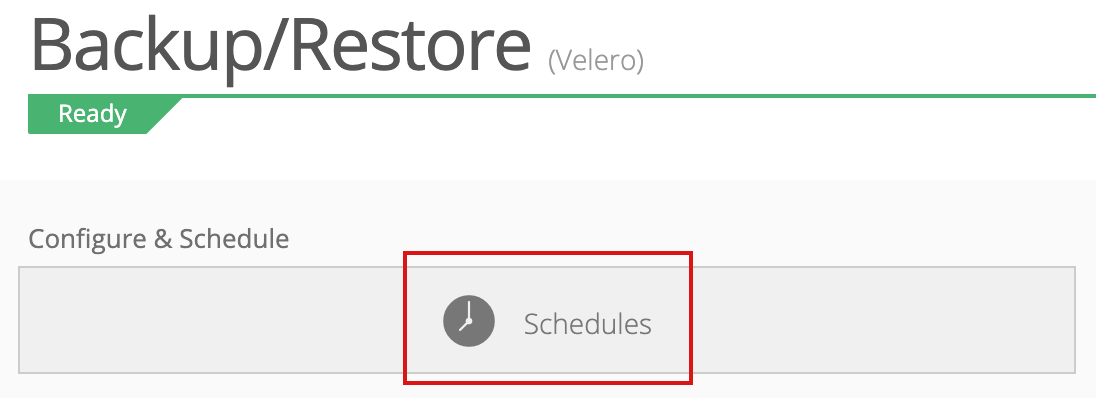
To schedule a backup for a cluster or namespace click Schedules on the Backup/Restore Details page.
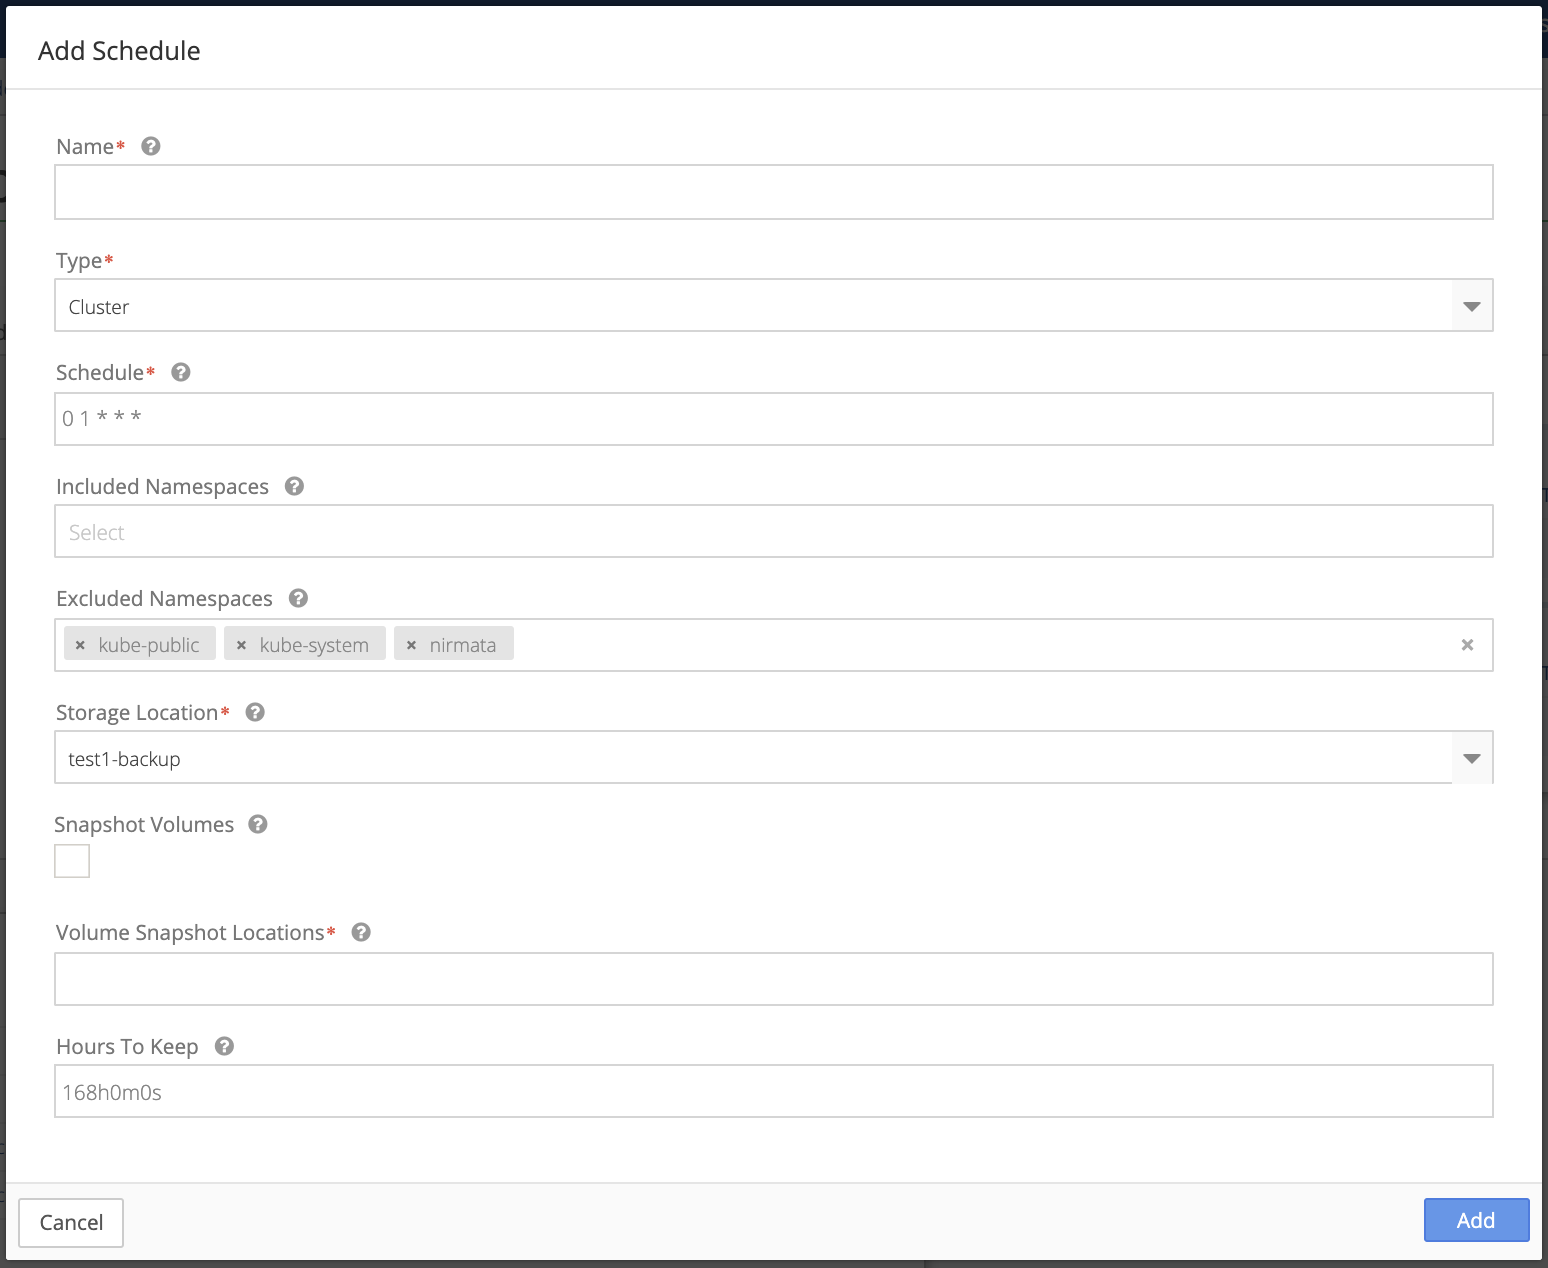
The Add Schedule overlay appears.
-
Enter a Name for the scheduled backup.
-
Select a Type of scheduled backup from the drop down menu: Cluster or Namespace.
-
Schedule uses standard cron notation . Set your backup schedule to occur at the time and on the days of your choosing.
-
Select default from the Included Namespaces drop down list, or choose a specific namespace as required.
Note: the Kubernetes and Nirmata namespaces are automatically excluded. Click the x next to a namespace you wish to include in backups.
Storage Location should be automatically populated using the location created in the previous step (see Configure Backup and Storage Location ).
-
Check Snapshot Volumes if you wish to enable the volume snapshot capability.
-
Select your Volume Snapshot Location from the drop-down list. It should be the same as Storage Location.
-
Enter the number of Hours To Keep or leave the default of 168h0m0s. Use the notation provided in the default if you change this value.
-
Click Add to complete or click Cancel to return to the Backup/Restore Details page.
The newly added backup schedule appears in the Backup section of the Backup/Restore Details page.
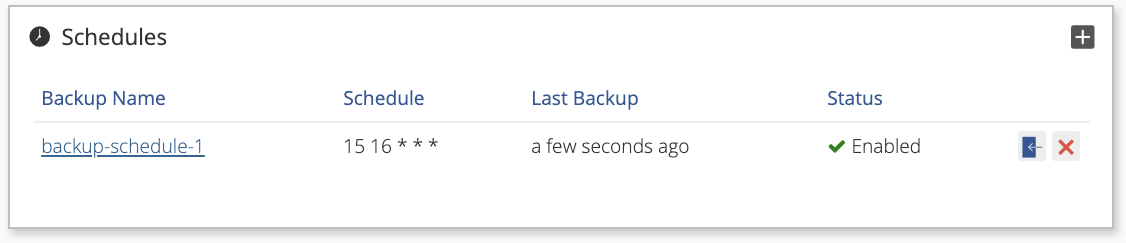
Note the scheduled backup’s attributes listed on the screen:
- Schedule
- Last Backup
- Status
Status should indicate Enabled.
-
Click the name of your scheduled backup to open the scheduled backup details overlay.
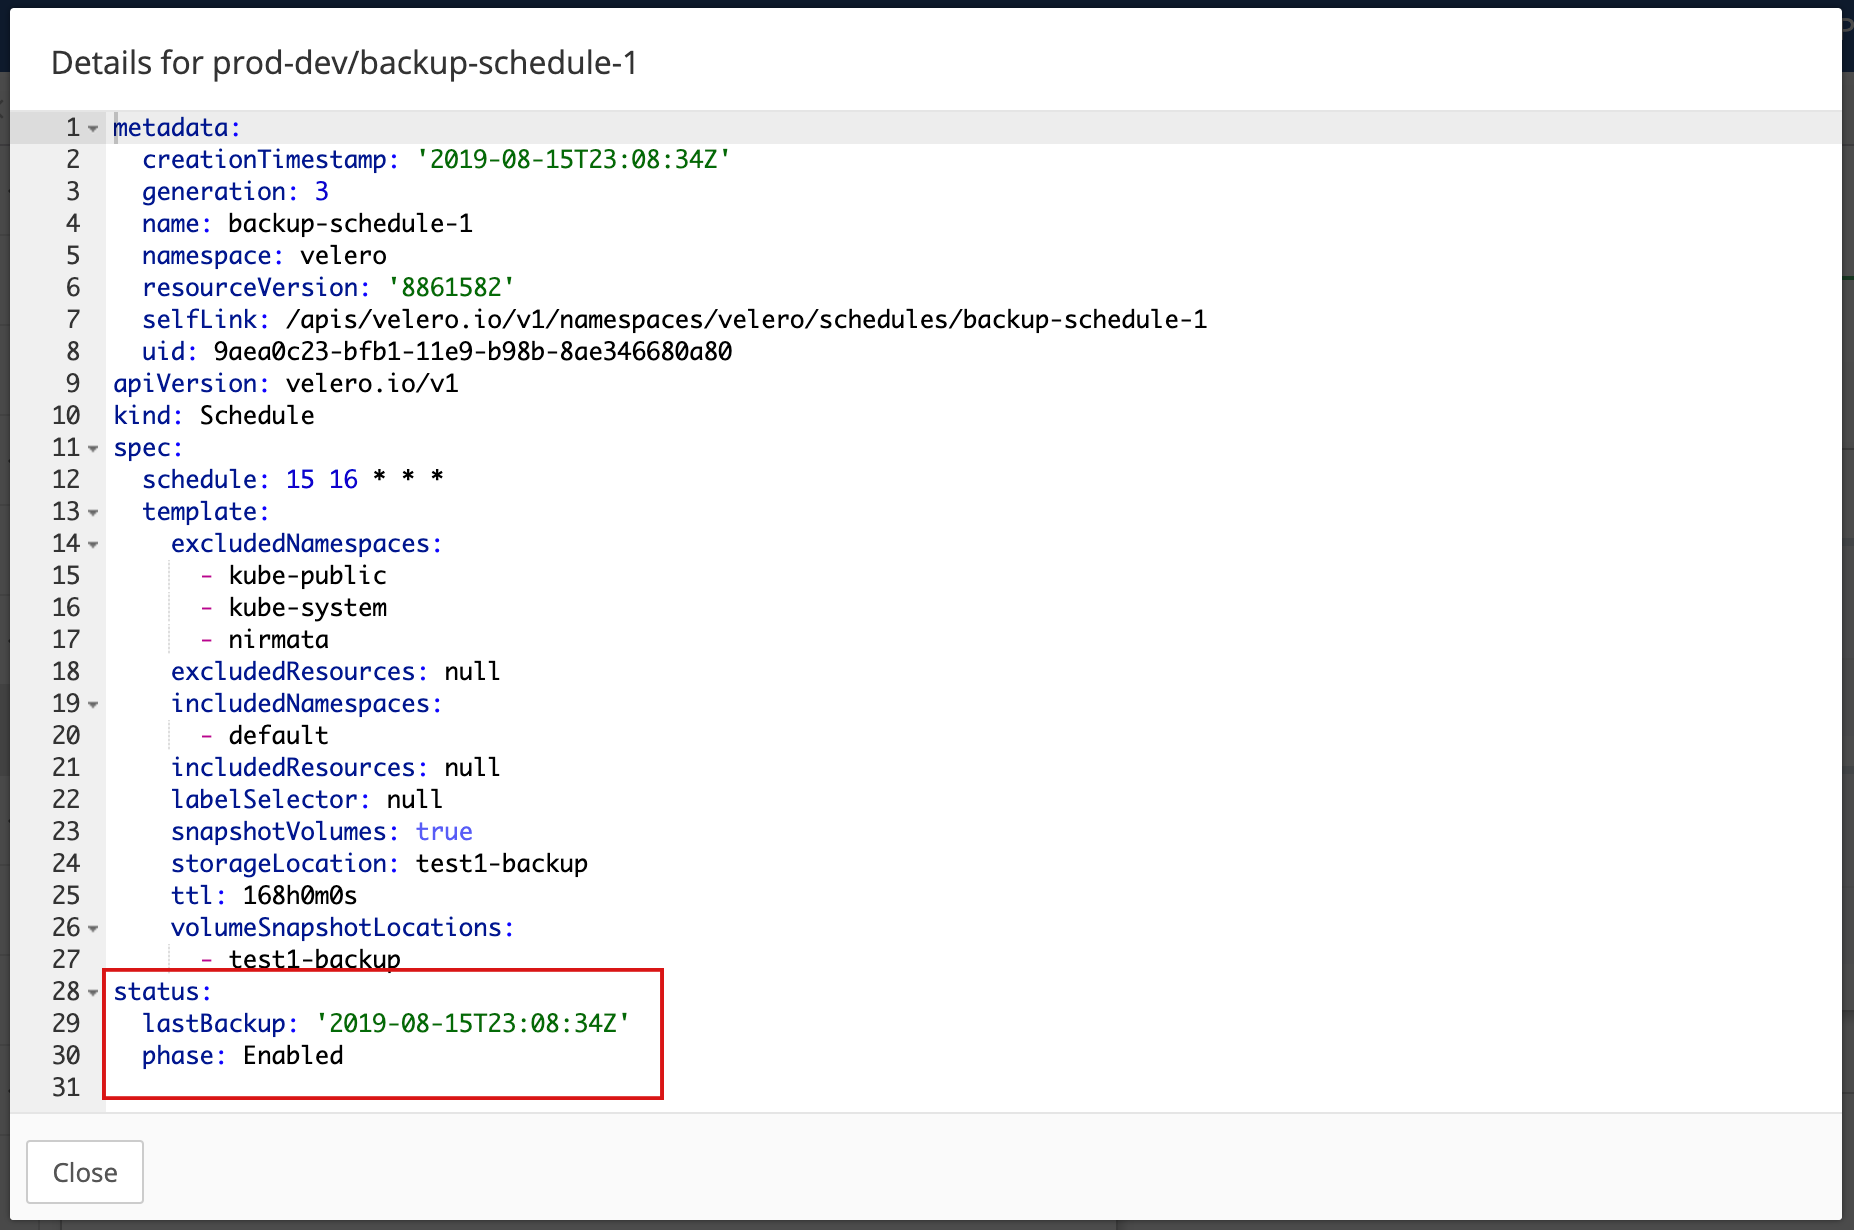
Note the Status section at the bottom indicating the time of last backup and state of the schedule, which should be Enabled.