This section walks through deploying a sample Windows application on a cluster with Windows worker nodes using the Nirmata Catalog.
Sample Application Manifest
The manifest below deploys a simple IIS web server on Windows. The key field is the nodeSelector using beta.kubernetes.io/os: windows, which ensures Kubernetes schedules the pod exclusively on Windows nodes. The toleration for the os=windows taint is also required if the Windows node has that taint applied.
apiVersion: apps/v1
kind: Deployment
metadata:
  name: windows-web-app
  namespace: default
spec:
  replicas: 1
  selector:
    matchLabels:
      app: windows-web-app
  template:
    metadata:
      labels:
        app: windows-web-app
    spec:
      nodeSelector:
        beta.kubernetes.io/os: windows
      tolerations:
      - key: os
        value: windows
        effect: NoSchedule
      containers:
      - name: iis
        image: mcr.microsoft.com/windows/servercore/iis:windowsservercore-ltsc2022
        ports:
        - containerPort: 80
        resources:
          requests:
            cpu: 250m
            memory: 256Mi
          limits:
            cpu: 500m
            memory: 512Mi
---
apiVersion: v1
kind: Service
metadata:
  name: windows-web-app
  namespace: default
spec:
  selector:
    app: windows-web-app
  ports:
  - port: 80
    targetPort: 80
  type: ClusterIP
Note:
beta.kubernetes.io/os: windowsis the node selector label that targets Windows nodes. Without this, Kubernetes may schedule the pod on a Linux node where a Windows container image cannot run.
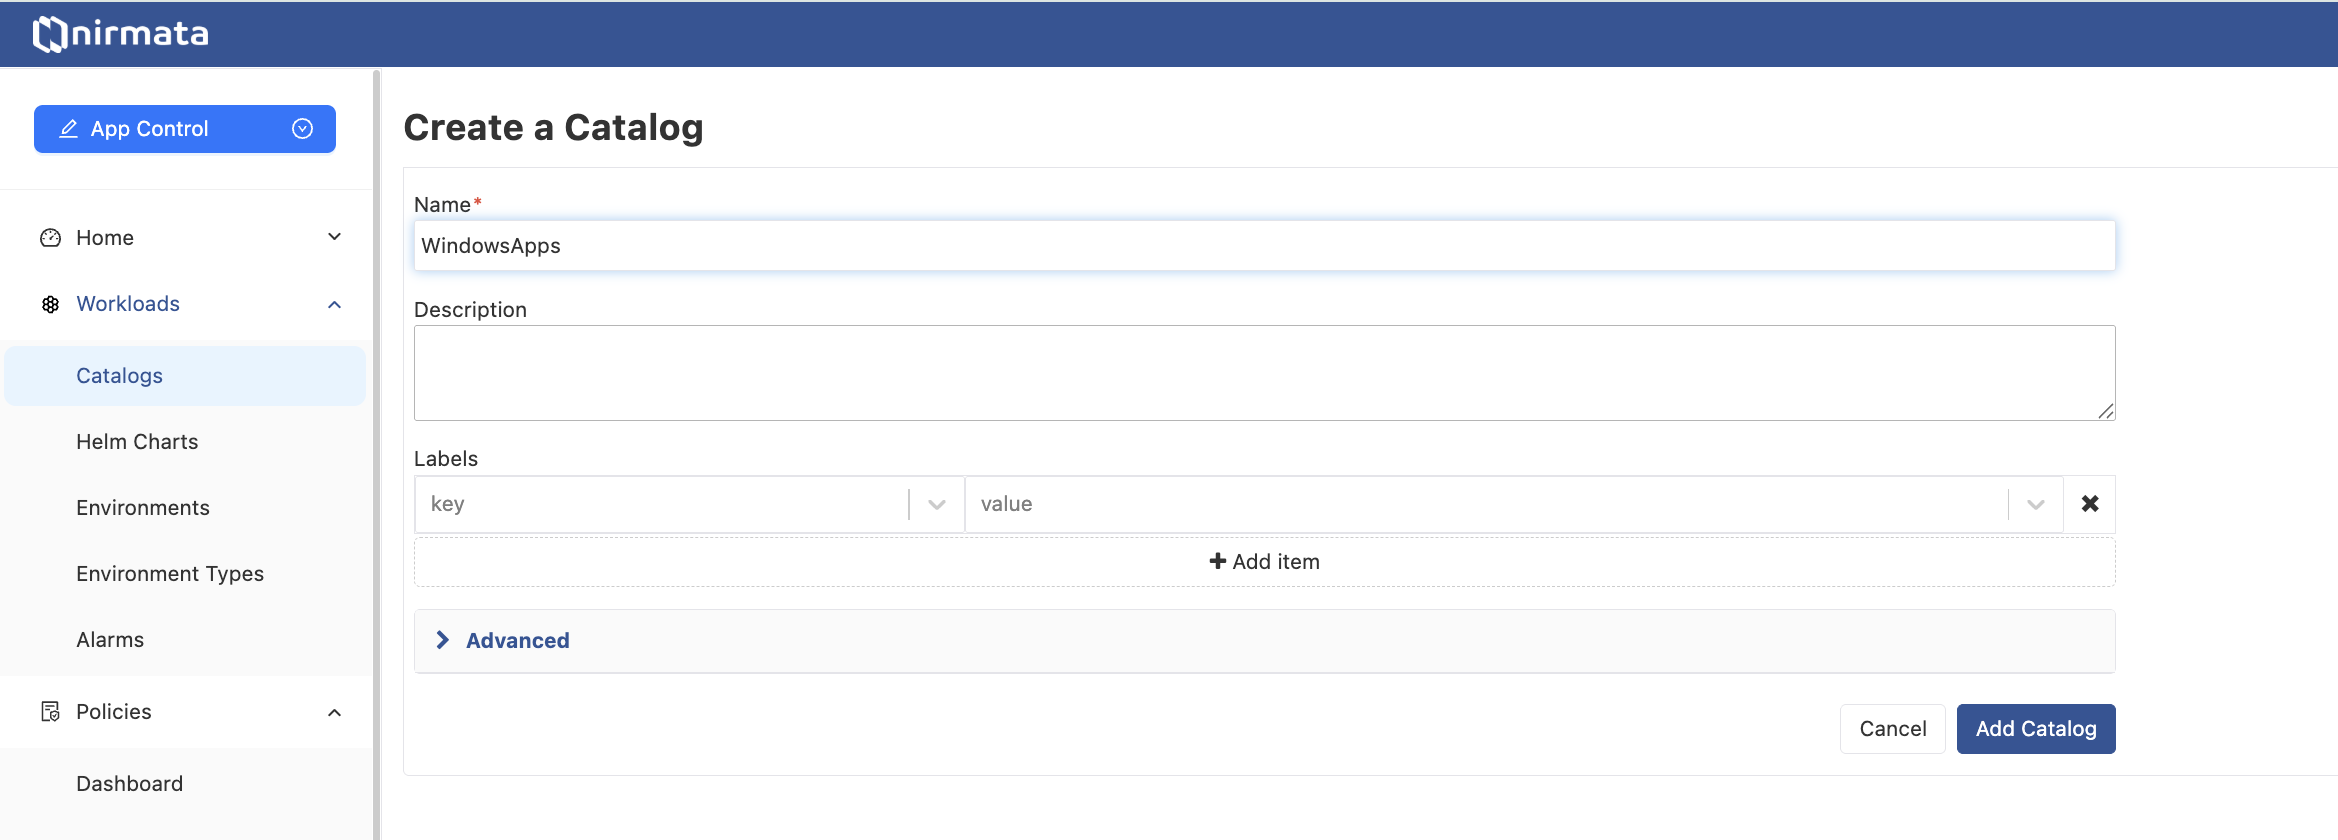
Step 1: Create a Catalog
- Navigate to Workloads → Catalogs in the left toolbar.
- Click New Catalog.
- Enter a name (e.g.,
WindowsApps) and click Add Catalog.
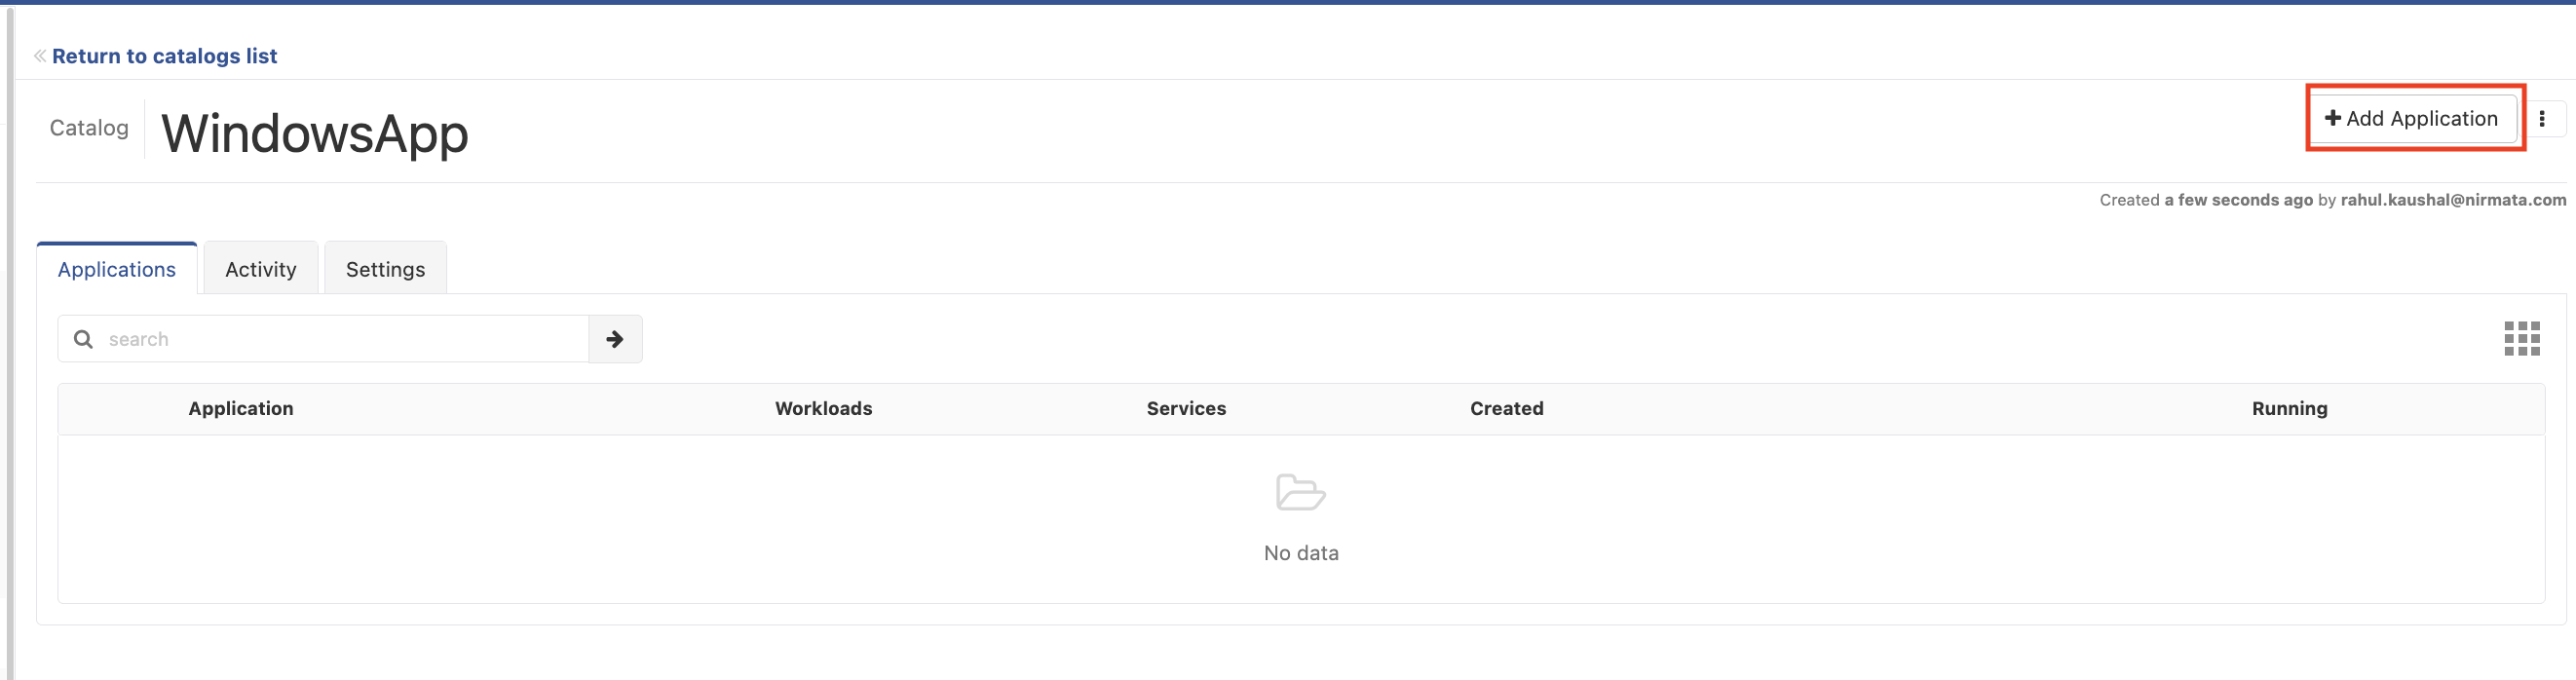
Step 2: Add an Application
- Open the newly created catalog.
- Click the + Add Application button in the top-right corner.
- In the dialog, enter an application name and select the type. In this example we use catalog (direct YAML import). You can also use Git or Helm depending on your workflow.
- Upload the
windows-app.yamlmanifest by dragging it into the import area or clicking to browse. - Click Save.
Step 3: Run the Application
- Once the application is created, click Run Application in the top-right corner.
- Select the target environment and cluster, then confirm.
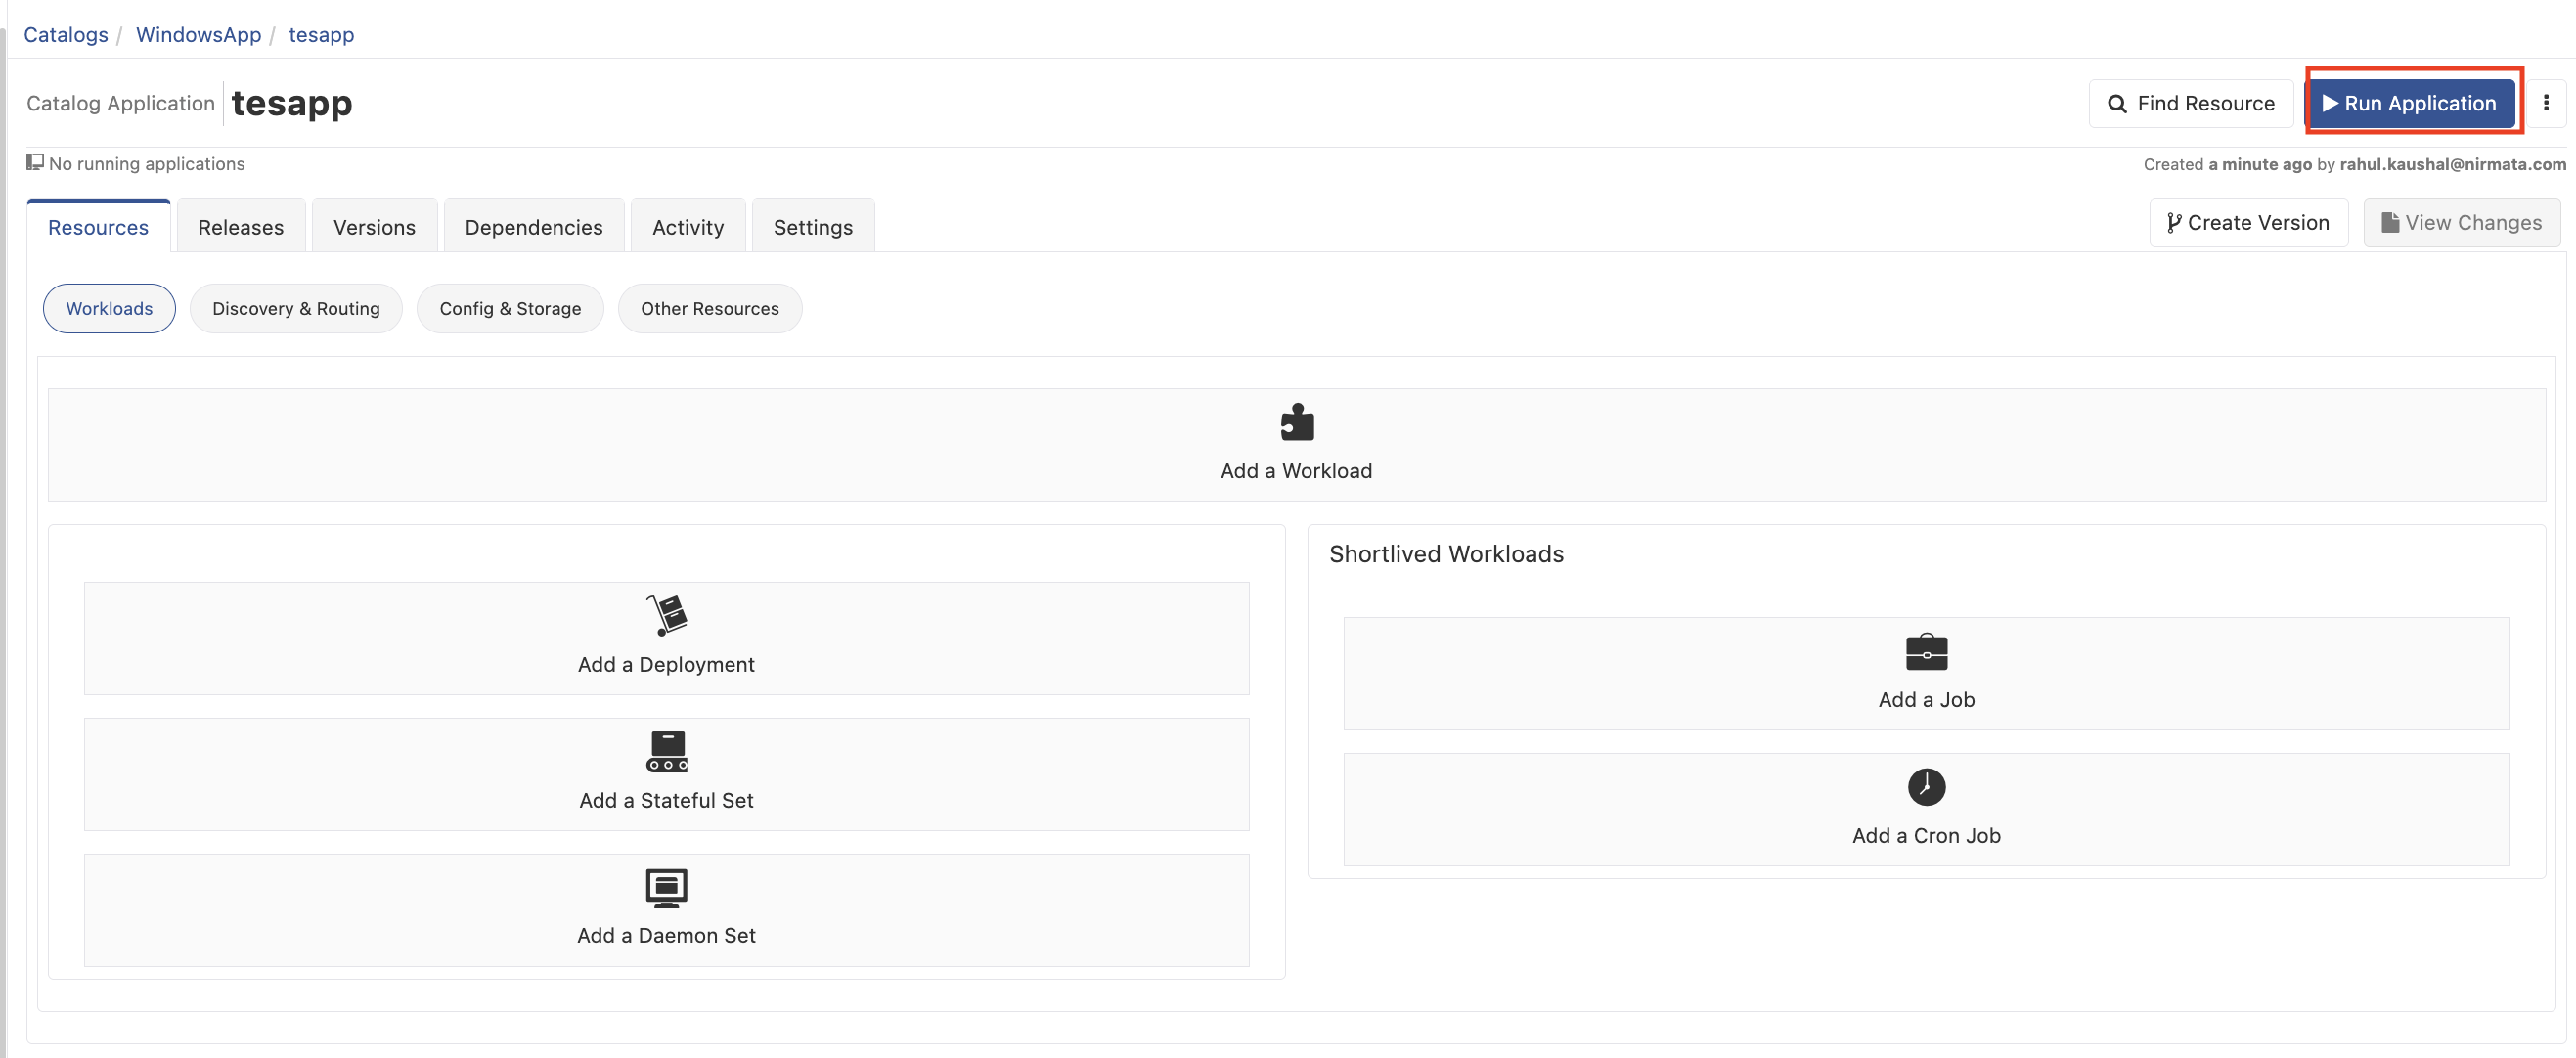
Nirmata will schedule the deployment. Because beta.kubernetes.io/os: windows is set in the manifest, the pod will be placed only on the Windows worker node in the cluster.
Step 4: Verify the Deployment
Once the deployment completes, the application will appear as Running in the Running Applications view, showing the cluster, environment, version, pod count, and state.
